🍢 Recipe for Old-Fashioned Mustard Chicken Skewers with Roasted Peaches and Balsamic Reduction
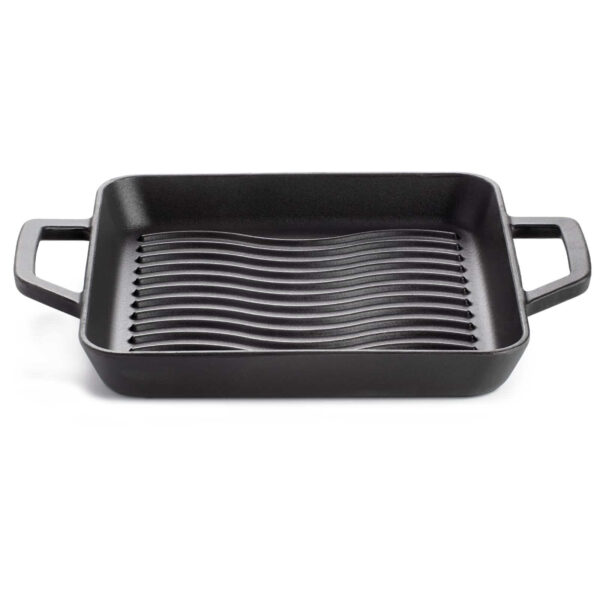
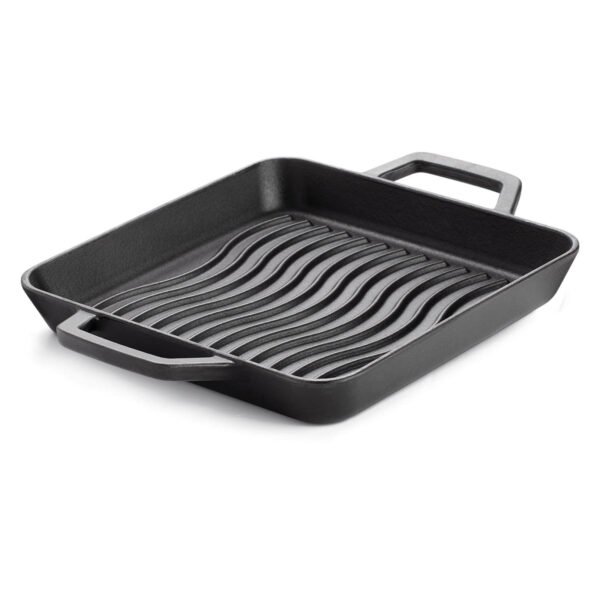
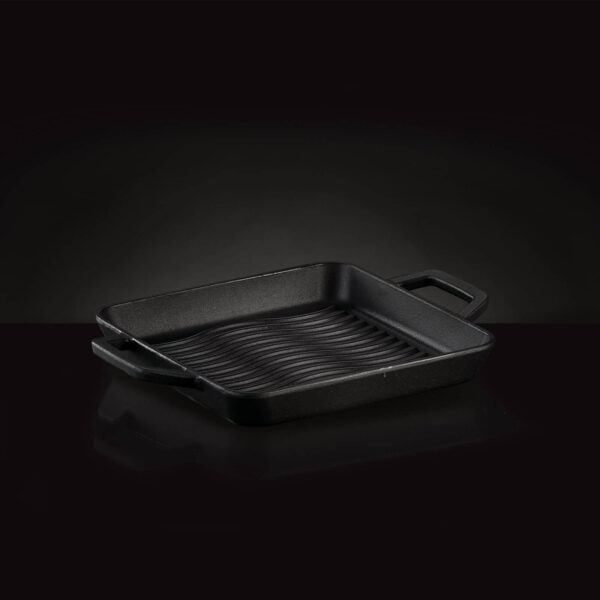
This recipe is designed to get the most out of the
25x25 cm square cast iron skillet, highlighting its ability to reach high temperatures, its excellent heat distribution and its WAVE™ grooves that provide even searing and spectacular presentation. Perfect for warm seasons, this dish combines juicy marinated chicken, the sweetness of roasted peaches and a balsamic reduction that adds complexity and shine to the dish.
Ingredients (serves 2-3)
For the skewers:
- 2 chicken breasts (400-450 g), skinless, cut into 3-4 cm cubes
- 2 firm peaches, peeled and cut into 6-8 wedges each
- 1 red onion, cut into 2-3 cm chunks
- 1 yellow pepper, seeded, cut into cubes similar in size to the chicken
- 6 skewer (20-25 cm long)
For the marinade:
- 2 tablespoons (30 g) whole grain mustard
- 1 tablespoon (15 g) blossom or acacia honey
- 1 clove garlic, finely chopped
- 2 tablespoons (30 ml) extra virgin olive oil
- 1 teaspoon chopped fresh rosemary leaves
- Coarse sea salt (to taste)
- Freshly ground black pepper (to taste)
For the balsamic reduction:
- 100 ml Modena balsamic vinegar
- 1 tablespoon (12 g) brown sugar or panela
Recommended equipment
- 25x25 cm square cast iron skillet
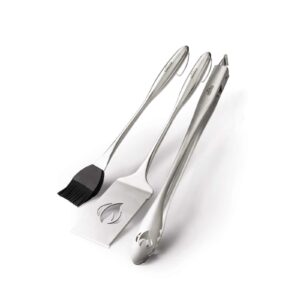
- Long kitchen tongs
- Kitchen brush for applying oil
- Sharp knife and chopping board
- Glass or steel container for marinating
Step-by-step instructions
1. Prepare the marinade and marinate the chicken (minimum 30 minutes, ideally 2 hours)
In a bowl, mix the mustard, honey, garlic, oil, salt, pepper and rosemary. Add the chicken cubes and mix well so that they are completely coated. Cover with cling film and let rest in the fridge. This enhances the flavour and improves the texture.
🕒
Technical note: The acid in the mustard slightly softens the protein without breaking it down. If marinating for more than 2 hours, it is recommended to remove the honey to prevent oxidation.
2. Assembling the skewers
Assemble the skewers by alternating the ingredients: chicken cube, peach wedge, onion, pepper, and repeat until the skewer is full. Be sure to let at least 1 cm free at each end for safe handling.
3. Preheat the pan (5 minutes)
Place the pan over medium-high heat (or on the grill if you are outdoors) and let it heat for at least 5 minutes. You can add a few drops of water: if they evaporate instantly, it is ready. Apply a little oil with a brush or spray to prevent sticking.
🔥
Recommendation: Do not overload the pan. Cook a maximum of 3 skewers at a time to maintain a high temperature and achieve defined marks.
4. Searing and cooking the skewers (8-10 minutes)
Place the skewers in the pan. Cook for 4-5 minutes on each side. Do not move them prematurely to ensure clean searing marks. The chicken should reach an internal temperature of 75°C. Turn with tongs and cook evenly on all sides.
5. Balsamic reduction (5-7 minutes)
While the skewers are cooking, combine the balsamic vinegar and brown sugar in a small pan over medium heat. Cook, stirring, until reduced by half and slightly thickened. Do not allow to boil vigorously.
🍷
Tip: You can add a few drops of lemon juice or a pinch of pink pepper for an aromatic variation.
6. Final assembly and presentation
Serve the freshly made skewers on a warm plate. Drizzle with the balsamic reduction just before serving and garnish with rosemary leaves or lemon zest for a fresh touch. Ideal to accompany with jasmine rice, couscous or a green leaf salad.
🌱 Vegetarian version of Halloumi Skewers with Roasted Peaches and Balsamic Reduction
Halloumi cheese is ideal for cooking in cast iron pans thanks to its high heat resistance and ability to sear crisply without falling apart. This recipe takes advantage of the ridged surface of the pan to create attractive grill marks, while the peaches add sweetness and the balsamic reduction intensifies the flavours. It is a sophisticated vegetable alternative, high in protein and with a surprising texture.
Ingredients (serves 2-3)
- 250 g halloumi cheese, drained and cut into 3 x 3 cm cubes
- 2 firm peaches, peeled or unpeeled, cut into 2-3 cm thick wedges
- 1 red onion, cut into medium-sized chunks (approx. 3 cm)
- 1 yellow or red pepper, cut into similar-sized cubes
- 6 skewer (wooden or stainless steel)
For the glaze mixture:
- 1½ tablespoons (22 g) whole grain mustard
- 1 tablespoon (15 g) mild honey
- 1 tablespoon (15 ml) extra virgin olive oil
- ½ teaspoon chopped fresh thyme or rosemary (optional)
- Flaky salt and ground black pepper to taste
For the balsamic reduction:
- 100 ml good quality balsamic vinegar
- 1 tablespoon (12 g) brown sugar
- Optional: 1 pinch of cinnamon or ground ginger for a spicy touch
Recommended equipment
- 25x25 cm square cast iron frying pan
- Kitchen tongs
- Silicone brush or pastry brush
- Bowl for mixing the glaze
Step-by-step preparation
1. Prepare the mustard and honey glaze
In a small bowl, mix the wholegrain mustard, honey, olive oil, herbs and a pinch of salt and pepper. This is not a marinade, but an aromatic glaze to be applied just before and during cooking.
2. Assemble the skewers
Thread a chunk of halloumi, a peach wedge, a piece of onion, and a piece of pepper onto each skewer, and repeat. Be sure to let space between the ingredients so they cook evenly.
🧠
Helpful tip: Do not press the ingredients together too tightly. The cheese needs space to sear around the edges without releasing liquid.
3. Apply the glaze
Brush the skewer generously with the mustard and honey mixture on all sides. Repeat this application halfway through cooking to intensify the flavour.
4. Preheat the pan
Heat the pan over medium-high heat for at least 5 minutes. A good initial temperature is key to effectively searing the cheese without it sticking or breaking.
🔥
Technical note: If using an induction cooker, start with medium-high power (level 7-8 out of 10). If using a stove or grill, wait until you see a slight smoke.
5. Cook the skewers
Place 2-3 skewers at a time on the hot pan. Cook for 2-3 minutes on each side, without moving them prematurely. The halloumi should sear and be marked with the WAVE™ grooves without melting.
🍽️
Important: If you overcook it, the halloumi can become too hard. It is preferable to achieve a superficial sear while keeping the centre tender.
6. Prepare the balsamic reduction
While the skewers are cooking, reduce the balsamic vinegar with sugar in a small pan over medium heat until it has a syrupy texture. Remove from the heat and keep warm.
7. Final plating
Serve the skewers on a large, warm plate. Add a few drops of the balsamic reduction to each skewer or around the plate. Garnish with fresh thyme or a few flakes of salt.
Result
A gourmet, vegetarian and balanced dish. Halloumi cheese, with its crispy texture on the outside and soft on the inside, pairs perfectly with the sweetness of the peach and the caramelised acidity of the balsamic vinegar. Ideal as a sophisticated starter, light main course or for a meat-free dinner that doesn't compromise on flavour or presentation.