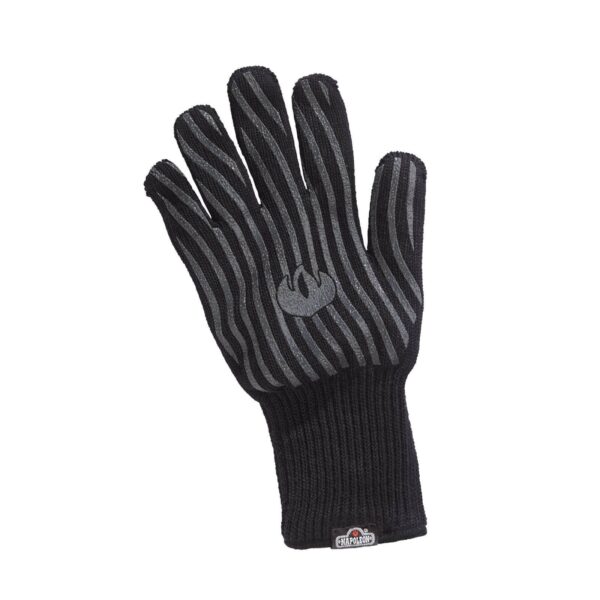
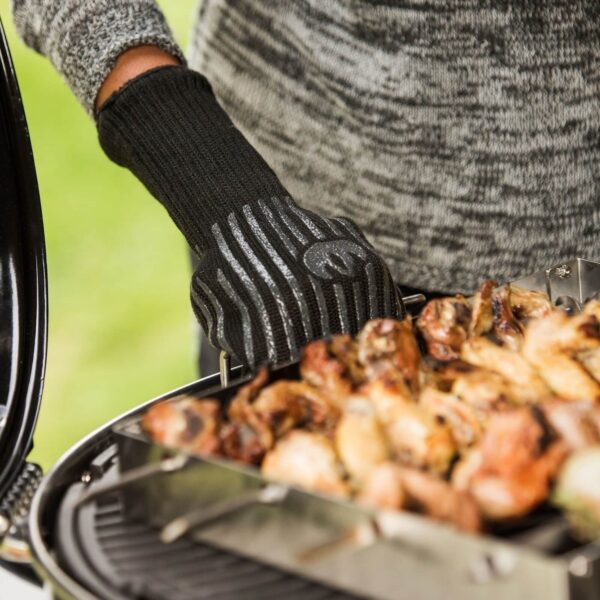
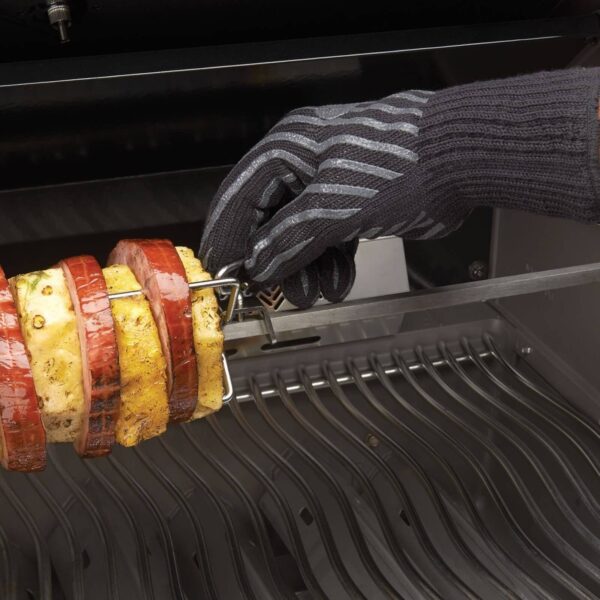
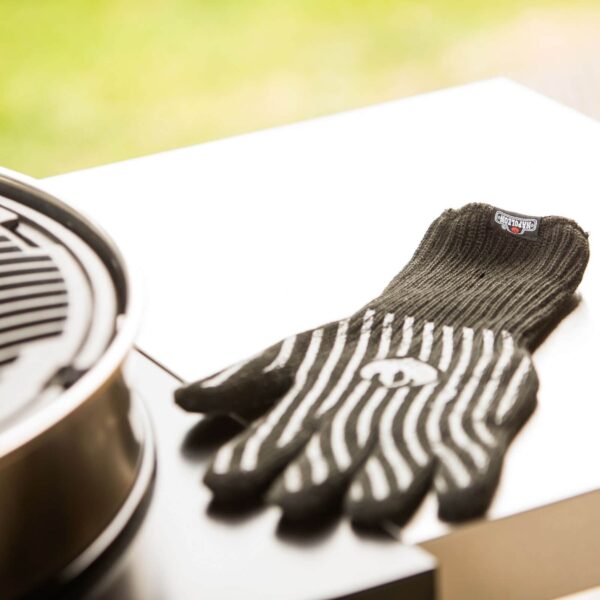
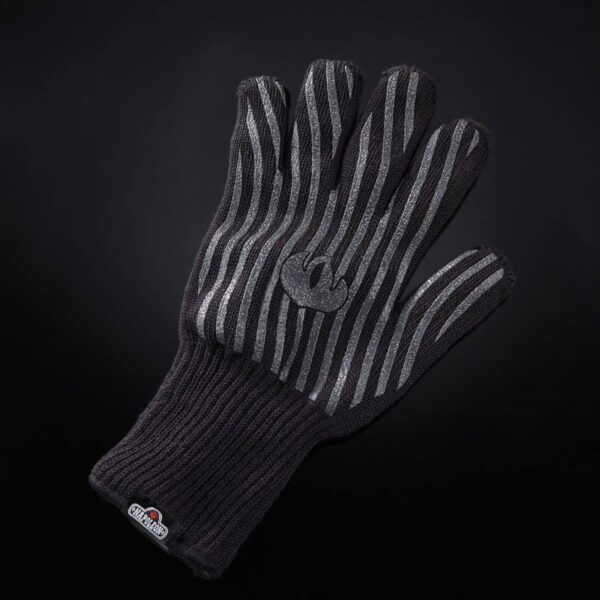
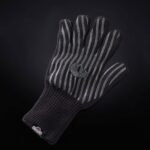
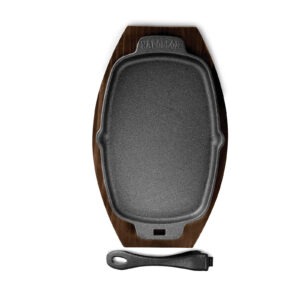
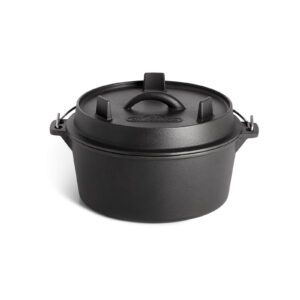
The Barbecue Glove – Napoleon is designed for those who do not compromise on safety or control when working with high temperatures, whether in front of the barbecue in the garden or in front of the oven at home. The combination of aramid fibres for thermal protection, cotton inner lining for comfort and non-slip silicone outer coating for grip creates a very solid balance between insulation, feel and precision. Its ambidextrous five-finger design increases dexterity for holding grills, griddles and pans, maintaining natural and safe handling with every movement.
🧱 Materials and construction
This glove uses aramid fibres in the main layer to provide a heat barrier that does not easily deform when exposed to the high temperatures typical of barbecues and ovens. In contact with the skin, a soft cotton fabric promotes a pleasant feel even during long cooking sessions, helping to dissipate the heat that builds up with continued use. The outer surface incorporates a raised silicone pattern that acts as a micro-anchor network, increasing friction on handles, grills and trays. This layered architecture makes the glove robust on the outside, comfortable on the inside and efficient in transferring fine movements.
🛠️ Key features
The glove provides a secure grip thanks to its non-slip silicone coating, reducing the risk of hot utensils slipping just when you need a firm grip. The five-finger design maintains the precision needed to turn small pieces, open thermometers or reposition diffusers without clumsiness. The cotton interior adds comfort and helps keep the hand dry, while its ambidextrous design prevents confusion and unnecessary changes during service.
🔥 Performance or efficiency
With heat resistance up to 500 °C, the glove is ready to work near intense embers, preheated grills, and trays fresh out of the oven. This capability translates into useful windows of opportunity to grasp, move or adjust equipment and food without stress. As with any thermal equipment, common sense matters: protection is not infinite and it is advisable to avoid prolonged direct exposure to flames, as well as to remove the glove if the sensation of heat increases rapidly.
🎨 Design and aesthetics
Its black and grey finish fits in with minimalist or rustic setups alike, providing a professional and clean look. The visible silicone pattern reinforces that technical and functional look, reminding you at a glance of its purpose: to maximise grip. The one size makes it easy for different people to use it in the same cooking session without worrying about adjustments, and the five-finger format preserves the naturalness of the gesture when handling tools of different sizes.
🔗 Compatibilities and accessories that fit
It works with charcoal barbecues, gas barbecues and smokers, as well as griddles and domestic ovens. The silicone texture grips securely onto cast iron handles, enamelled trays, grills and stainless steel utensils, allowing for short, controlled transfers between heat sources and resting surfaces. If you use tongs, spatulas, griddle hoods or thermometers, the glove complements these tools by offering control during the hottest transitions.
🍖 Benefits for different cooking styles
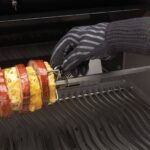
In direct grilling, it allows you to move preheated grills or griddles firmly, make quick turns and reposition pieces without losing the point. In low & slow cooking, the combination of sensitivity and safety is appreciated when adjusting deflectors, trays with liquids or rib racks. In grill cooking, it provides stability when lifting hoods or handling flat griddles; and in indoor cooking with an oven, it makes it easier to remove hot dishes and moulds while maintaining the dexterity of all five fingers for precise support where you need it.
🛡️ Safety features and ease of use
The non-slip silicone pattern reduces micro-movements that often cause accidents when a surface is very hot or slightly greasy. The cotton interior provides a soft feel and helps keep your hand comfortable during prolonged tasks. The ambidextrous design simplifies operation: whenever you need a protected hand, the glove works without having to check whether it is the right or left hand. To maintain its performance, it is important to avoid moisture during use and limit direct contact with flames.
🏠 Applications beyond the barbecue
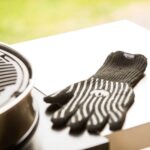
Beyond the grill, the glove is suitable for domestic ovens, wood-burning ovens, fireplaces and hot work surfaces. If you enjoy baking, working with baking trays or handling heavy containers fresh out of the oven, its combination of grip and precision makes movement more natural and predictable, reducing that moment of hesitation between opening the door, removing the tray and placing it safely.
Use and Maintenance
This use and maintenance plan is designed to help you get the most out of the glove's
thermal protection,
grip and
precision, whether you're barbecuing, using the oven or cooking on the hob. Remember that a heat-resistant glove does not offer indefinite protection: its function is to give you safe windows of time to grasp and move hot items, not to expose your hand to open flames continuously. Keeping the glove dry and ensuring a good fit are key to maintaining performance.
Before use
- Check that the glove is completely dry, with no cuts, open seams or raised silicone areas.
- Check that the one size fits you comfortably, covers your wrist and allows you to close your hand without excessive slack.
- Remove rings and bracelets that could get caught and make sure your hands are dry and clean.
- Prepare the environment: clear the transfer route from the grill/oven to the support surface and have the tongs or spatulas you are going to use handy.
- If you are going to move heavy items (griddle, cover), practice the grip when cold to memorise the movement and the grip point.
Fitting and adjustment
- Insert your hand completely until the glove hugs your wrist; adjust the fabric to avoid internal folds.
- Take advantage of the fact that it is ambidextrous: use it interchangeably on whichever hand gives you the most confidence for each manoeuvre.
- Perform a quick grip test by holding a cold tool to ‘feel’ the silicone relief before going into the heat.
During cooking
- Use it for specific grips and transfers; avoid keeping your hand over flames or heating elements continuously.
- Hold utensils by their handles or designated areas to reduce heat transfer.
- For bulky or slippery loads, use both hands and support the weight close to your body for stability.
- If you notice increasing heat inside, release and rest for a few seconds before trying again.
- Avoid getting the glove wet: moisture reduces insulation. If it gets wet with water, brine or grease, stop and dry it before continuing.
- Be careful with sugars and icings: when they caramelise, they become sticky; avoid prolonged direct contact with these surfaces.
Recommended gripping techniques
- Pincer: thumb vs. other fingers for handles and grips.
- Cradle: lower palm for cast iron bases or trays.
- Press: entire palm on lids or flat plates.
- Claw: five fingers open for grids, distributing the weight. The silicone relief improves the friction coefficient in all these techniques.
Common safe manoeuvres
- Racks and deflectors: lift from two symmetrical points to avoid twisting.
- Ironing boards: anticipate the sway; support and reposition in a single movement.
- Aluminium foil/indirect heat: when opening hot packages, make a steam window first and wait 2–3 seconds before fully exposing.
After cooking
- Let the glove cool down in the air before removing it.
- Check for areas of wear: polished silicone, singed fibres or loose seams.
- If you detect strong smells of smoke or grease, ventilate the glove in a dry, shaded place.
Cleaning (details)
- Daily/surface cleaning: remove debris with a slightly damp cloth and mild detergent. Avoid abrasive scouring pads and aggressive solvents.
- Grease stains: remove excess with absorbent paper; apply diluted neutral soap, scrub with a soft brush and remove with a damp cloth.
- Odours: air for 12–24 hours in a ventilated area; if they persist, sprinkle a little bicarbonate of soda inside, let it work and shake out the next day.
- Drying: always in the open air, in the shade, until all moisture has been removed. Do not use an oven, grill, radiator or tumble dryer.
Storage and shelf life
- Store the glove in a dry, ventilated place without crushing, preferably hanging or flat, with no weight on top.
- Avoid direct sunlight and continuous heat sources that degrade materials over time.
- Rotate the glove between hands for more even wear on the silicone.
- Replace when you notice: significant loss of grip, areas of aramid that have hardened or become shiny due to heat, peeling silicone, or open seams.What not to do (to preserve performance)Quick checklist before lighting
- Glove dry and undamaged.
- Clear path to the support surface.
- Tools ready (tongs, spatula, tray).
- Grip tested in cold conditions if moving heavy pieces.
- Use both hands when necessary.
- Take a thermal break if you feel internal heat.
-
- Do not use as a permanent shield against open flames.
- Do not handle boiling liquids or oils if the glove is wet or in poor condition.
- Do not expose the glove to chemicals or solvents.
- Do not twist or wring when cleaning; this could deform the layers and silicone.
🍽️ Classic ‘low & slow’ recipe
The
low & slow method seeks to transform collagen-rich cuts into juicy, tender pieces, enhancing the flavour with mild smoke and glazes that set at the end. Here, the
Napoleon Barbecue Glove provides safety and control at critical moments: lifting preheated grates, moving drip trays, handling hot foil or glazing without losing precision thanks to its
five fingers and
silicone grip. This allows you to focus on the temperature curve and the evolution of the bark, without distractions.
🍖 Classic ‘low & slow’ rib recipe
Serves 4–6
Ingredients
- 2 racks of pork ribs (membrane removed)
- 3 tablespoons dry rub (salt, pepper, paprika, garlic powder, brown sugar)
- 200 ml apple juice or clear stock
- 200 ml favourite BBQ sauce
- Wood chips (apple or oak), optional
Preparation
- Prepare the ribs: pat the meat dry and rub the seasoning on both sides.
- Stabilise the barbecue: set it to indirect cooking at 120–130 °C. Add wood chips if you want a smoky flavour.
- Cooking: place the racks bone-side down. Cook for 2.5–3.5 hours, basting lightly with juice/stock every 45–60 minutes.
- Wrapping (optional): wrap in foil with a splash of liquid and cook for a further 1–1.5 hours until the meat is very tender.
- Glazing: increase the temperature to 160–175 °C, unwrap, brush with BBQ sauce and return to the oven for 10–15 minutes to set the glaze.
- Serving: let rest for 10 minutes and cut between the bones.
Where the glove shines
- For moving racks and hot trays with precision.
- When removing the cover without slipping thanks to the non-slip silicone.
- When turning cast iron dishes with controlled movements using five-finger dexterity.
Tips
- If you want more juiciness, add an extra splash of liquid when wrapping.
- Monitor the dome temperature and the internal temperature of the meat for consistent texture.
🥦 Vegetarian variation of whole cauliflower BBQ ‘low & slow’ with smoky glaze
Serves 4
Ingredients
- 1 large whole cauliflower (outer leaves removed, base trimmed)
- 2 tablespoons olive oil
- 2 teaspoons fine salt
- 1 teaspoon ground black pepper
- 1 teaspoon garlic powder
- 1 teaspoon ground cumin
- 1 teaspoon paprika (sweet or smoked)
- 1 teaspoon brown sugar (optional)
- 120–150 ml BBQ sauce or honey/syrup + mustard + dash of vinegar mixture
- Wood chips (optional)
Preparation
- Prepare the barbecue: indirect cooking at 160–170 °C; add wood chips if you want smoke.
- Season: mix salt, pepper, garlic, cumin, paprika and sugar. Brush the cauliflower with oil and sprinkle the seasoning over the entire surface.
- First phase: cook for 60–90 minutes on the indirect side, until a skewer enters the stem with slight resistance.
- Glaze: brush with BBQ sauce (or the honey/syrup + mustard + vinegar mixture) and cook for another 15–20 minutes to set the glaze.
- Finish (optional): increase the temperature to 200–220 °C or apply a touch of direct heat for 2–5 minutes for an attractive exterior.
- Rest and serve: let rest for 5–10 minutes, cut into wedges and finish with fresh herbs or a touch of lemon/yoghurt/tahini.
Where the glove shines
- Remove trays or adjust racks without slipping thanks to the silicone.
- Glaze and turn with fine control using the five-finger design.
- Open foil or heat domes safely and precisely.
Tips
- If the stem is still firm, extend in blocks of 10–15 minutes.
- For extra texture, finish on a hot griddle or cast-iron pan for 1–2 minutes per side.