

Sale!

Pack TravelQ Pro 285 Electric Barbecue – Napoleon

Original price was: 676,95 €.Current price is: 549,00 €. (VAT inc.)Save 127,95 

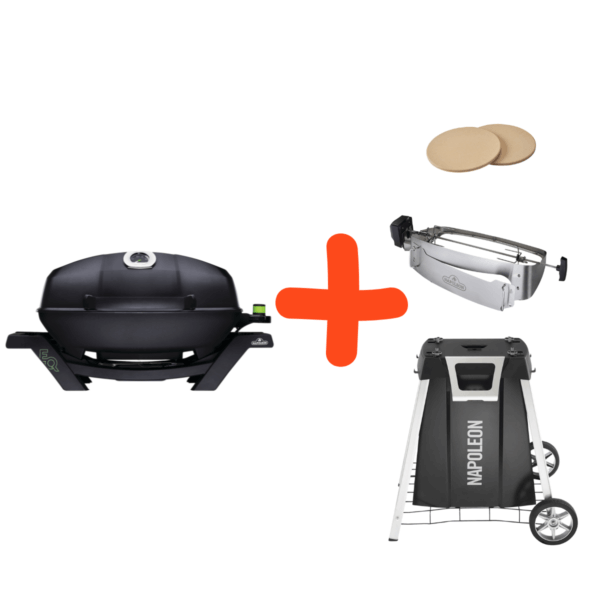
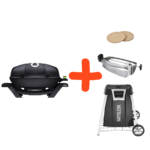
✅ Complete package, electric barbecue + trolley + oven/rotisserie door + 2 pizzastones.

2.2 kW power for stable searing and baking.

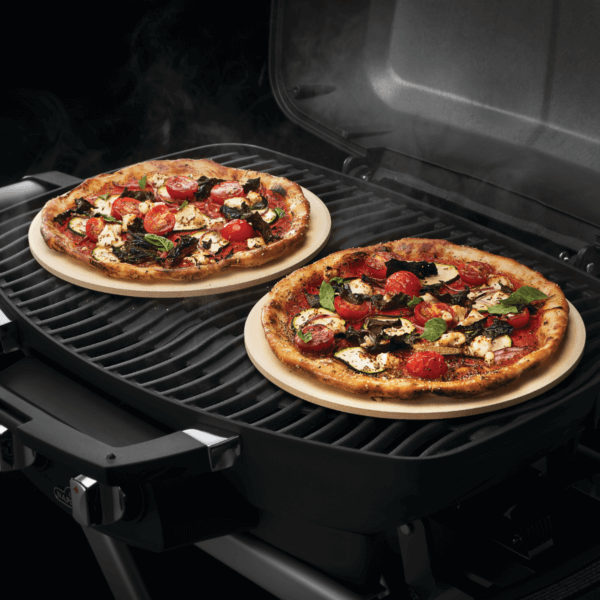
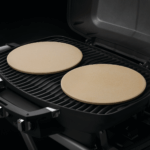
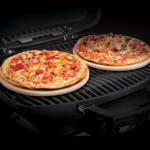
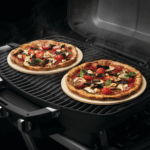
Surface 54×37 cm, fits two 25 cm stones at the same time.

230 V burner with up to 5.5 kg load.

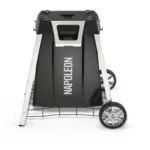
✅ PRO285 trolley with shelves, hooks, spice rack and bottle opener.

✅ Premium materials: cast aluminium, enamelled gusa, stainless steel, cordierite.

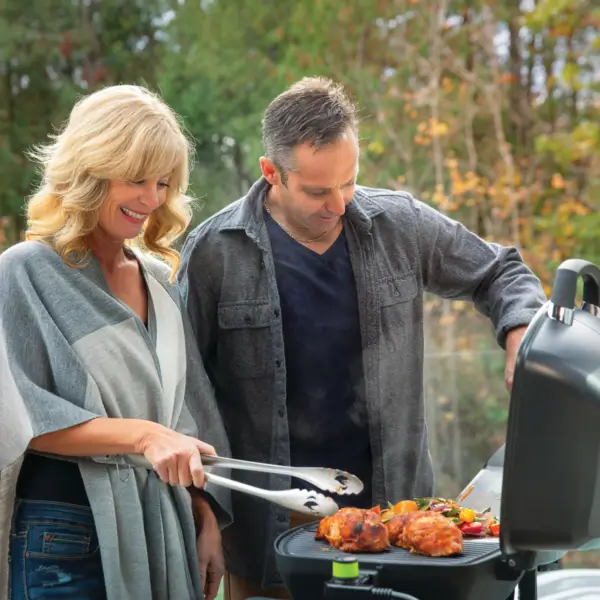
✅ Ideal for balcony/terrace, no gas or open flames.

TravelQ Pro 285 Portable Barbecues - Napoleon

299,00 
Clear

Rotisserie - Napoleon

99,95 
Clear
SKU: PRO285E-BK-CE-Pack Categories: ,
Métodos de pago

This pack is a clear proposition: a compact electric station that cooks “for real” on the balcony, terrace or campsite, without gas cylinders or open flame. The TravelQ PRO285E provides the stable heat and the cast aluminium body; the official trolley raises the ergonomics with shelves, spice rack and bottle opener; the extension of the garraum with oven door turns the set into a “mini oven” for dough; and the rotisserie set adds roasting to the spit. The finishing touches are two 25 cm round stones that fit into the TravelQ for baking pizzas and rolls on a dry base. It is, in essence, a modular unit where every element is designed for the PRO285 series, with clean fit and materials designed for the outdoors.

🧱 Materials and construction

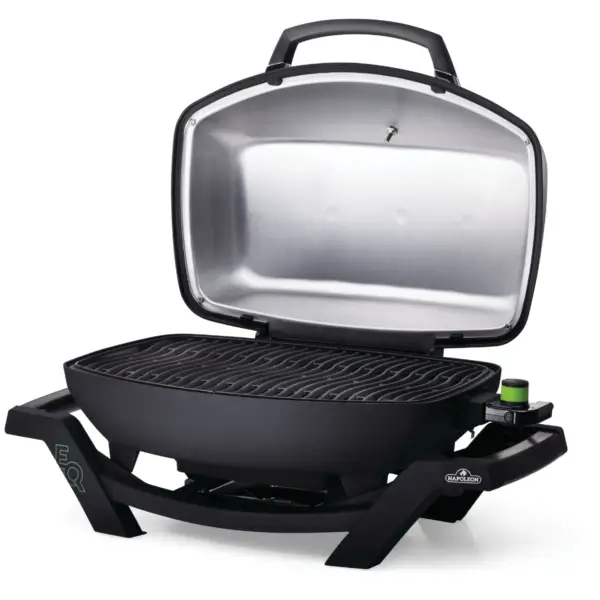
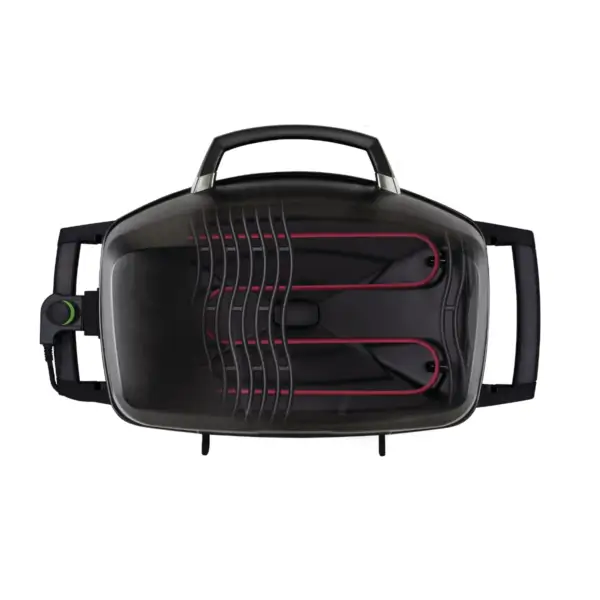
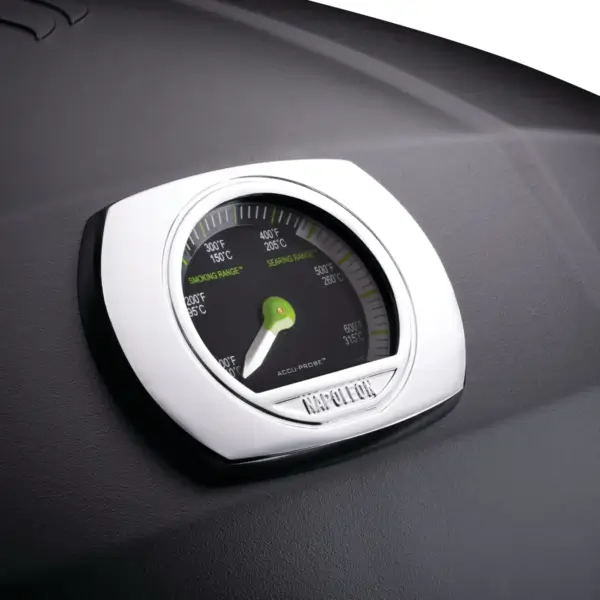
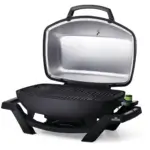
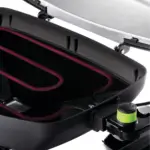
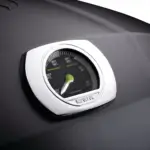
The heart of the pack is the TravelQ PRO285E, with a cast aluminium bowl and lid and a high lid design that offers more usable volume; the structure is double-walled, so the chamber conserves and makes better use of the available electrical energy. On the grill sit the porcelain-coated cast iron WAVE grates, thick pieces that distribute the heat evenly and can be removed in two parts for handling and cleaning. All this is completed by an ACCU-PROBE thermometer in the lid and continuous power control via thermostat.

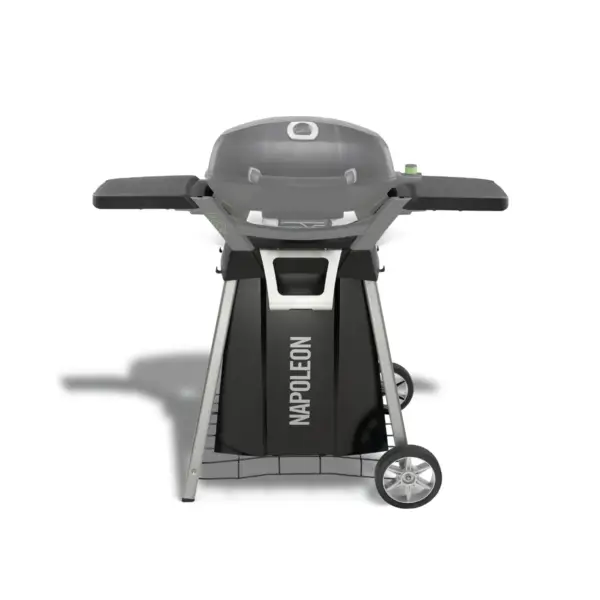
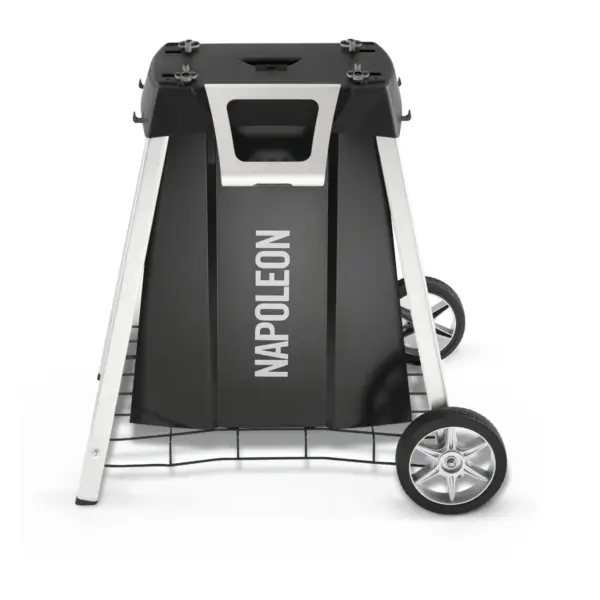
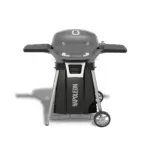
The official trolley included in the pack is made of a combination of cast aluminium, coated steel and stainless steel details. This mix allows for a light but stable assembly, with large wheels to move it around and integrated accessories to tidy up the workstation. In product figures, this stand measures 77 × 53 × 71 cm and weighs 13 kg, data that help visualise the terrace footprint and ease of transport.

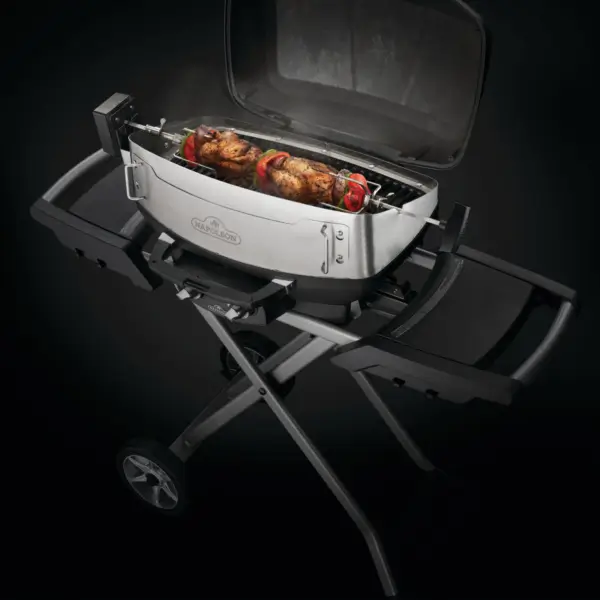
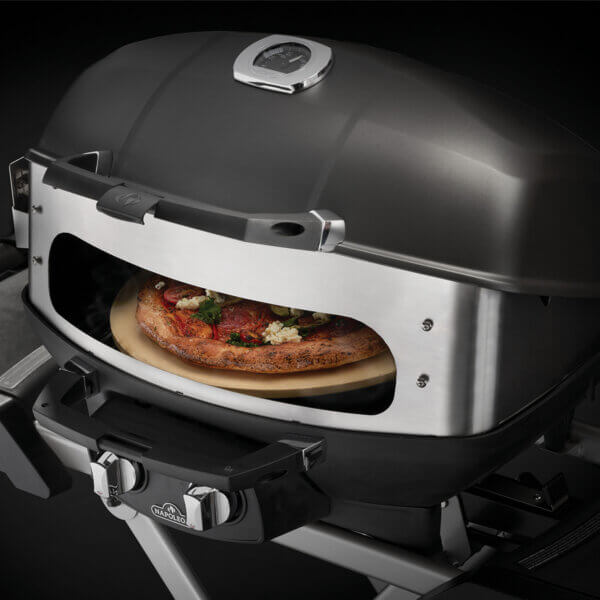
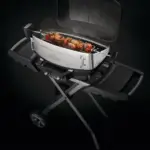
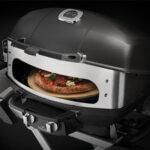
To close the chamber and enable the rotisserie, the “heavy duty” set provides a stainless steel garraum extension with a removable front door. The spit has an 8 mm square cross-section and is fitted with two forks and a 230 V motor with a 1.8 m cable. The load capacity of the set is specified at up to 5,5 kg, and the extension module itself has dimensions of approximately 54,5 × 37 × 19 cm.

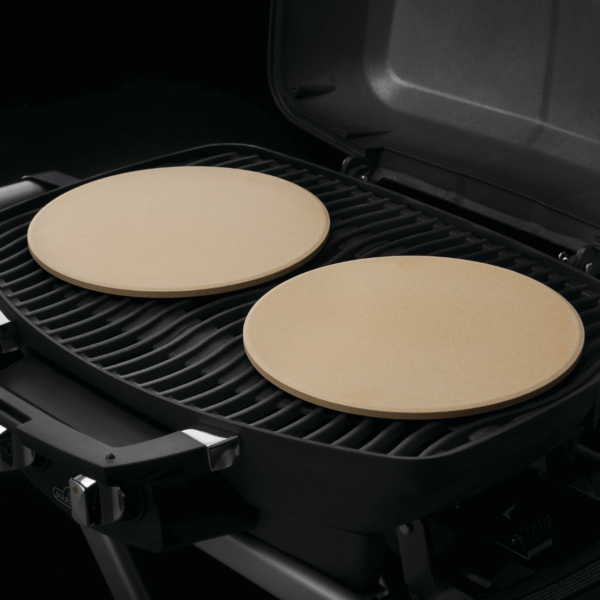
The two pizza stones in the pack are made of cordierite, a porous, high-temperature stable material that promotes the evaporation of moisture at the base of the dough. Each pizza stone is round, 25 cm in diameter and 8 mm thick; the set weighs approximately 1,81 kg. They are placed directly on the grill and, according to the specification, a preheating of about 30 minutes with the lid closed is recommended before baking.

⚡ Power and thermal performance

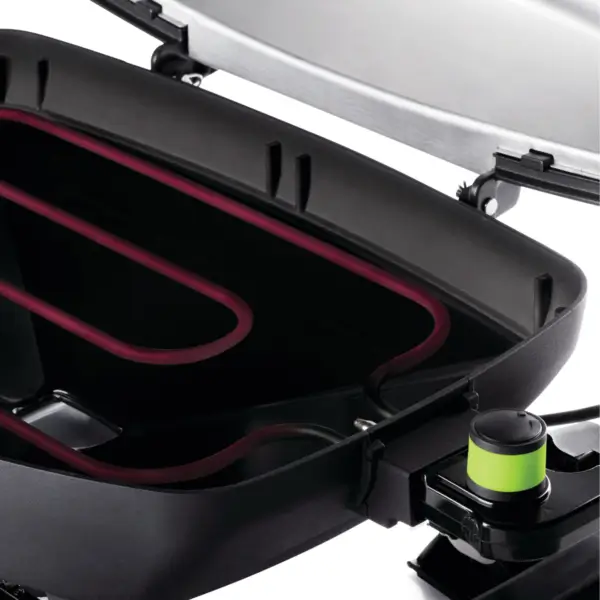
The TravelQ PRO285E advertises 2.2 kW of power (2200 W) from a single heating element, with a heating element design arranged in the bowl to better distribute the heat. This level of power – in combination with the double wall – allows the chamber to preheat and sustain stable temperatures, and the cast iron grid helps transfer and retain heat in contact with the food. Temperature control is provided by a continuous thermostat, and chamber heat monitoring is supported by the lid thermometer.

When the garraum extension with its front door is installed, the system reduces heat losses when introducing or removing dough. This additional “seal”, designed for the TravelQ, is key for baking such as pizza, because it minimises the temperature drop that would occur in the chamber if the entire lid were opened. The manufacturer presents this module precisely as an accessory that turns the TravelQ into a compact rotisserie and pizza oven, with the added bonus of uniformity provided by the extra volume.

🎛️ Functionalities that make the difference

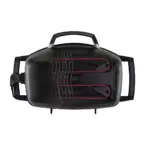
The body of the PRO285E combines simple but effective functions: easy-to-adjust heat control, lid readout and WAVE grids that leave the characteristic mark. The grill is accompanied by integrated side handles for carrying and, according to the official data sheet, the thermostat and heater assembly are removable for easy cleaning of the drip tray. This practical approach is consistent with its portable approach, while maintaining an all-black aesthetic with an urban profile.

The stand or trolley provides functional value: working height, removable side shelves to extend the surface area, stainless steel condiment tray, utensil hooks and integrated bottle opener. In addition, it offers storage behind the front cover and wheels suitable for different surfaces, which helps to relocate the set on the terrace as needed. All of this is specifically designed to fit with the TravelQ PRO285/PRO285E, so that the finished set “looks” like a unified station.

The rotisserie set includes everything needed to assemble the spit and work with centred pieces: square spit, two forks, T-grip, stop ring and the extension structure itself with its door. The motor, with 230 V power supply and 1.8 m cable, is designed to provide constant rotation within the declared load, and the anchoring is already dimensioned for the TravelQ geometry.

Compatibility and usable space

The specified cooking surface for the PRO285E is 54 × 37 cm, and this rectangle can accommodate both the two 25 cm pizzastones or, if preferred, one of the stones and a free area for other cooking. As each component in the pack is certified to be compatible with the 285 series, both the stand and the rotisserie module fit together directly; in the case of the stand, the manufacturer itself marks it as compatible with PRO285 and PRO285E, and in the case of the rotisserie, compatibility is explicitly listed with PRO285 and TravelQ variants. The practical result is that the chamber closes and ventilates as it should, without any adaptation “inventions”.

🧠 Design and aesthetics

The overall design maintains a sober visual language: an all-black grille with a high cast aluminium cover and WAVE louvres, plus a stand that replicates lines and proportions so that, once mounted, the TravelQ does not look like a “stand-alone” unit but like a complete unit. The garraum extension module adds a front door that adds a very “pizzeria” gesture, as well as being a functional piece to close the camera. The combination of metallic materials – cast aluminium, coated steel and stainless steel – lends a restrained shine and a sense of robustness without being overly bulky.

🍕🍗 Culinary versatility: pizza, chicken on a spit and baked goods

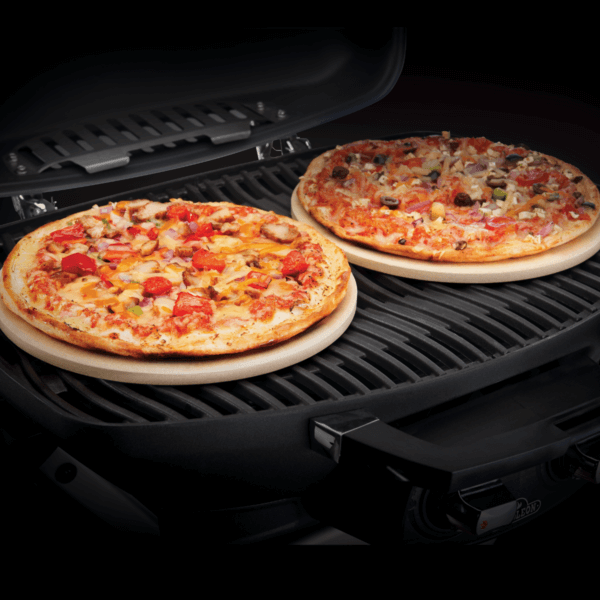
The cordierite stones are used to produce doughs that are dry on the bottom and light on the inside. The set description states that the two 25 cm discs are designed for the TravelQ and recommends their use after preheating for about 30 minutes with the lid closed; their porosity helps to draw out moisture, which results in a crispier finish. At the same time, the door extension allows the pieces to be inserted and removed without draining the heat from the chamber, an important detail for pizzas or flat breads.

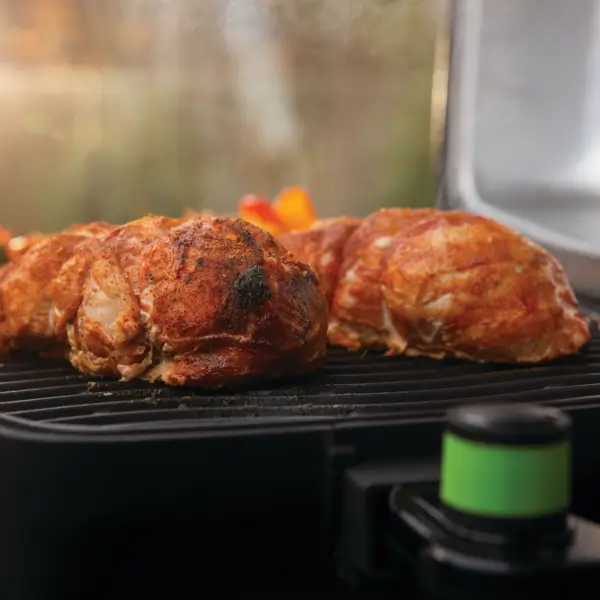
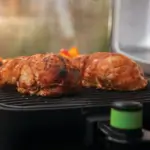
When the rotisserie is installed, the appliance accepts pieces within the indicated load of up to 5.5 kg, driven by a 230 V motor. The 8 mm square spit and the steel forks ensure stable clamping and turning, and the raised chamber due to the enlargement distributes the heat better around the food. This set-up is designed by the manufacturer itself as the step to “convert” the TravelQ into a rotary and pizza oven, without leaving the compact platform.

🛡️ Safety and ease of use

The electrical approach avoids handling bottles and open flame, so that use is simplified to having an earthed socket and working with the lid closed to stabilise the heat. The PRO285E’s own data sheet underlines that this model is suitable for balconies or terraces due to its compact format, its integrated handles for moving it and the absence of combustion. The stand, meanwhile, provides stability, height and tidiness, with integrated accessories that reduce the “jostling” of utensils around the grill.

On the rotisserie and front door side, the elements are stainless steel and designed for food use and easy cleaning, with the usual warning to treat the motor as electrical equipment: do not immerse, keep away from hot grease and operate within its load capacity. The 1.8 m cable and 230 V power supply are documented on the set’s data sheet.

🏕️ Beyond the barbecue

The official descriptions of accessories and stones make the TravelQ a valid base for quick baking, from pizzas and flammkuchen to bread rolls; the module with door is directly oriented to that purpose, and the size of the stones is chosen to fit in the chamber of the 285 series. In terrace format, the possibility of working with two discs at the same time makes it easy to prepare “batches” without changing equipment, and the combination with the stand makes the whole thing feel like a compact and tidy station.
TravelQ PRO285E (electric barbecue)

Step-by-step instructions
  1. Connect to a grounded outlet and ensure that the cable does not touch any hot areas.
  2. Select medium-high power to preheat; adjust to medium for baking/pizzas if the dough burns on the bottom.
  3. Always cook with the lid closed for thermal stability.
  4. To sear meat, work on the front third of the grill and do not overload it with pieces.
Safety
  • Outdoors or in a well-ventilated area.
  • Do not cover air vents.
  • Keep children/pets away and use heat-resistant gloves.
Cleaning
  • Unplug and allow to cool down.
  • Grills (enamelled cast iron): brass/nylon brush while the grill is warm; damp cloth afterwards.
  • Tank/lid: damp cloth, no abrasives.
Storage
  • Cover if left outdoors.
  • Cable without pinches and with the plug protected.

2) PRO285 trolley (stand with shelves)

Use – step by step
  1. Tighten screws after first use; check periodically.
  2. Ensure that the TravelQ is firmly screwed in place.
  3. Use the shelves for mise en place and the hooks for utensils.
Safety
  • Surface must be completely level; lock wheels if there is a slope.
  • Do not overload the shelves with excessive weight.
Cleaning
  • Wipe with a damp cloth and mild soap; dry to prevent marks.
  • If coated, you can use a specific renovator occasionally.
Storage
  • Under cover when possible; avoid prolonged puddles.
  • Check fasteners after seasonal changes.

3) Oven + rotisserie kit (clamp with door, skewer, forks, motor)

Use – step by step
  1. Assemble the clamp with door to close the chamber and improve baking.
  2. Place the spit supports and test the rotation without load.
  3. Skewer the piece, centre the weight and tighten the forks.
  4. Place the drip tray under the piece.
  5. Plug in the 230 V motor; cook with the door/lid closed most of the time.
  6. Check the internal temperature with a probe.
Safety
  • Keep the motor away from grease and rain.
  • Do not touch the skewer when hot without gloves.
  • If the rotation slows down, turn off and re-centre the piece.
Cleaning
  • Skewer/forks: hot water and soft scouring pad; dry immediately.
  • Clamp/door: damp cloth; avoid abrasives to prevent scratching.
  • Motor: do not immerse; wipe the casing with a dry cloth only.
Storage
  • Motor and spit on a dry shelf; small parts in a bag or box.
  • Lightly grease the spit if it is not used for months.

4) Two pizza stones (cordierite Ø 25 cm)

Use – step by step
  1. Place them on the grill when cold.
  2. Preheat for 30 minutes with the door/lid closed.
  3. Slide the pizza in with a peel or cardboard; bake for 5–8 minutes.
  4. Allow the stone to cool before removing it.
Safety
  • Do not wet the hot stone (thermal shock).
  • Wear gloves when handling.
Cleaning
  • Dry: scraper/brush.
  • If there are stains, bake them empty to ‘burn’ them off; do not use soap (it will be absorbed).
Storage
  • Vertically or horizontally with a separator, in a dry place.
  • Do not stack heavy items on top.

🧪 Quality control and troubleshooting

  • The skin is not crispy: insufficient preheating or moisture. Increase the power at the end and leave the door closed.
  • Dry breast: you overcooked it. Aim for 74 °C and rest for 10–15 minutes.
  • Watery pizza: too much sauce or cold stones. Use drained passata and preheat for 30 minutes.
  • The skewer gets stuck: the piece is off-centre. Turn off, readjust the forks and balance.
  • Fat accumulation: always use a tray under the rotisserie and empty it halfway through cooking if necessary (with care).

🧽 Regular maintenance of the pack (checklist)

  • Weekly (frequent use): clean the grills and empty the tray; quickly check the trolley.
  • Monthly: check the trolley's screws; inspect the cable and plug.
  • Quarterly: gently descale the tub/lid; check the forks/skewer.
  • Off-season: cover, clean and dry stones, store motor indoors.

🥖 Extra suggestions (if you want to keep playing)

  • Express flatbread: same stone, thin dough, 3–4 min; finish with oil and za'atar.
  • Roasted vegetables: peppers, courgette and onion; door closed, 12–15 min.
  • Dessert: sliced pineapple 3–4 min per side; maple syrup when removed.
Napoleon TravelQ PRO285E
  • Power: 2.2 kW / 2200 W; 1 heating element.
  • Cooking surface: 54 × 37 cm; enamelled cast iron grates.
  • Dimensions
    • approx. (W×D×H): 74 × 47 × 38 cm
    • with lid open 64 cm high
  • Lid with thermometer; bowl and lid in cast aluminium.
Trolley / Untergestell PRO285
  • Dimensions (W×D×H): 77 × 53 × 71 cm
  • Materials: cast aluminium, coated steel, stainless steel.
  • Compatible with: Napoleon TravelQ PRO285.
  • Extras: 2 shelves, hooks, spice rack, bottle opener.
Extension claw + Rotisserie
  • Includes: claw with oven door, square skewer, 2 forks, 230 V motor (1.8 m cable), support, T-grip, stop ring.
  • Max. load: 5.5 kg.
  • Approx. dimensions (W×D×H): 54.5 × 37 × 19 cm
  • Compatible with: TravelQ PRO285.
Pizza stones — 2 pcs
  • Ø 25 cm, 8 mm thick; cordierite.
  • Approx. set weight: 1.81 kg (item); 2.26 kg with packaging.
  • Use: preheat for ~30 min with lid closed.

🍗🍕Crispy rotisserie chicken + two mini stone-baked pizzas

Serves: 3–4 generous portions Total time: 90–110 min (with optional brine: +8–12 hours in the refrigerator) Cooking goal: Chicken at 74 °C internal temperature in the breast (80–82 °C in the thigh), pizzas with a dry base and airy edges.

Ingredients (measured and with options)

For the chicken
  • 1 whole chicken weighing 1.6–1.8 kg
  • 2 teaspoons fine salt + 1 teaspoon black pepper
  • 1 tsp garlic powder, 1 tsp onion powder
  • 1 tsp sweet or smoked paprika
  • 1 tbsp dried herbs (thyme/rosemary/oregano)
  • 1 tbsp olive oil
Quick brine (optional, highly recommended)
  • 1 L cold water, 60 g salt, 30 g sugar
  • 2 bay leaves, 6 peppercorns
For two pizzas (Ø 25 cm)
  • Quick option: 2 thin 25 cm pizza bases
  • Express homemade option (1 hour): 300 g plain flour, 200 ml lukewarm water, 2 g dry yeast, 6 g salt, 10 ml extra virgin olive oil
Toppings
  • Margherita pizza: 120 g passata, 200 g mozzarella, salt, oregano, basil
  • Pizza 2 (choose): pepperoni or veggie (peppers/onion/mushrooms) + 100 g cheese to taste
Utensils in the pack
  • Rotisserie (skewer, forks, 230 V motor)
  • Extension with oven door
  • 2 cordierite stones, 25 cm
  • Drip tray, gloves, probe or instant thermometer

Suggested timeline (for a smooth process)

  1. The night before (optional): brine for 8–12 hours.
  2. T-60 min: remove the chicken from the refrigerator, dry and marinate.
  3. T-45 min: place stones and oven door in place; preheat the PRO285E to medium-high power with the lid closed.
  4. T-15 min: skewer the chicken, check that it turns freely.
  5. T-0: rotisserie chicken (55–75 min depending on size).
  6. Rest the chicken for 10–15 min; meanwhile, bake the 2 pizzas (5–8 min each).

Detailed preparation

1) Brine (optional but highly recommended)

Dissolve salt and sugar in water, add bay leaf and pepper. Immerse the chicken in the refrigerator for 8–12 h. Drain, dry thoroughly and do not add more salt to the marinade or adjust downwards.

2) Dry rub and skewering

Mix salt, pepper, garlic, onion, paprika and herbs with the oil to form a paste. Rub all over the chicken, including the cavity. Cross the wings behind the back and tie the legs if necessary to form a compact cylinder. Pass the skewer through the centre, secure with the forks by pressing into fleshy areas and tighten the screws. Check that the chicken is centred for stable rotation.

3) Assembling and preheating the barbecue

Place the two stones on the grills, leaving 1–2 cm of space between them and the walls to allow air to circulate. Assemble the extension with door. Turn on the PRO285E to medium-high power and preheat for 30 minutes with the lid closed; this saturates the chamber and stones with heat.

4) Rotisserie roasting (crispy chicken)

  • Place a tray under the chicken to catch juices and protect the heating element.
  • Motor at 230 V, door/lid closed most of the time.
  • Approximate time: 55–75 minutes depending on weight and ambient temperature. Start at medium-high power; if the skin browns too quickly, lower to medium.
  • Checkpoints: after 45–50 minutes, pierce the breast; when it reads 70–72 °C, you are in the final stage. For thighs, aim for 80–82 °C.
  • Tip for crispy skin: for the last 5–8 minutes, increase the power by one notch and leave the door/lid closed.
Remove, turn off the motor, remove the skewer with gloves and rest for 10–15 minutes on a tray. This resting period ensures maximum juiciness.

5) Stone-baked pizzas (while the chicken is resting)

  • If using shop-bought bases: spread with passata, salt and oregano lightly; add cheese.
  • If making quick dough: mix water + yeast, add flour and salt, knead for 5 minutes, rest for 30 minutes, divide into 2 balls, roll out thinly.
  • Open the oven door, slide the first pizza onto the hot stone.
  • Cooking: 5–8 minutes (depending on thickness and toppings) with the door/lid closed until the edges are golden and the cheese is bubbling. Repeat with the second pizza.
  • Finish with fresh basil and a drizzle of extra virgin olive oil.

6) Carving and serving

Remove the forks and skewer. Cut the thighs, drumsticks and wings and slice the breasts. Serve with the crispy skin wedges and accompany with the freshly baked mini pizzas.