Napoleon cooking trays are designed to completely transform the outdoor cooking experience. This line of specialised accessories responds to the diverse needs of amateur cooks and grilling enthusiasts looking for greater control, flavour and creativity when preparing everything from seafood and vegetables to elaborate vegetarian recipes. Made from high quality materials and designed with functionality in mind, these trays integrate seamlessly with the Napoleon Rogue and Freestyle grills, providing versatility without losing the essence of good grilling.
Each variant has a clear purpose and unique advantages to suit different cooking techniques and styles. What’s more, their application is not limited to the grill: they are also useful in indoor kitchens, ovens and wood fires, making them an indispensable tool all year round.
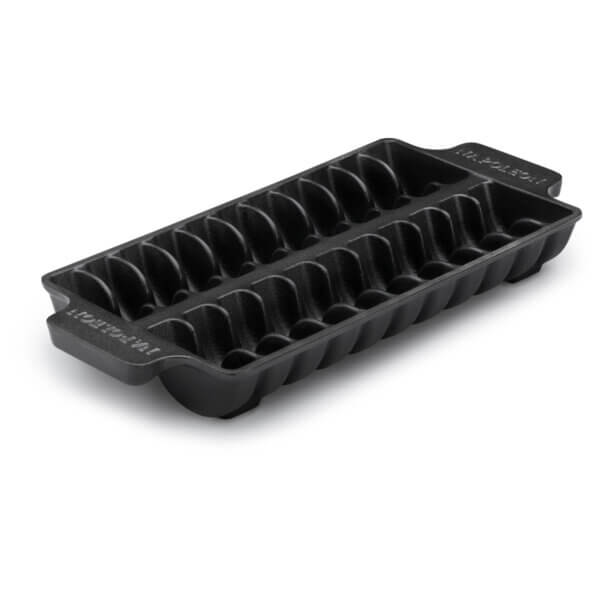
🔥 Cast Iron Jumbo Shrimp Tray: Perfect Cooking for Delicate Seafood
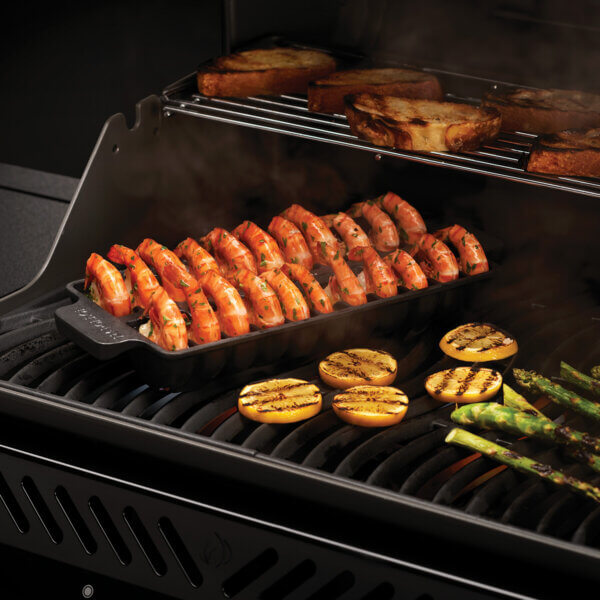
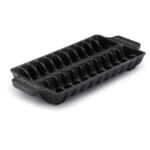
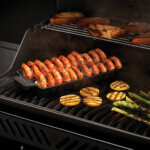
The enamelled cast iron pan is specially created for preparing seafood such as jumbo shrimp or prawns, cooking them evenly without the need to turn them over. With 22 individual cavities, each piece is cooked vertically, maintaining its shape and juiciness.
-
Holds up to 22 large shrimp or similar sized ingredients.
-
Closed design traps juices and prevents fats from causing flames.
-
Evenly distributed heat thanks to cast iron.
-
Porcelain enamel coating prevents food from sticking.
-
Ideal for cooking marinated seafood without the risk of losing flavour through dripping.
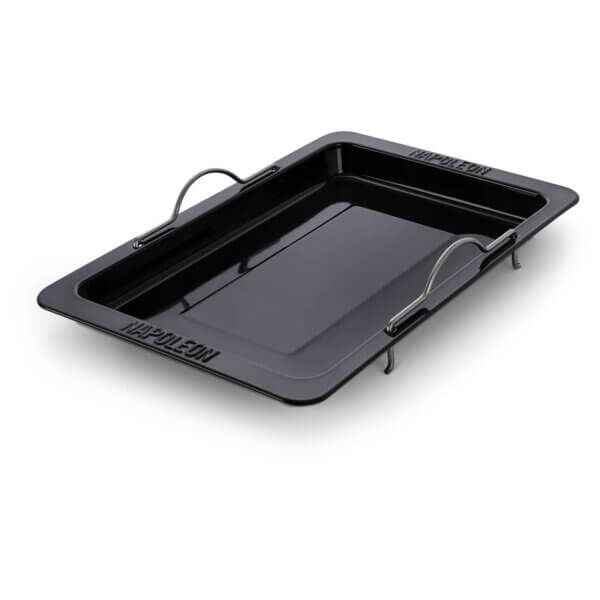
🍳 For Grilling: Pan Insert for Versatile Plates
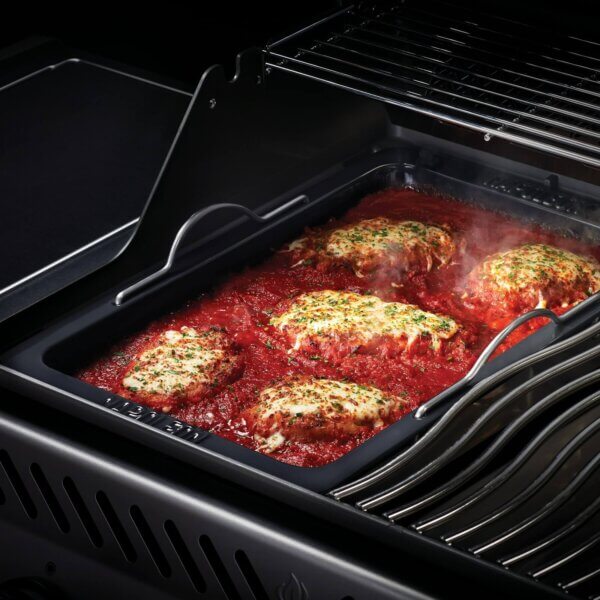
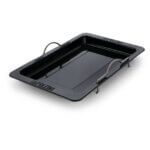
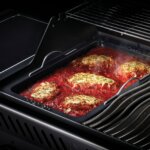
This steel insert with porcelain enameled surface directly replaces a grill grate, turning it into a flat cooking surface. Perfect for preparing eggs, vegetables, small meats or recipes with sauces.
-
Large surface allows you to cook delicate ingredients without dropping them.
-
Non-stick coating prevents food from sticking and makes cleaning easy.
-
Two sturdy side handles allow you to move the pan safely.
-
Compatible with Napoleon Rogue 425, 525, 625 and Freestyle 365, 425.
-
Can also be used as a drip tray by placing it under the grate.
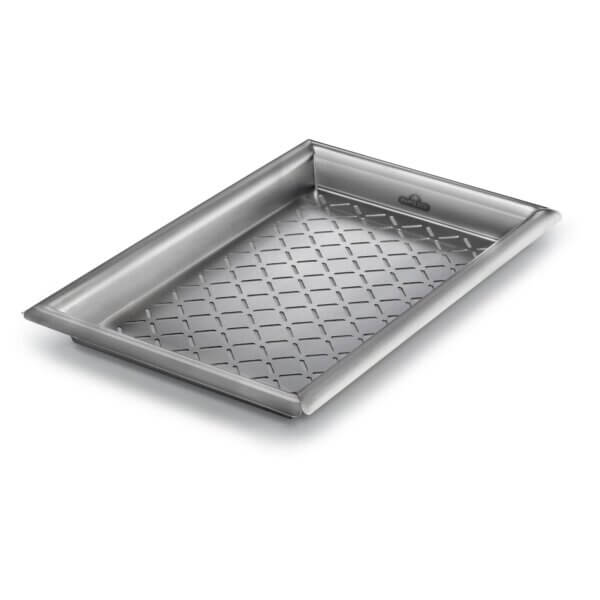
🥦 Stainless Steel Vegetable Tray: Healthy and Crisp Grilling
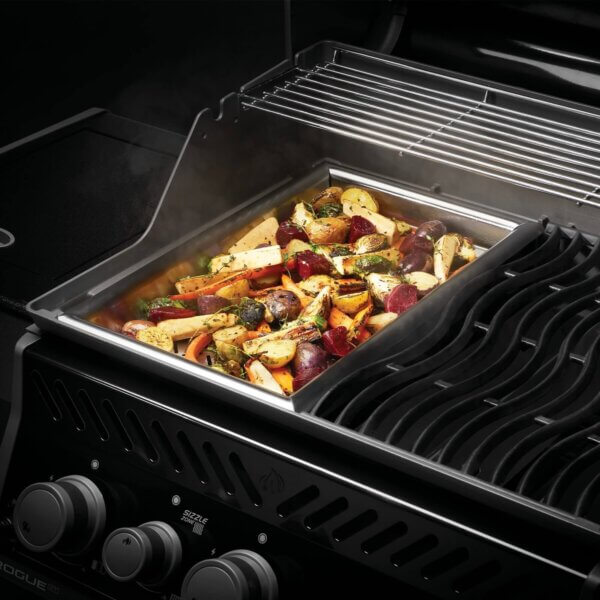
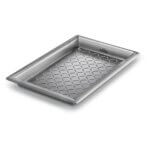
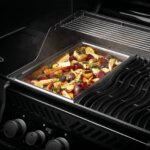
The Napoleon Vegetable Tray with perforated base allows heat to come into direct contact with the ingredients, providing that irresistible roasted flavour that only grilling can give. Its spacious design also allows for the preparation of meat and fish.
-
Ideal for vegetables, potatoes, tofu, fish, seafood and small pieces of meat.
-
Perforated base for real grilling, allowing liquids to drain away.
-
3.5 cm raised edges to keep ingredients securely inside the pan.
-
Made of heavy-duty stainless steel, withstands extreme temperatures.
-
Recessed handles for safe handling even when wearing gloves.
📊 Napoleon Tray Comparison Chart
To help you choose the option that best suits your needs, we present this comparison table where you can see at a glance the technical characteristics, recommended uses and materials of each tray.
| Model |
Material |
Main Uses |
Dimensions (cm) |
Compatibility Grill |
Outstanding Features |
| Prawn Cast Iron |
Enamelled Cast Iron |
Shrimps, prawns, shellfish |
33,5 x 16 x 6 |
All Napoleon Grills |
22 cavities, even cooking, no tilting |
| Grill Insert |
Porcelain enamelled steel |
Meats, vegetables, sauces recipes |
45 x 28.5 x 3.5 |
Rogue 425/525/625 – Freestyle 365/425 |
Flat, non-stick surface, side handles |
| Stainless steel vegetable basket |
Stainless steel |
Vegetables, fish, tofu, small meats |
45 x 28,5 x 3,5 |
Rogue and Freestyle (all models) |
Perforated base, raised edges, integrated handles |
Napoleon cooking trays represent the perfect balance of performance, durability and culinary creativity. Whether for a gourmet seafood dinner, a vegetarian grill or a simple weeknight dish, these trays give you total control over flavour, cooking and presentation.
From the grill to the oven, from the garden to your kitchen: Napoleon turns any meal into a professional experience.
🧽 Detailed Maintenance and Step-by-Step User Guide
Proper maintenance ensures that these trays retain their cooking properties and appearance for years. Each type of material requires specific care, and it is essential to follow certain recommendations before, during, and after each use.
1. Before First Use
- Wash the tray with warm water and mild soap to remove any manufacturing residues.
- In the case of the cast iron tray, dry it completely and cover it with a thin layer of vegetable oil (not olive oil) to protect it from rust.
- Preheat for a few minutes on the grill without food to cure it slightly.
2. During Use
- Avoid using metal utensils with sharp edges that could scratch the enamel or steel surfaces.
- Do not apply non-stick sprays with propellants, as they can leave sticky residues.
- For cast iron trays, use a little oil before adding food to reinforce the natural non-stick coating.
3. Cleaning
Let the tray cool completely before cleaning. Never immerse in cold water while hot.
Use soft sponges, mild detergent and, if necessary, baking soda with warm water to soften stubborn residues.
Do not use metal scouring pads or abrasive products, especially on enameled surfaces.
- Dry each tray thoroughly before storing.
4. Storage
- Store in a dry, well-ventilated place, and if made of cast iron, reapply a thin layer of oil before storing.
- Avoid stacking without protection: place a cloth between trays to prevent scratching.
🧽 Detailed Maintenance and Step-by-Step User Guide
Proper maintenance ensures that these trays retain their cooking properties and appearance for years. Each type of material requires specific care, and it is essential to follow certain recommendations before, during, and after each use.
1. Before First Use
- Wash the tray with warm water and mild soap to remove any manufacturing residues.
- In the case of the cast iron tray, dry it completely and cover it with a thin layer of vegetable oil (not olive oil) to protect it from rust.
- Preheat for a few minutes on the grill without food to cure it slightly.
2. During Use
- Avoid using metal utensils with sharp edges that could scratch the enamel or steel surfaces.
- Do not apply non-stick sprays with propellants, as they can leave sticky residues.
- For cast iron trays, use a little oil before adding food to reinforce the natural non-stick coating.
3. Cleaning
Let the tray cool completely before cleaning. Never immerse in cold water while hot.
Use soft sponges, mild detergent and, if necessary, baking soda with warm water to soften stubborn residues.
Do not use metal scouring pads or abrasive products, especially on enameled surfaces.
- Dry each tray thoroughly before storing.
4. Storage
- Store in a dry, well-ventilated place, and if made of cast iron, reapply a thin layer of oil before storing.
- Avoid stacking without protection: place a cloth between trays to prevent scratching.
🧽 Detailed Maintenance and Step-by-Step User Guide
Proper maintenance ensures that these trays retain their cooking properties and appearance for years. Each type of material requires specific care, and it is essential to follow certain recommendations before, during, and after each use.
1. Before First Use
- Wash the tray with warm water and mild soap to remove any manufacturing residues.
- In the case of the cast iron tray, dry it completely and cover it with a thin layer of vegetable oil (not olive oil) to protect it from rust.
- Preheat for a few minutes on the grill without food to cure it slightly.
2. During Use
- Avoid using metal utensils with sharp edges that could scratch the enamel or steel surfaces.
- Do not apply non-stick sprays with propellants, as they can leave sticky residues.
- For cast iron trays, use a little oil before adding food to reinforce the natural non-stick coating.
3. Cleaning
Let the tray cool completely before cleaning. Never immerse in cold water while hot.
Use soft sponges, mild detergent and, if necessary, baking soda with warm water to soften stubborn residues.
Do not use metal scouring pads or abrasive products, especially on enameled surfaces.
- Dry each tray thoroughly before storing.
4. Storage
- Store in a dry, well-ventilated place, and if made of cast iron, reapply a thin layer of oil before storing.
- Avoid stacking without protection: place a cloth between trays to prevent scratching.
🧽 Detailed Maintenance and Step-by-Step User Guide
Proper maintenance ensures that these trays retain their cooking properties and appearance for years. Each type of material requires specific care, and it is essential to follow certain recommendations before, during, and after each use.
1. Before First Use
- Wash the tray with warm water and mild soap to remove any manufacturing residues.
- In the case of the cast iron tray, dry it completely and cover it with a thin layer of vegetable oil (not olive oil) to protect it from rust.
- Preheat for a few minutes on the grill without food to cure it slightly.
2. During Use
- Avoid using metal utensils with sharp edges that could scratch the enamel or steel surfaces.
- Do not apply non-stick sprays with propellants, as they can leave sticky residues.
- For cast iron trays, use a little oil before adding food to reinforce the natural non-stick coating.
3. Cleaning
Let the tray cool completely before cleaning. Never immerse in cold water while hot.
Use soft sponges, mild detergent and, if necessary, baking soda with warm water to soften stubborn residues.
Do not use metal scouring pads or abrasive products, especially on enameled surfaces.
- Dry each tray thoroughly before storing.
4. Storage
- Store in a dry, well-ventilated place, and if made of cast iron, reapply a thin layer of oil before storing.
- Avoid stacking without protection: place a cloth between trays to prevent scratching.