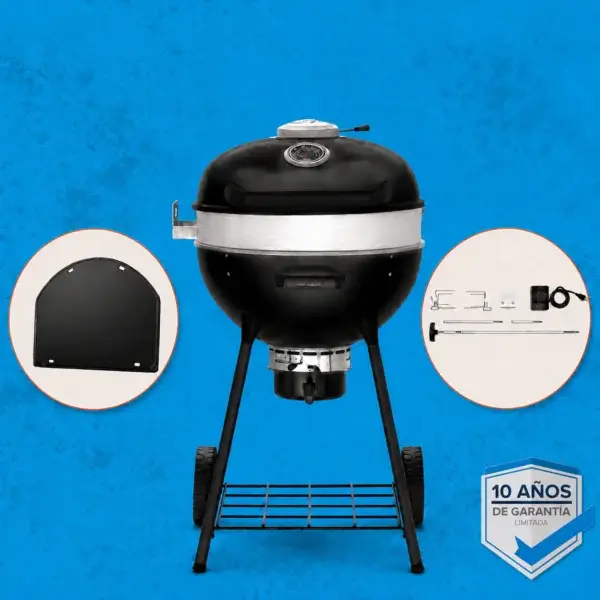
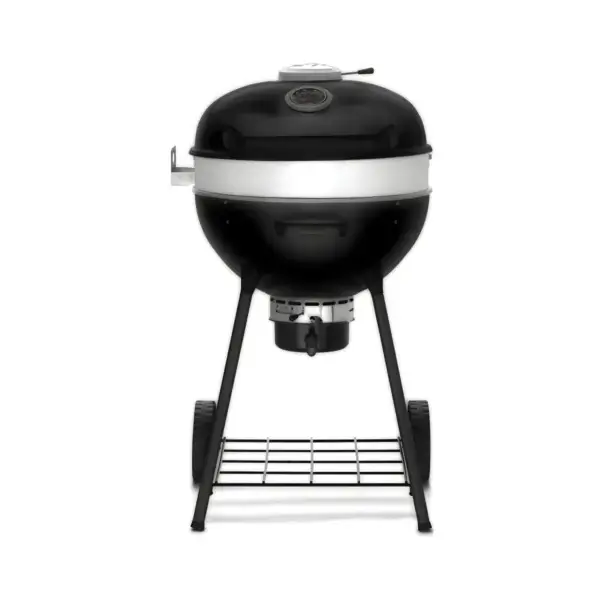
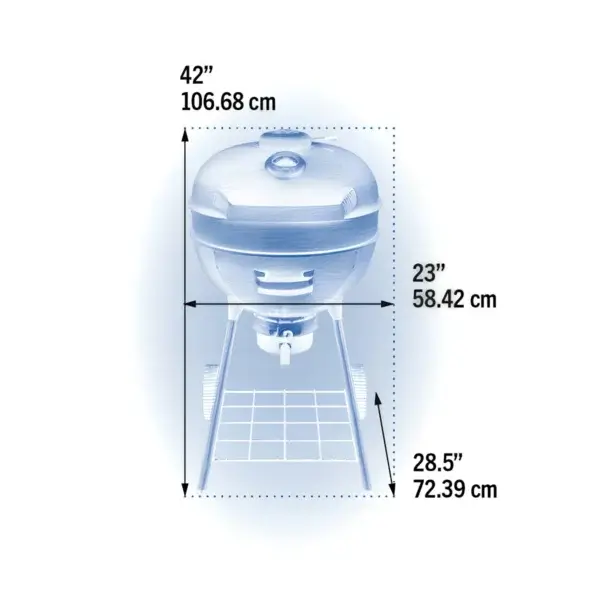
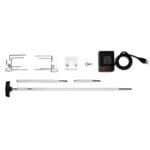
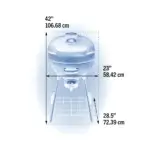
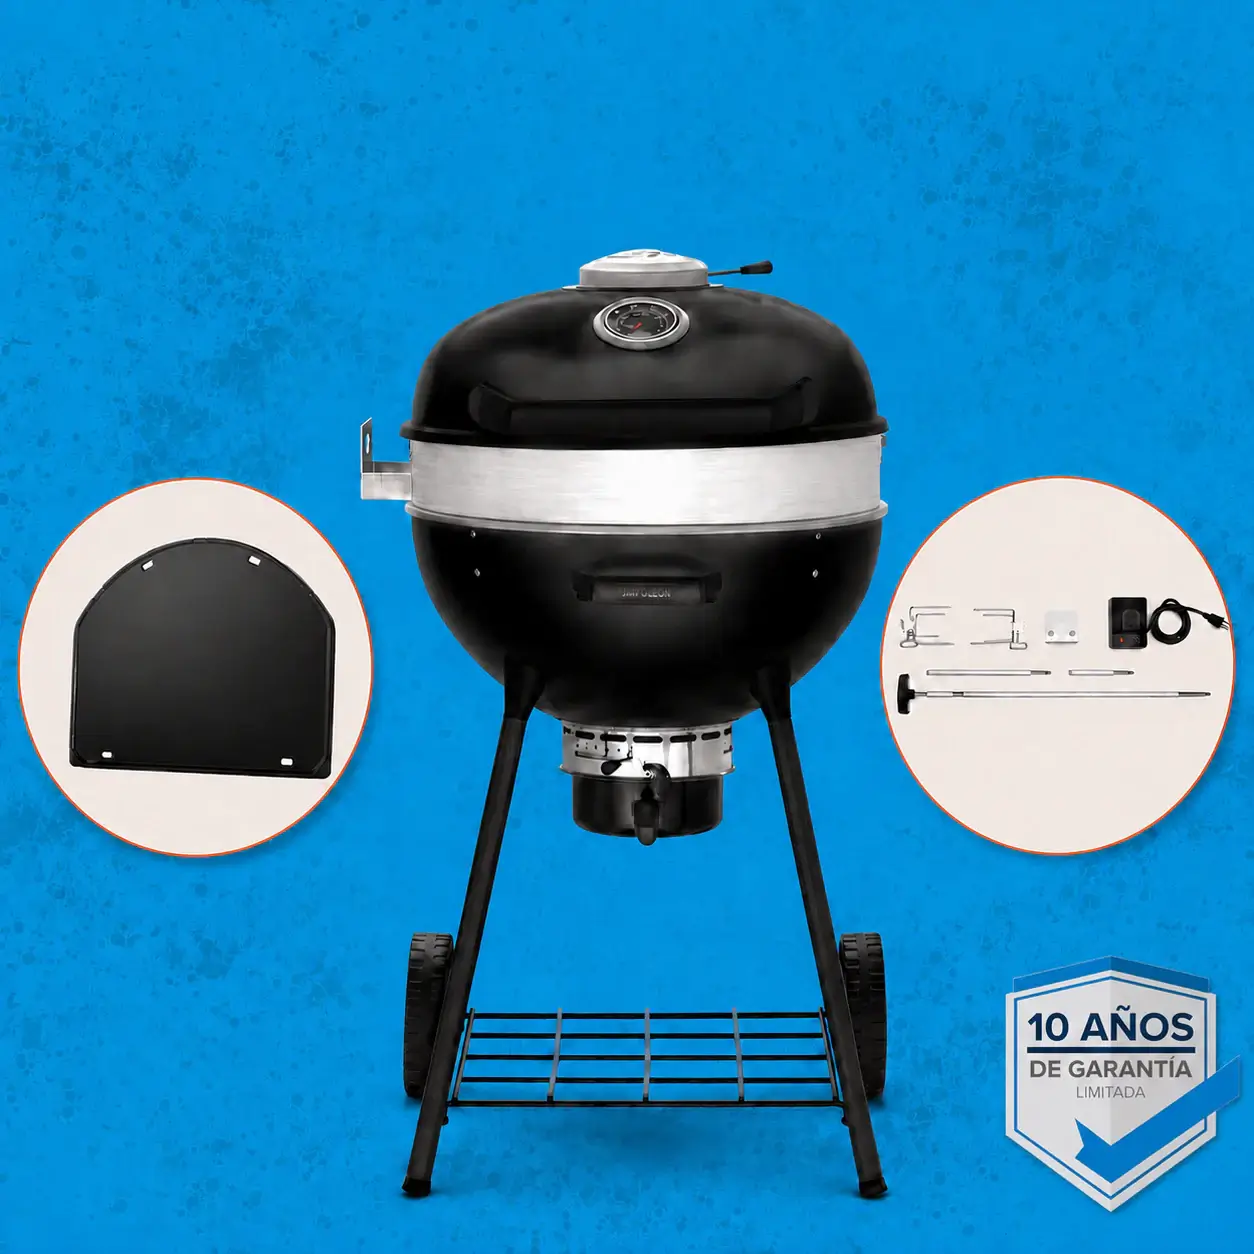
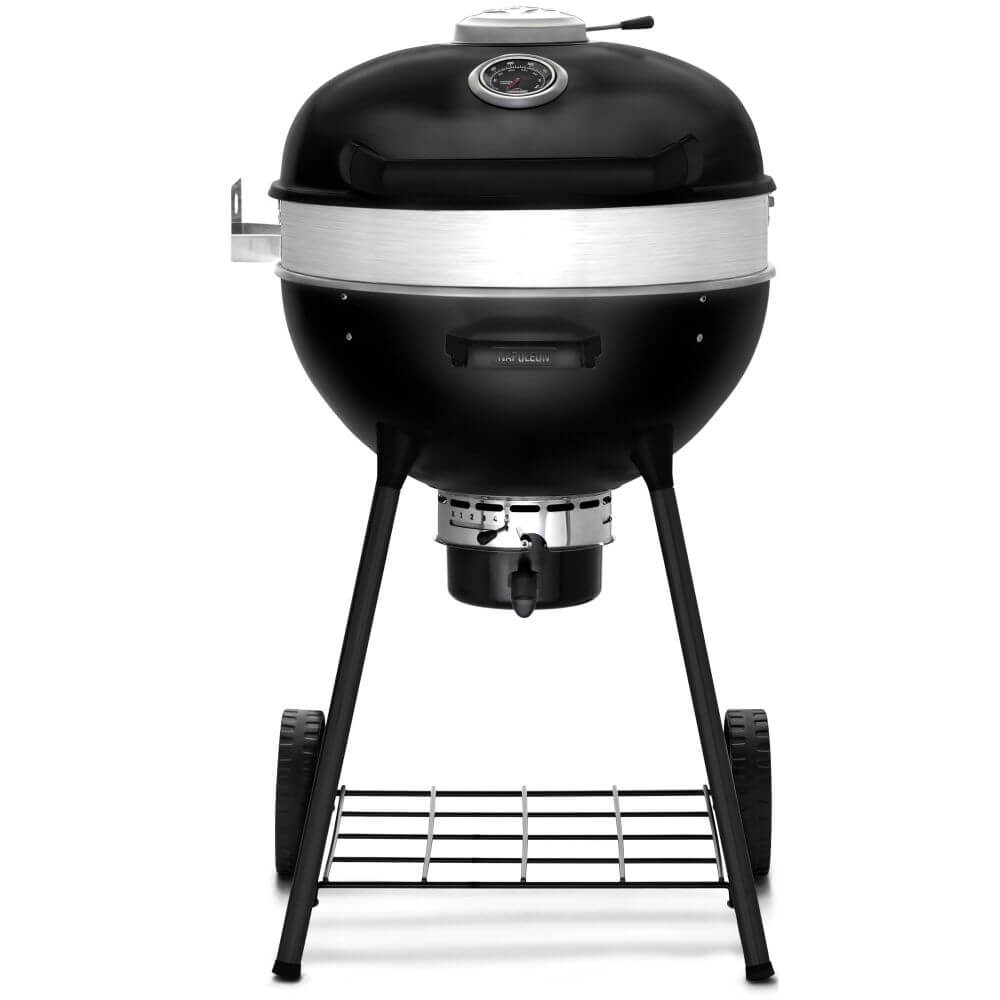
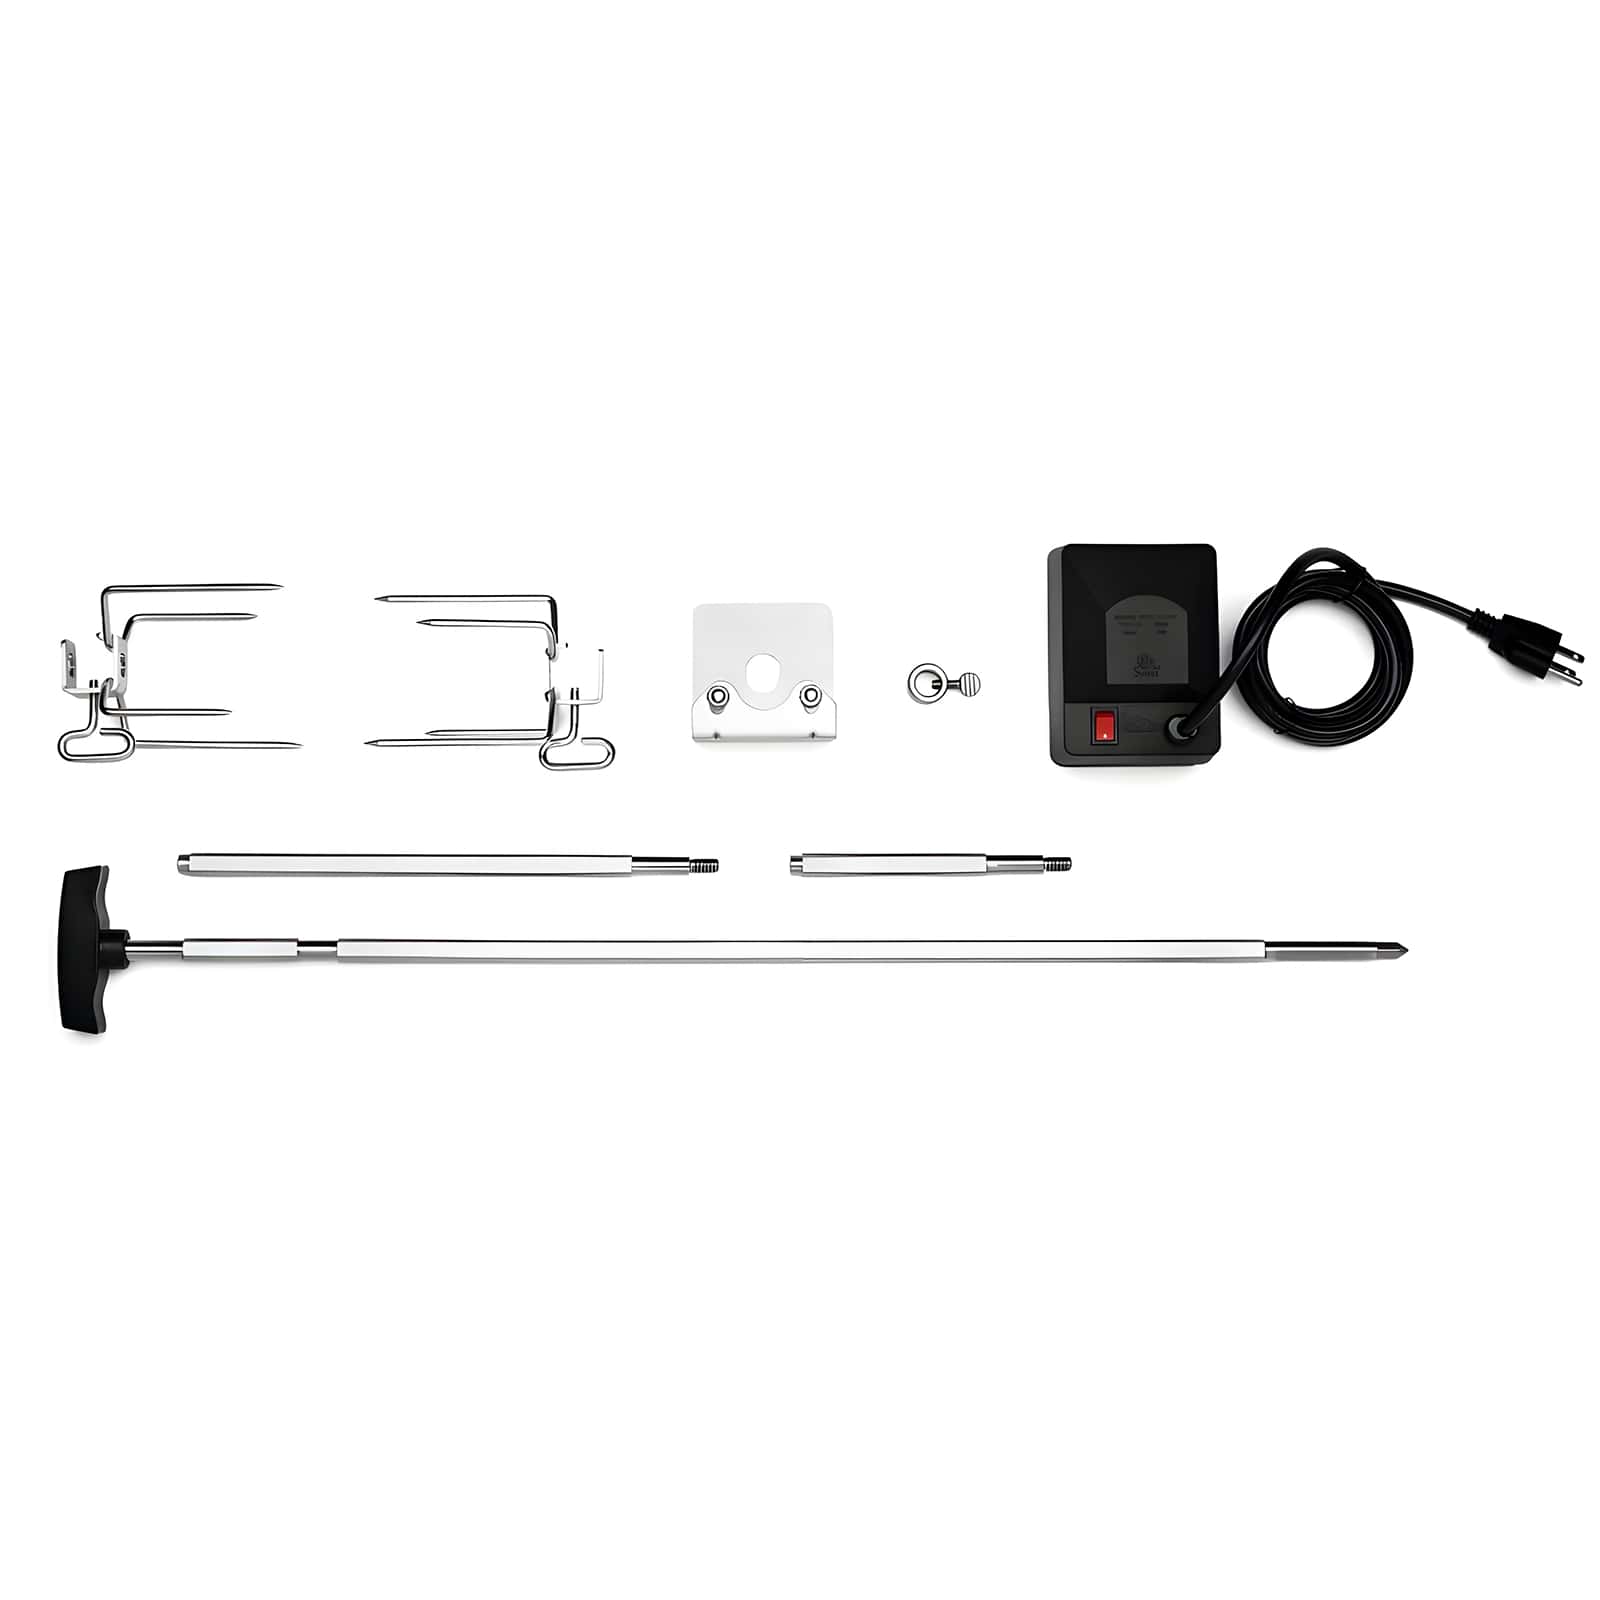
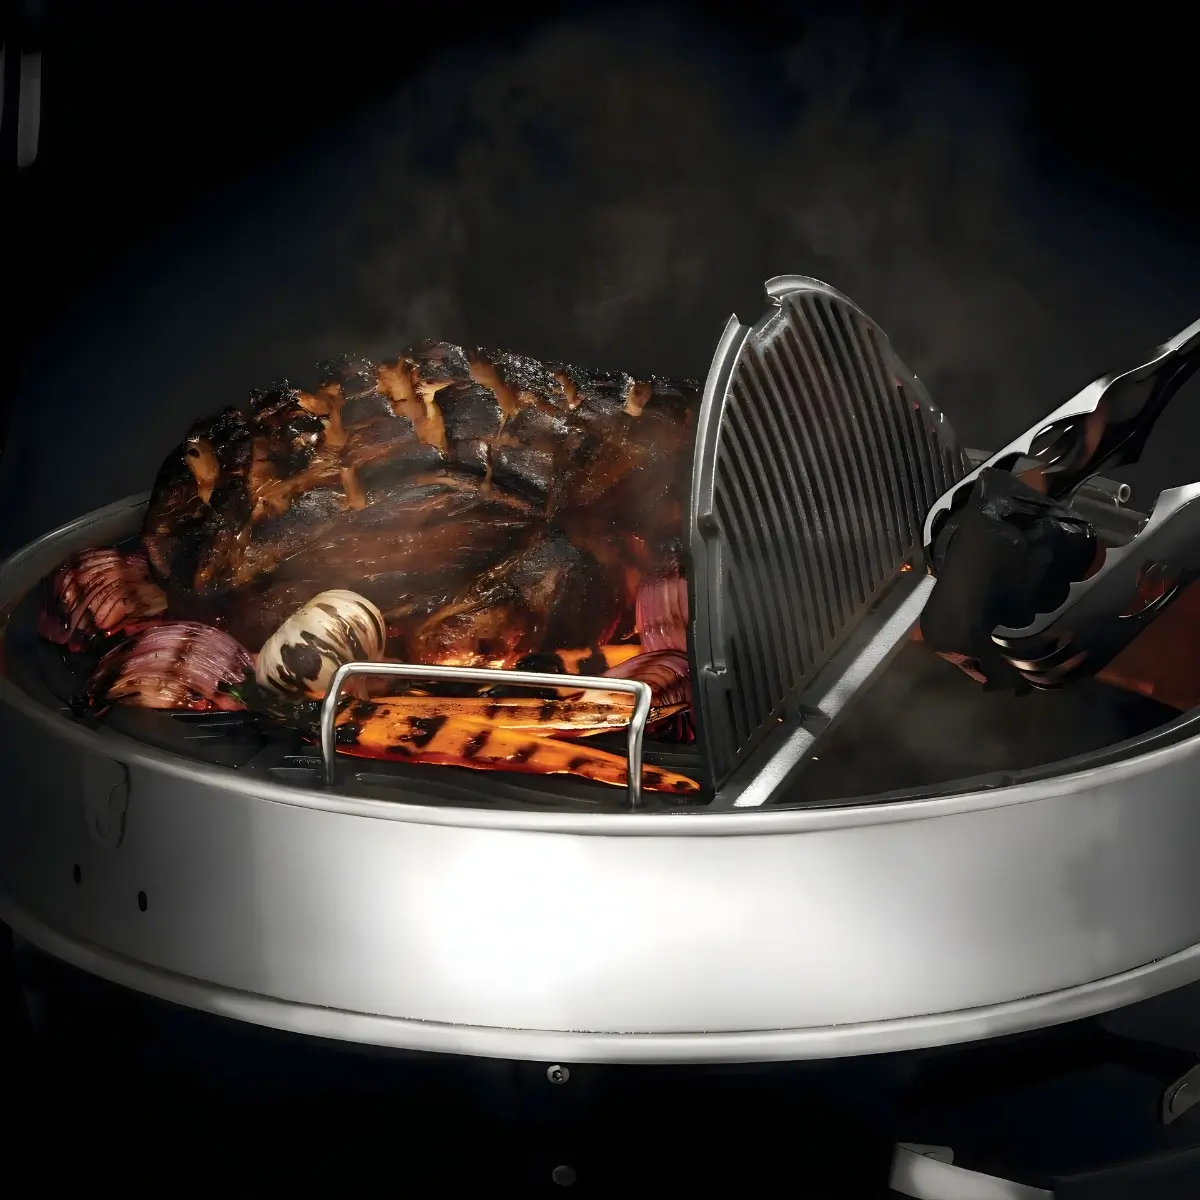
The Napoleon Matte Black Kettle Summer Pack is perfect as a gift or to enjoy yourself. It includes a 57 cm Ø charcoal barbecue with a premium cast-iron cooking grate, a reversible cast-iron griddle that fits your new barbecue perfectly, and a rotisserie kit to bring out the chef in you.
The three products have a separate price of €533.90, while the pack is available for €429. This represents a confirmed saving of €104.90.
The Kettle combines a cast-iron cooking grate adjustable to three heights, airflow control, a hinged lid and a structure designed for installing the rotisserie kit. The griddle and rotisserie complete the pack, making it suitable for everything from a quick meal to slower cooking.
Three ways to cook
The pack lets you cook directly on the cast-iron grate, use a reversible griddle or prepare chicken, kebabs, turkey and whole cuts using the rotisserie. Each accessory expands the ways you can use your barbecue, so your purchase is not limited to traditional grilling, TAKE YOUR COOKING TO THE NEXT LEVEL.
With this pack, you will discover new possibilities that will take you to Pit Master level.
Discover why this charcoal barbecue is the best choice.
Matte black finish
The barbecue features a matte black finish across the bowl, lid and all four legs. This currently limited edition adds a distinctive touch that stands out in every way.
Its design retains the natural Kettle architecture, but with a stronger presence for terraces, gardens and outdoor kitchen spaces. The dark finish gives it a minimalist, understated look.
This edition retains the equipment of the PRO range and presents it in a particularly attractive configuration for a complete promotion.
Three-height cooking grate
The 57 cm Ø cooking surface includes a solid porcelain-enamelled cast-iron grate, with room for up to 22 burgers. This material retains heat and transfers it steadily, which is especially useful for searing meat, burgers and vegetables without food sticking.
The grate can be set at three different levels. The lower position brings food closer to the embers for more intense cooking; the middle position provides more traditional grilling, while the upper level offers the greatest distance, ideal for slower cooking.
The grate height can also be combined with the amount of charcoal and the opening of the vents for more complete control over cooking, adapting at all times to your cooking style.
Control over the embers
The conical Vortex heat-management system improves convection inside the barbecue to help you achieve better results. It works with the upper and lower vents to regulate combustion. The wider they are opened, the more oxygen enters, producing more intense embers; reducing the opening lowers the heat for slower cooking. This also helps the charcoal last longer.
The upper chimney controls the release of air and smoke when the lid is closed, providing greater control over smoking and airflow while helping you manage the internal temperature. Its design protects the vent from the weather.
The Napoleon ACCU-PROBE™ thermometer, integrated into the lid, provides accurate temperature readings for more demanding cooks.
Reversible griddle
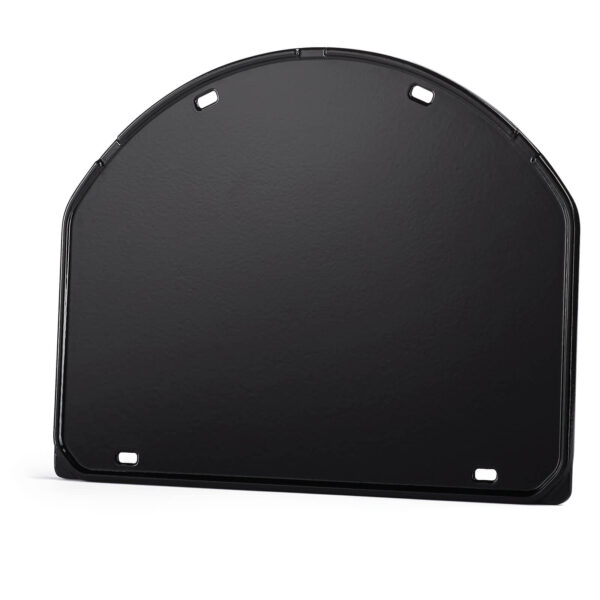
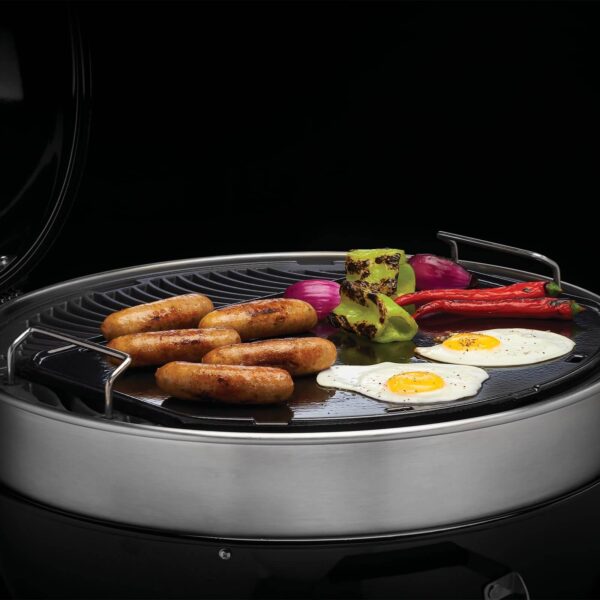
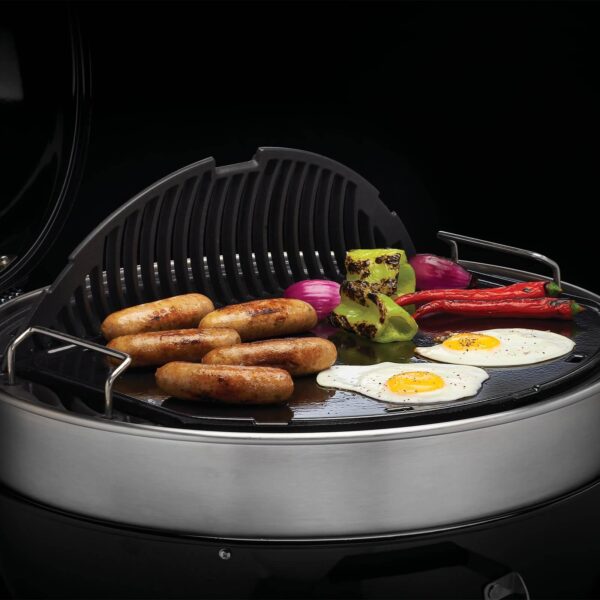
The Napoleon griddle is made from porcelain-coated cast iron and designed for 57 cm Ø charcoal Kettles. It sits on the cooking grate and adds a continuous cooking surface without the need for separate equipment. Its shape is designed to fit the grate neatly while leaving access to the charcoal through one of the hinged sections, for uninterrupted cooking.
The smooth side is ideal for eggs, vegetables, fish, seafood and smaller foods. The ridged side creates more defined grill marks and helps separate some of the juices and fats from the food.
Cast iron stores heat and maintains stable contact with ingredients, helping to brown, sear and cook food evenly.
Chicken rotisserie
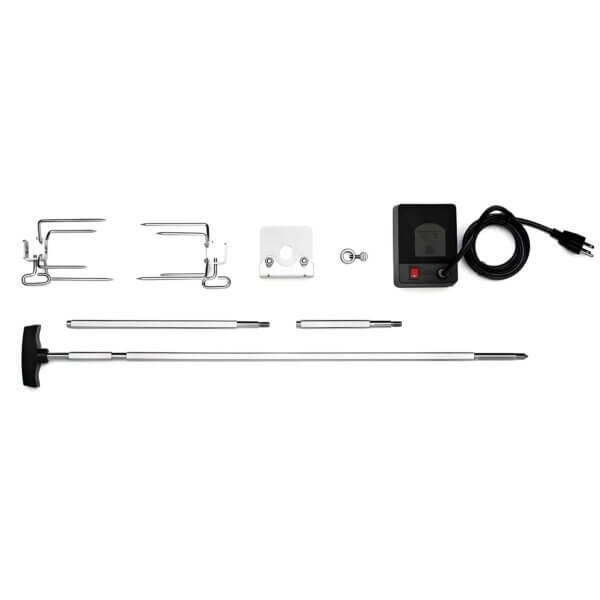
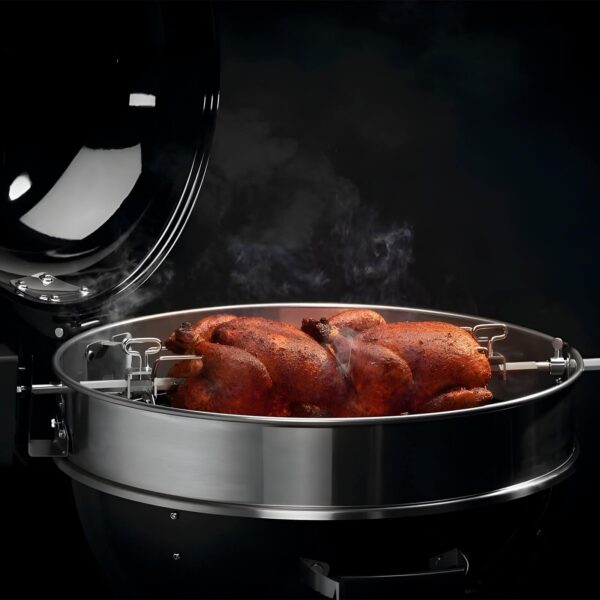
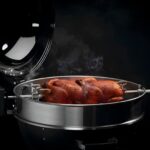
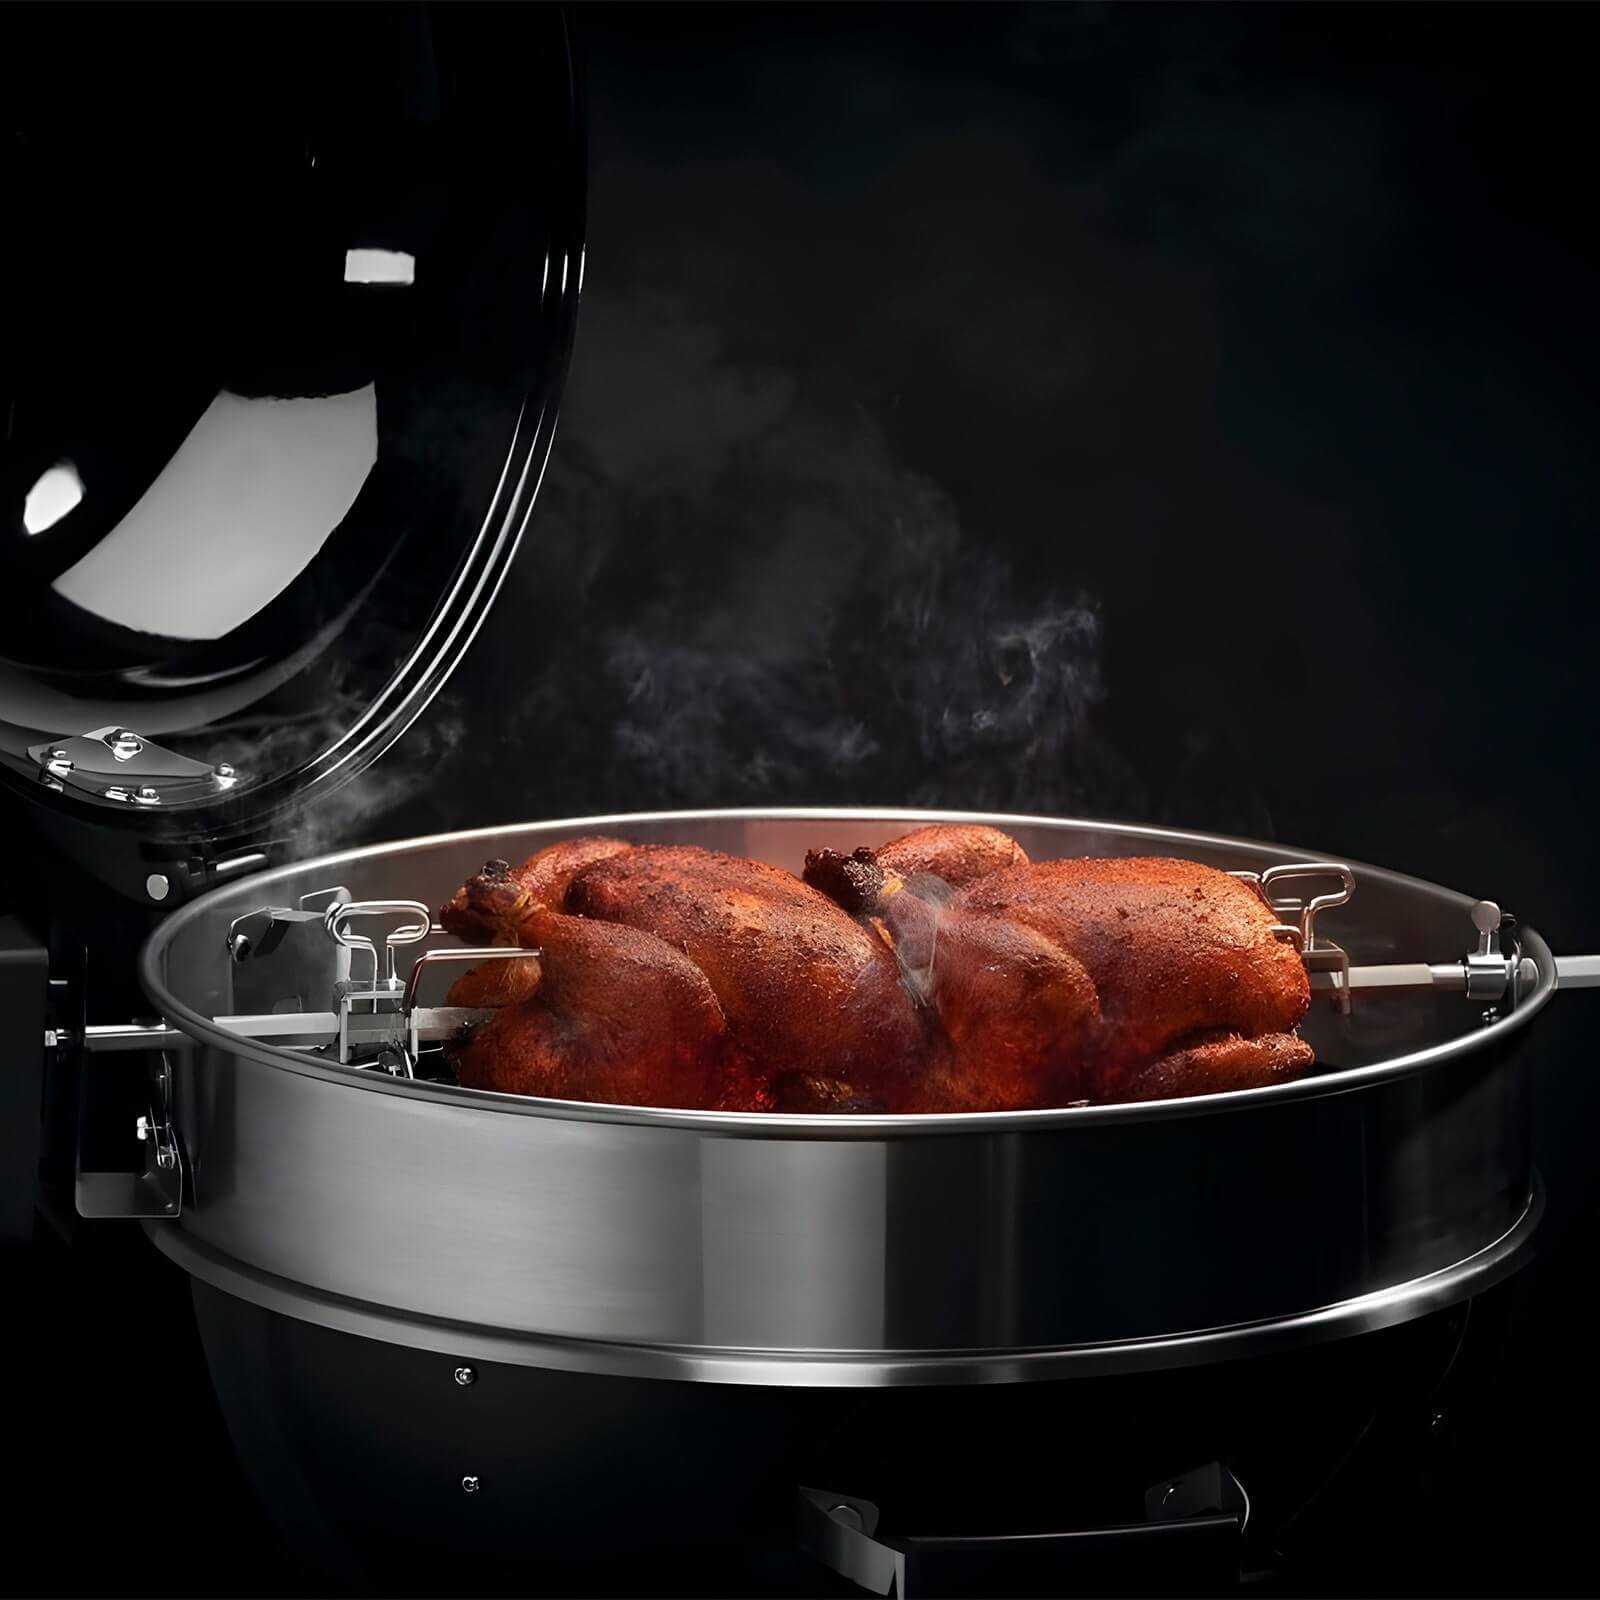
The rotisserie transforms the Kettle into a professional chicken roaster. It includes an electric motor, so you can relax while it cooks, a sturdy spit rod capable of supporting heavier cuts, and four-prong forks that keep the food securely in place as it turns.
It can handle a load of up to 6.8 kg. Correct weight distribution helps the motor maintain continuous rotation and keeps the food stable.
As it turns slowly, all sides are exposed evenly to the heat, delivering chicken worthy of the best rotisserie in town. Give your chicken an authentic charcoal flavour.
Extension ring and three levels
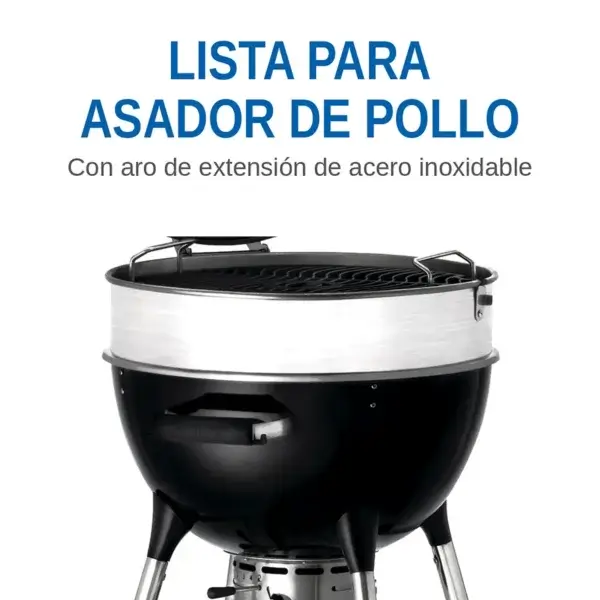
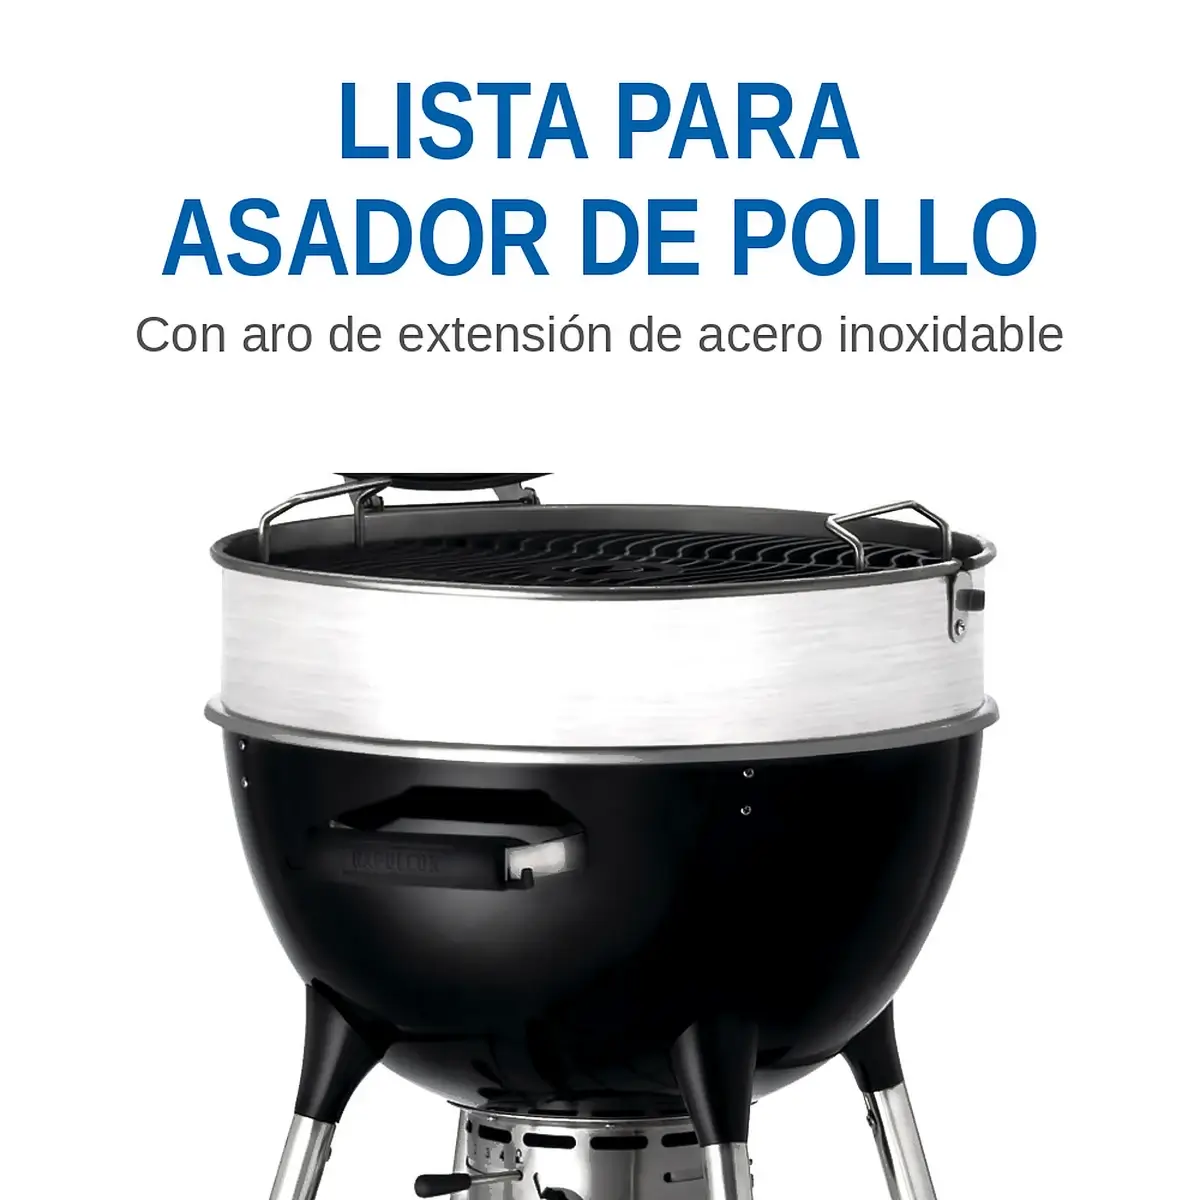
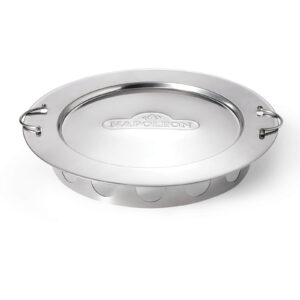
The extension ring increases the usable height of the cooking chamber and is prepared to hold the rotisserie spit rod and its motor bracket. The rotisserie can be fitted directly to the Kettle without altering the bowl or using improvised adaptations, simplifying its use.
The ring also forms part of the system that allows the cast-iron cooking grate to be positioned at three different levels. This adjustment lets you control the distance between the food and the embers.
You can bring the grate closer to the charcoal for searing, use the middle position for everyday cooking, or raise it to cook with less intensity. When the rotisserie is installed, the additional space leaves room for chicken and larger cuts to turn beneath the lid.
Direct access to the charcoal
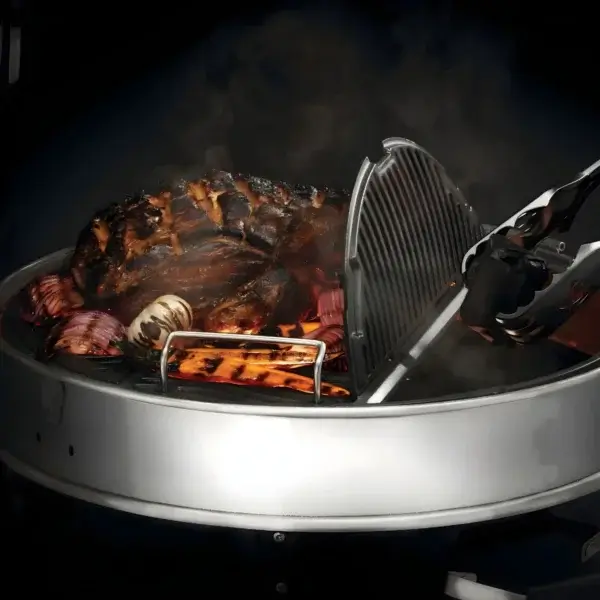
The cooking grate incorporates hinged sections that give you access to the embers while cooking. If a cook takes longer, you can lift only the required section to add charcoal or wood without removing all the food. This gives you the option to smoke at any time or keep your barbecue going for as long as you wish.
This feature is particularly useful for indirect roasting, intensive smoking sessions or recipes that need to maintain the fire for longer, such as brisket.
Hinged lid
The lid remains attached to the Kettle by a hinge, so there is no need to remove it or find somewhere to place it every time you check your food.
This is particularly practical when using tongs, probes, containers or the hinged sections of the cooking grate. It also avoids placing a hot lid on the floor or a table.
The adjustable hinge helps the lid sit correctly on the extension ring. Together with the insulated handle, it provides more comfortable opening during grilling, indirect cooking and rotisserie preparation.
10-year limited warranty
The barbecue is backed by Napoleon’s 10-year limited warranty. The porcelain-enamelled lid and bowl have 10 years of cover, while other components have specific coverage periods according to the manufacturer’s terms and conditions.
The warranty is subject to Napoleon’s official conditions regarding use, maintenance, registration and more. We recommend keeping your proof of purchase and consulting the warranty document included with the product.
Guidance only; it does not replace the official manual. Read all safety instructions before assembling, lighting, using or cleaning the barbecue and its accessories.
Before first use
Check assembly and location
- Check that the barbecue has been assembled in accordance with the manufacturer’s guide, and that the lid, hinge, legs, wheels, ash catcher and cooking grates are correctly fitted.
- Place it on a firm, level, non-combustible surface, outdoors only and in a well-ventilated area.
- Maintain a minimum clearance of 0.914 m from combustible materials behind or to either side of the barbecue.
- Do not use the barbecue inside homes, garages, tents, vehicles, enclosed porches, gazebos or similar spaces.
Clean and prepare the cooking grates
- Hand-wash the cast-iron cooking grates with warm water, mild soap and a soft cloth to remove any manufacturing residue.
- Rinse with hot water and dry them completely. Do not put them in the dishwasher.
- Apply a thin, even layer of high-smoke-point oil or fat to both sides.
- Heat the barbecue to approximately 176–204 °C and keep the grates heated for 30 minutes.
- Apply a second thin layer and continue heating for a further 30 minutes. The manual recommends repeating this seasoning process every three or four uses.
Carry out the first burn
- Remove all packaging, labels and promotional materials.
- Add the fuel and fully open the upper and lower vents.
- Keep the barbecue at a high temperature for around 30 minutes to remove any residue from the manufacturing process.
- Do not cook during this first burn.
During cooking
Light the charcoal safely
- Fully open the vents in the lid and base before lighting.
- Do not light the charcoal with the lid closed or lean over the bowl while lighting it.
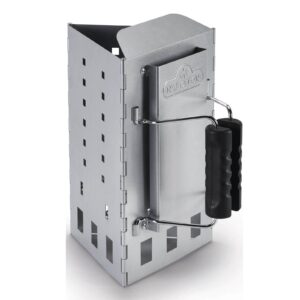
- Use only firelighters that comply with EN 1860-3 or a suitable charcoal chimney starter.
- Never add lighter fluid to hot or already-lit charcoal.
- Wait until the coals have a light coating of grey ash before starting to cook.
Preheat and control the airflow
- Preheat the barbecue with the lid closed for approximately 20 minutes.
- Use the lower vent to adjust the intensity of the embers and the upper chimney to manage the release of air and smoke.
- A greater airflow increases combustion; a smaller opening helps reduce it.
- Do not fully close both vents unless you wish to cool or extinguish the charcoal.
Add charcoal through the hinged grate
- Use heat-resistant gloves and long tongs.
- Open only the hinged section above the area where you will add fuel.
- Keep your body away from the opening, as contact between charcoal and fresh air can cause a flare-up.
- Add the charcoal gradually, then close the grate again.
- Do not adjust the height of the cooking grate while it is hot or during cooking.
Use the griddle without blocking the heat flow
- Position the griddle correctly on the cooking grate before you begin cooking.
- Heat the cast iron gradually.
- Do not cover more than 75% of the cooking surface with griddles, trays or other solid metal items.
- Use suitable utensils and avoid striking the porcelain coating.
Fit and balance the rotisserie
- Fit the motor onto its side bracket and check that it is securely positioned.
- Pass the spit rod through the centre of the food and secure it with the forks.
- Distribute the load evenly before connecting the motor. Do not overload the equipment.
- Adjust the counterweight where necessary to compensate for the heavier side.
- Place a metal drip tray beneath the food to collect cooking juices.
- Check that the spit rod rotates freely without touching the grate, lid or drip tray.
- Use heat-resistant gloves when handling any hot component.
After cooking
Extinguish the embers
- Close the lid and vents to reduce the oxygen supply and extinguish the charcoal.
- Do not use water to control flare-ups or extinguish the embers, as this may damage the barbecue’s finish.
- Do not move, dismantle or clean the equipment until it has cooled completely.
- Keep children and pets away while the barbecue remains hot.
Remove the rotisserie
- Disconnect the motor before removing the spit rod.
- Use heat-resistant gloves to remove the assembly.
- Once the parts are cool, remove the forks, spit rod, handle and remaining components.
- Wash them with warm soapy water, dry them and store the rotisserie kit indoors.
Routine cleaning
Ash catcher and waste disposal
- Wait until the charcoal and ash are fully extinguished and cold.
- Remove the ash catcher and clear debris using a plastic scraper or spatula.
- Wash it with water and mild detergent, rinse and dry it.
- The manual recommends emptying the ash catcher after every use, once the barbecue has cooled down.
- Do not line the bowl or ash catcher with aluminium foil, sand or other materials.
- Place ash in a non-combustible metal container, soak it with water and keep it there for 24 hours before disposal.
Inside the barbecue
- Remove the cooking grates once the barbecue is completely cool.
- Remove loose debris from the sides and inside of the lid with a brass brush.
- Clean enamelled surfaces with a plastic scraper and direct debris towards the ash catcher.
- Wash the interior with water and mild detergent.
- Rinse and dry everything fully before refitting the parts.
Cast-iron grate and griddle
- Clean them only once they are cool.
- Use gentle hand cleaning and avoid impacts, steel scouring pads or abrasive products on the enamel.
- Rinse and dry all cast-iron surfaces completely.
- Repeat the periodic seasoning of the cooking grates in accordance with the manual’s instructions.
- The supplied manual does not include specific instructions for the griddle; if the accessory includes its own guide, those instructions take precedence.
Exterior surfaces
- Use water or a non-abrasive cleaner suitable for the surface.
- Do not use steel wool, abrasive cleaners, oven cleaners, pressure hoses or pressure washers.
- Handle porcelain-enamelled components with care, as their finish may chip if struck.
- Clean away salt and sauce residues promptly, as they can contribute to the deterioration of components.
Periodic maintenance
Check the hinge
- Close the lid and check that it sits evenly on the ring.
- If adjustment is needed, allow the barbecue to cool completely.
- Slightly loosen the four Torx screws on the hinge using a T25 wrench.
- Align the lid until it sits correctly.
- Retighten the screws without altering any other part of the mechanism.
Check the vents
- Periodically remove any debris that could block the air inlets and outlets.
- Check that the levers move correctly between the open and closed positions.
- The manual recommends applying vegetable oil to help the ventilation mechanisms move smoothly.
Protect metal components
- Periodically inspect the cooking grates, screws, ring, ash catcher and rotisserie components.
- In coastal, humid or poolside areas, clean stainless-steel components every three to four weeks.
- Golden or brown discolouration that may appear on stainless steel due to heat is normal and does not affect its function.
- If you notice damage, deep corrosion or a part that is not working correctly, stop using it and contact technical support.
Storage
- Store the barbecue outdoors, in a well-ventilated area and out of the reach of children and pets.
- Make sure the charcoal is fully extinguished and the barbecue has cooled before leaving it unattended.
- During extended periods without use, leave the upper and lower vents slightly open to reduce the formation of mould.
- Clean and dry the griddle before storing it.
- Remove, clean and store the rotisserie components indoors.
- Keep the manual, invoice and product identification details for future reference or warranty claims.