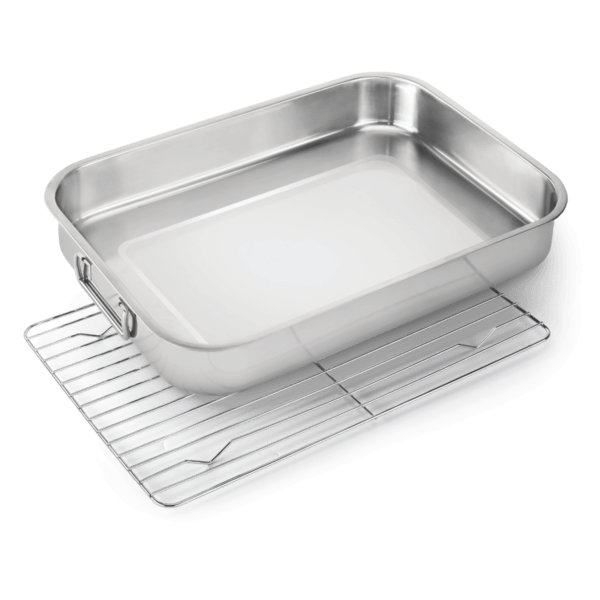
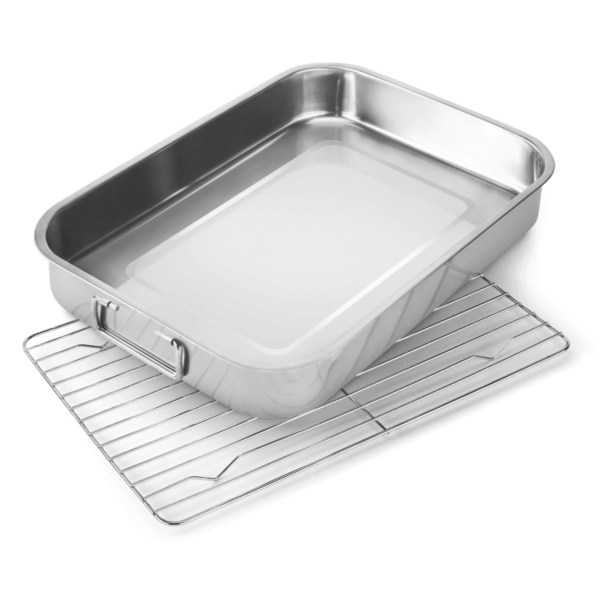
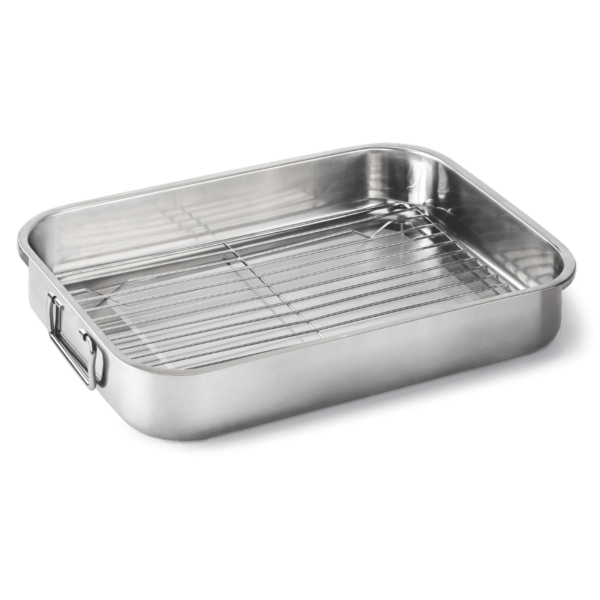
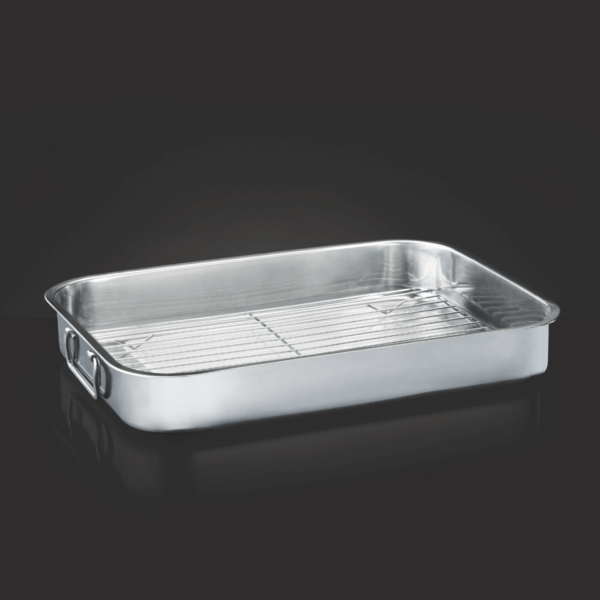
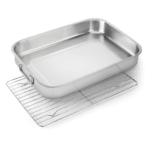
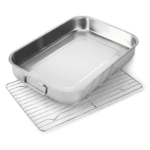
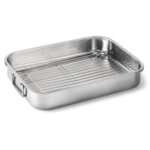
The Napoleon Stainless Steel Roasting Tray with Reversible Grid is a robust and versatile accessory designed for both barbecue and oven cooking. Its design with ergonomic folding handles, stainless steel rack and dishwasher safe cleaning make it a practical piece for roasts, vegetables and gravy bottoms with the juices from the food itself. Usable dimensions: 15.75″ x 12.5″ x 3″ (40 x 32 x 7.5 cm).
🔧 Materials and construction
Made entirely of stainless steel, the tray offers great durability and resistance to corrosion, keeping its surface stable against high temperatures and thermal changes common in barbecues and ovens. The included grid is also made of stainless steel, so it supports large pieces and allows a firm support without deformation.
🧠 Outstanding features
The reversible rack lifts the pieces to allow the heat to circulate and the juices to drip into the pan, perfect for preparing sauces or gravy with intense flavour. Folding handles make it easy to carry from the hob to the grill or oven and fold down for space-saving storage. Dishwasher safe, reducing cleaning time after long cooking times.
🚀 Performance and efficiency
The combination of high wall and raised rack helps control browning without softening the base, while the bottom collects juices to deglaze and bring out the full flavour. The generous format accommodates whole poultry, pieces of pork or lamb and generous trays of vegetables, ideal for family meals.
🧩 Design and aesthetics
Its clean aesthetic in brushed stainless steel fits in with modern kitchens and outdoor areas. The rectangular profile optimises space above grills and ovens, while the ergonomic handles improve grip with grill gloves without adding bulk when folded.
🔗 Compatibilities and range of use.
Designed for barbecues and compatible with domestic ovens, it opens the door to classic barbecues, indirect cooking on the barbecue and conventional baking. Its standard size makes it easy to fit on most gas or charcoal grills with lids and in oven racks.
🍖 Benefits for different cooking styles
On a barbecue, it works great for indirect cooking, keeping the heat enveloping and collecting juices to prevent flare-ups; in outdoor cooking, it allows for “sheet pan dinners” complete with protein and garnish; in a conventional oven, it acts as a classic roasting pan; and, if you like to smoke, the tray collects drippings without messing up the bowl and the grate lets the smoke circulate.
🛡️ Safety and ease of use
The folding handles make it easy to move the pan firmly (always wear thermal gloves). The grid prevents the pan from resting in its own juice, reducing splashing when serving. Dishwasher compatibility simplifies cleaning and helps maintain hygiene after handling juices and fats.
🏕️ Non-barbecue applications
In addition to roasting, it is useful for baking vegetables, collecting juices under raised grills, marinating meats and preparing gravies directly in the oven. Its format makes it suitable for weekly cooking by tray and for taking from the worktop to the oven in a single step.
Use and Maintenance
To ensure that your tray lasts for years and performs at its best, it is advisable to follow a few simple steps in daily use, handle it safely and maintain a routine of cleaning and care.
Basic use
- Preheat the barbecue for indirect cooking or the oven to the target temperature.
- Place the reversible rack at the desired height and place the piece on top.
- Add aromatic liquids (broth, wine, water) to the tray if you want juices for sauce and a moist environment.
- When finished, deglaze with hot liquid to recover the adhered flavour.
Safety
- Always handle with heat-resistant gloves and long tools.
- Avoid overfilling with liquids to prevent splashing when moving.
- Keep the barbecue lid closed during cooking for thermal stability.
Cleaning
- Allow to cool before washing.
- Suitable for dishwashers; for stubborn dirt, soak in hot water and a few drops of detergent.
- Avoid very abrasive scouring pads to prevent scratching the surface.
Care
- Dry thoroughly before storing.
- Fold the handles to save space.
- If reducing sauces in the tray itself, use medium heat and watch carefully to avoid burning the sugars.
Recipe for whole fish with roasted vegetables on a rack tray
This technique uses a
raised rack to allow heat to circulate around the whole piece: the skin becomes crispy, the flesh remains juicy and the vegetables are confit in the juices without the fish becoming soggy. It works equally well on a
barbecue with a lid (gas or charcoal) and in a
domestic oven.
Yield, time and temperature
- Yield: 3–4 servings
- Active time: 25–30 min · Total: 45–60 min (depending on size)
- Internal target: 60–62 °C at the thickest point of the loin (or the fin should come off with a gentle pull)
Ingredients (for 1 fish weighing 900–1,200 g)
Fish and aromatics
- 1 whole sea bass or sea bream, gutted and scaled (900–1,200 g)
- 2 tbsp (30 ml) extra virgin olive oil
- 9 g fine salt (≈1 heaped teaspoon; 1% of the weight of the fish without entrails)
- ½ teaspoon ground black pepper
- 1 lemon, thinly sliced
- 2 cloves of garlic, sliced
- 1 sprig of parsley, fresh fennel or thyme
Vegetables
- 1 red onion (200 g), cut into medium-sized wedges
- 1 red pepper (180 g), cut into thick strips
- 1 courgette (250 g), cut into 1 cm half-moons
- 200 g whole cherry tomatoes
- 1 tbsp (15 ml) olive oil
- ½ tsp salt + ¼ tsp pepper
Liquids for the tray
- 80 ml dry white wine (optional)
- 100 ml water or light fish/vegetable stock
Finishing touches (optional)
- 1 tbsp drained capers
- 1 tbsp cold butter, cubed, to emulsify the juices
- Chopped parsley and more lemon to serve
Preparation (mise en place)
- Dry the fish thoroughly inside and out with kitchen paper. Using a sharp knife, make 3 diagonal cuts on each side, 1 cm deep, without cutting through the bone.
- Season the fish on the outside, inside the cavity and inside the cuts (use ≈1% of its weight in salt). Brush with 1 tbsp oil.
- Fill the cavity with 3–4 lemon slices, the sliced garlic and the herbs.
- Dress the vegetables with 1 tbsp oil, ½ tsp salt and ¼ tsp pepper. Mix and set aside.
- Liquids: combine wine and water/stock.
Heat settings
Gas barbecue:
- Preheat to 200 °C with the lid closed. Turn off the centre burners to create an indirect zone; leave the side burners on medium. Place the tray in the centre (flame-free zone).
Charcoal barbecue:
- Medium heat (¾ of the chimney). Turn the coals to the sides, leaving the centre free (two zones). Place the tray in the centre, cover with the vents half open for 190–200 °C. If you want a touch of smoke, add a small handful of unsoaked wood chips to the coals.
Domestic oven:
- Preheat to 200 °C top/bottom heat (no fan). Place the tray on the centre rack.
Step-by-step cooking
- Assemble the base: distribute the vegetables on the tray. Pour the wine and stock around (not over) the fish.
- Place the rack in the high position inside the tray and place the fish on top, making sure it does not touch the vegetables. Brush the skin with the remaining tablespoon of oil and sprinkle with ½ teaspoon of pepper.
- Cook with the lid closed (or oven door closed):
- Minutes 0–10: skin ‘setting’ phase. Do not open.
- Minutes 10–20: turn the tray 180° to ensure even browning.
- Minutes 20–30: start checking the temperature at the thickest part of the loin, with the probe parallel to the bone.
- Approximate time: 25–35 min for 900–1,200 g.
- Cooking point: remove when it reaches 60–62 °C or when the dorsal fin comes off with a gentle pull. The meat should look pearly and separate easily into flakes.
- Brief rest (5 minutes): transfer to a warm serving dish. Resting prevents the juices from draining and finishes the residual cooking.
- Quick sauce with the juices (optional):
- Place the tray over medium heat (or on the side burner of the grill).
- Scrape the bottom with a spatula to deglaze.
- Add the capers and, off the heat, emulsify with the cold butter cubes, shaking the tray until slightly thickened. Season with salt and lemon.
- Serving: return the fish to the vegetables, sprinkle with chopped parsley and serve with lemon wedges.
Signs of success and troubleshooting
- Stuck skin: add a little more oil and make sure not to move the fish for the first 10 minutes. A clean, dry rack helps.
- Dry meat: you've overcooked it. Next time, remove it at 58–59 °C; it will rise to 60–61 °C as it rests.
- Raw vegetables: cut them thinner or preheat them for 10 minutes on the tray without the fish; then place the rack with the fish on top.
- Excess liquid: if there is a lot of moisture and little browning, open the lid for 1–2 minutes at the end or increase the temperature to 210 °C for the last 5 minutes.
- Strong smoke smell: use fewer chips and keep the top vents slightly more open to allow the smoke to flow.
Flavour variations
- Mediterranean: add pitted black olives, oregano and a splash of extra white wine.
- Citrusy and fresh: stuff with lime, ginger and coriander; finish with a touch of zest.
- Light Bilbao-style: at the end, drizzle with hot oil with garlic slices and a few drops of vinegar.
- Mildly spicy: add a fresh chilli pepper to the cuts in the loin and sweet paprika to the vegetables.
Guide to sizes and approximate cooking times
- 700–900 g → 20–28 min
- 900–1,200 g → 25–35 min
- 1,200–1,500 g → 35–45 min
Always check with a thermometer. Barbecues vary in air flow and ember load.
Food hygiene and safety
- Keep fish refrigerated until ready to cook.
- Use separate boards and knives for fish and raw vegetables if they are not being cooked together from the start.
- Handle the hot tray with heat-resistant gloves and always place it on a stable surface.
Side dishes and serving
- Quick: crash-roasted potatoes (pre-cook and crush, finish for 10 minutes on the tray), green salad with lemon vinaigrette.
- Sauces that go well with this dish: mild aioli, dill mayonnaise, yoghurt with cucumber and mint.
- Bread and wine: toasted bread for dipping in the juices; young, acidic white wine or a dry rosé.
Express cleaning of the tray and rack
- Leave to cool for 5–10 minutes.
- Remove large pieces with a silicone spatula.
- Cover the bottom with hot water and a few drops of detergent; leave for 10–15 minutes.
- Wash by hand or in the dishwasher.
- Dry thoroughly and fold the handles before storing.