


Gas Barbecue Series 300 32 – Napoleon

999,00  (VAT inc.)

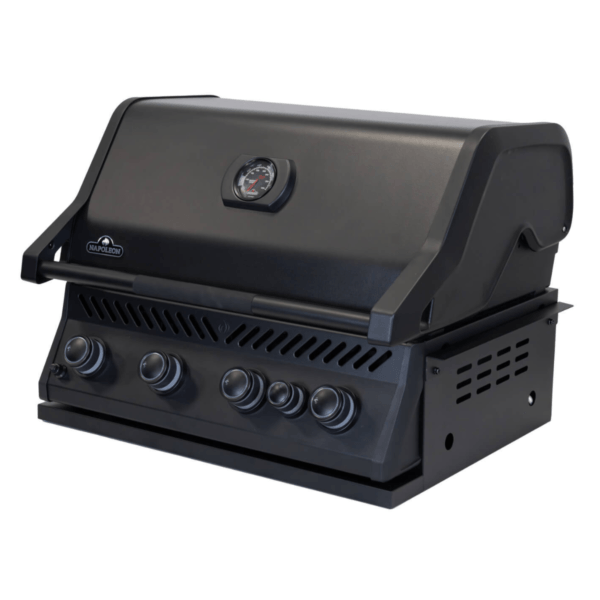
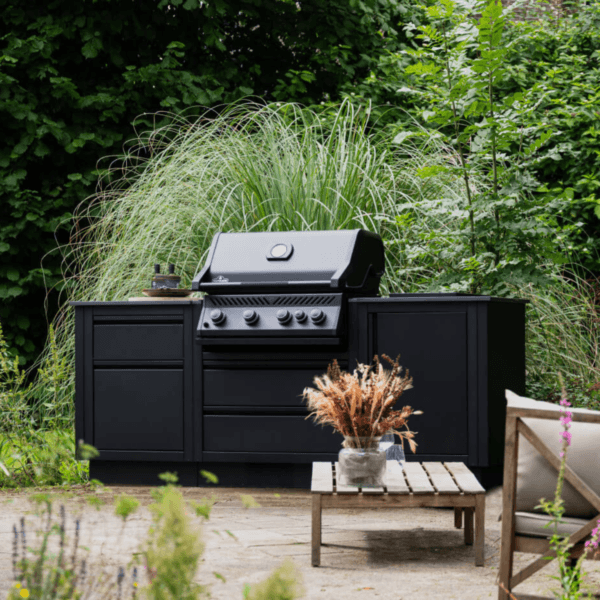
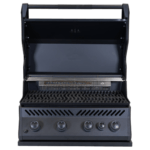
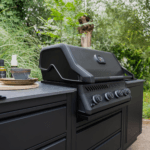
Napoleon Built-In Gas Grill designed to create a stylish, practical outdoor kitchen with a striking matte black finish.

4 main burners + rear infrared burner for versatile cooking, from quick grills to full-scale roasts.

Porcelain-enameled cast iron WAVE™ grates that promote attractive searing and a more authentic cooking experience with every use.

JETFIRE™ ignition and ACCU-PROBE™ thermometer for more convenient, precise, and reliable control from the very first ignition.

32-inch built-in format ideal for integrating the grill into compact, well-designed outdoor kitchen projects.

A premium choice for enthusiasts seeking design, performance, and Napoleon’s signature quality in their grilling area.

Complete your set

See more

Your selections

Total price

SKU: BIR32RBPMK-ES Categories: , ,
Métodos de pago

The Napoleon 300 Series 32 Matte Black Matt Black built-in gas barbecue is designed for those who want to build an outdoor kitchen with a sleeker look, but without sacrificing serious cooking performance. Its 81.3 cm recessed format, matt black finish and combination of 4 main burners, infrared rear burner and JETFIRE™ ignition system make it a very attractive option for outdoor projects that seek a balance between aesthetics, power and real day-to-day use.

🔩 Materials and construction built to last

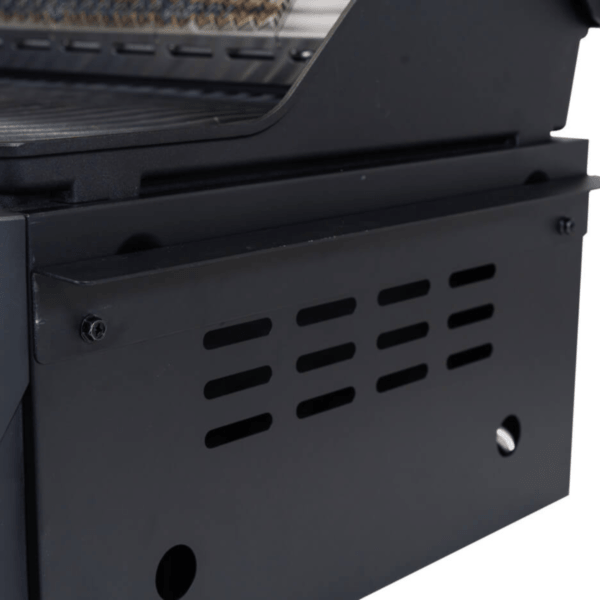
One of the strengths of this Napoleon built-in gas barbecue lies in the way it is constructed. The brand combines a cast aluminium cookbox with stainless steel main burners, dual-level stainless steel sealing plates and porcelainised cast iron WAVE™ grates – a combination of elements that gives the impression of a solid product that is built to last. It’s not just an eye-catching piece to finish off an outdoor kitchen; it’s a head designed to work well in direct heat, better protect the cooking zone and maintain a more stable response when the barbecue gets into a work rhythm.

On the visual side, the set reinforces that sense of robustness with a clean, contemporary aesthetic. The matt black finish gives it a more architectural and less conventional feel than the classic shiny steel, something that fits very well in today’s outdoor kitchen projects. Its design conveys solidity, visual continuity and a clear vocation to integrate elegantly into well-planned outdoor modules.

🔥 Functionalities and performance for precision cooking
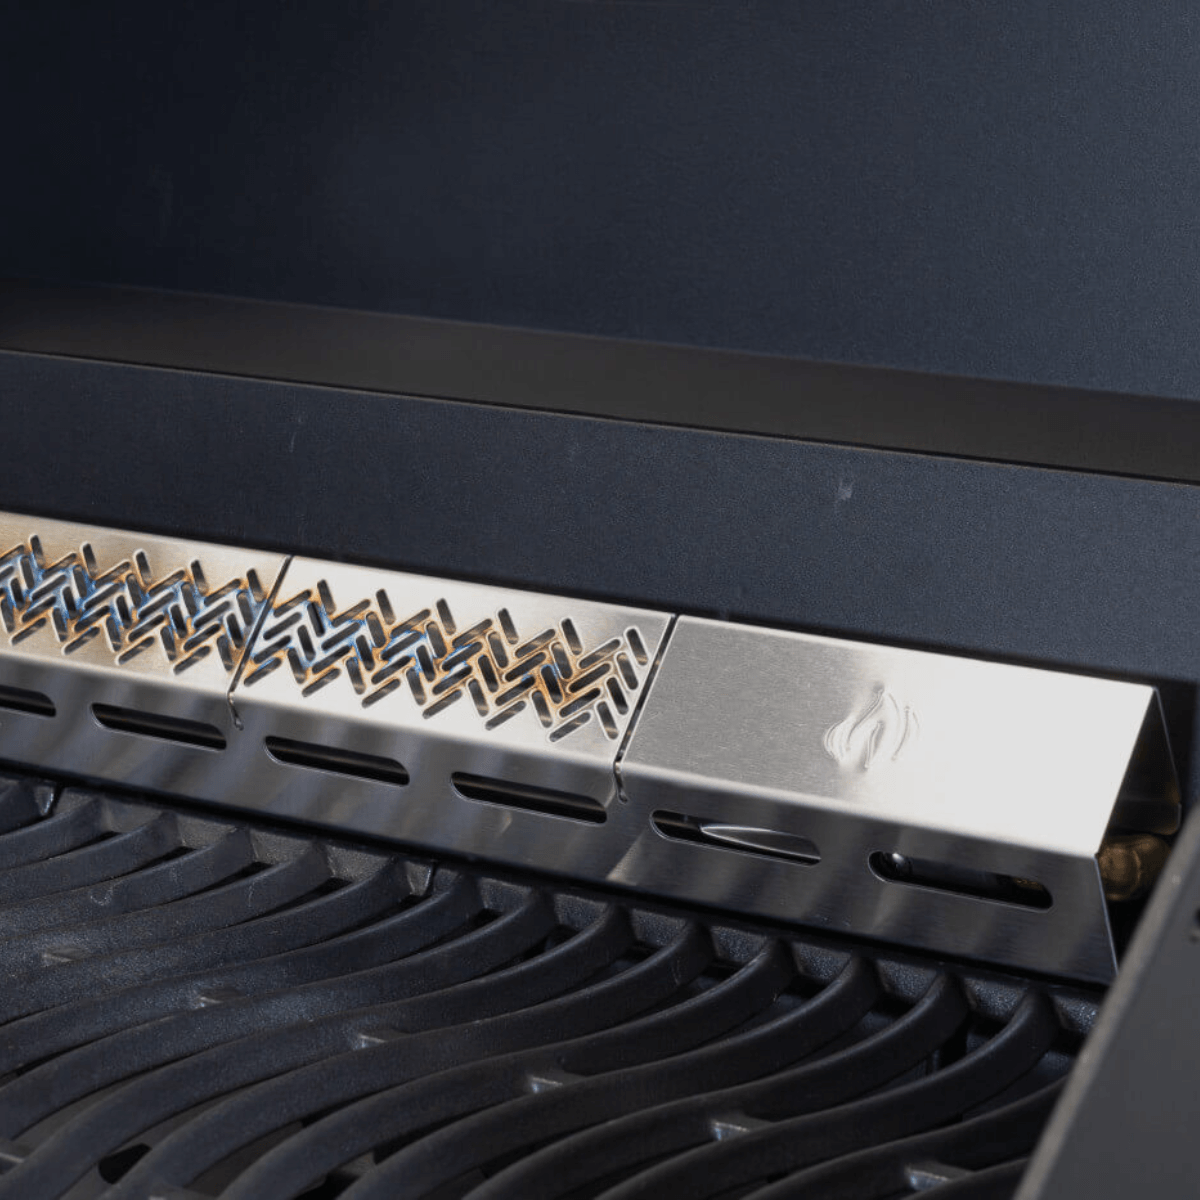
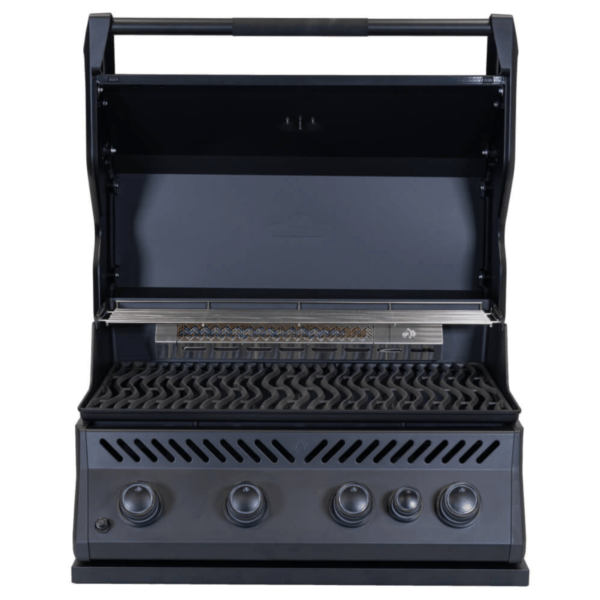
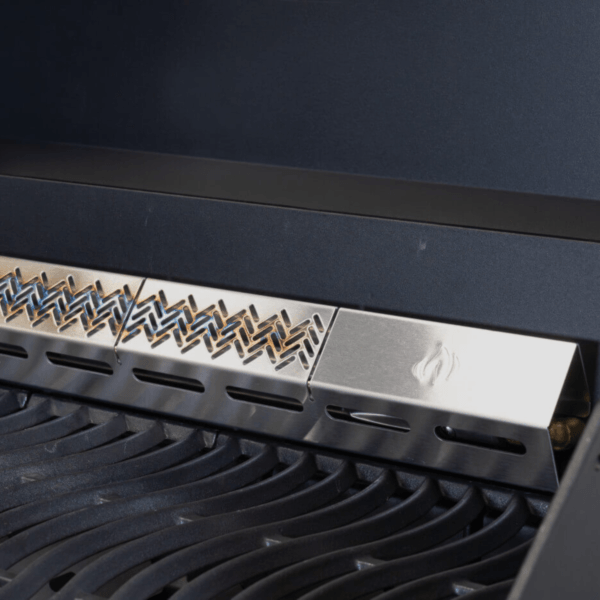
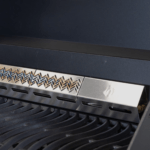
Interior de la barbacoa de gas empotrada Napoleon Serie 300 32 con parrillas WAVE y protector trasero

In terms of operation, this barbecue works on propane and offers a total power of 17.30 kW, divided between 13.6 kW on the main burners and 3.7 kW on the rear burner. This configuration allows it to cover both everyday cooking and preparations that require more control of the heat, whether for grilling meat over a higher heat, maintaining even cooking or making the most of rotisserie preparations thanks to the support of the infrared rear burner.

Performance depends not only on the declared power, but also on how the heat is managed inside the chamber. This is where the JETFIRE™ instantaneous ignition, precise temperature control, dual-level sealing plates and the ACCU-PROBE™ gauge come into play, helping to better monitor cooking progress. The result is a barbecue that seeks to respond quickly to ignition, maintain a more even heat distribution and facilitate those seal marks so recognisable on Napoleon grills thanks to the WAVE™ design of its grates.

🏡 Integrated design, premium presence and real compatibility
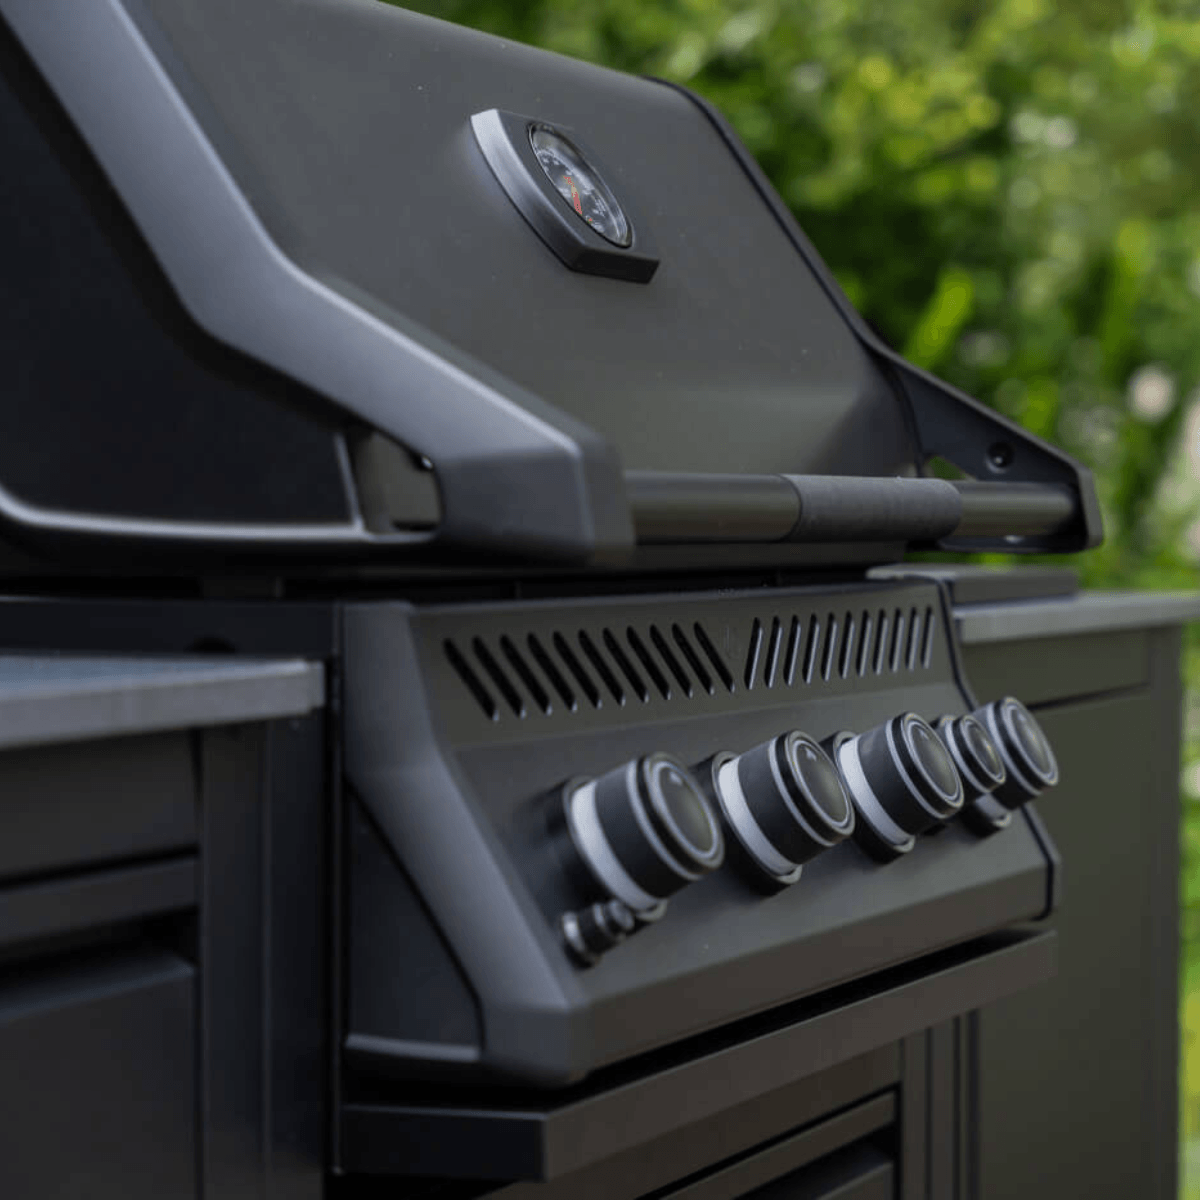
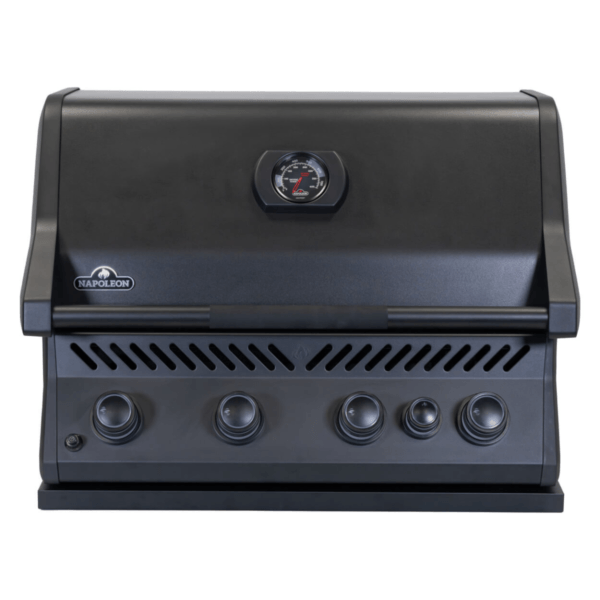
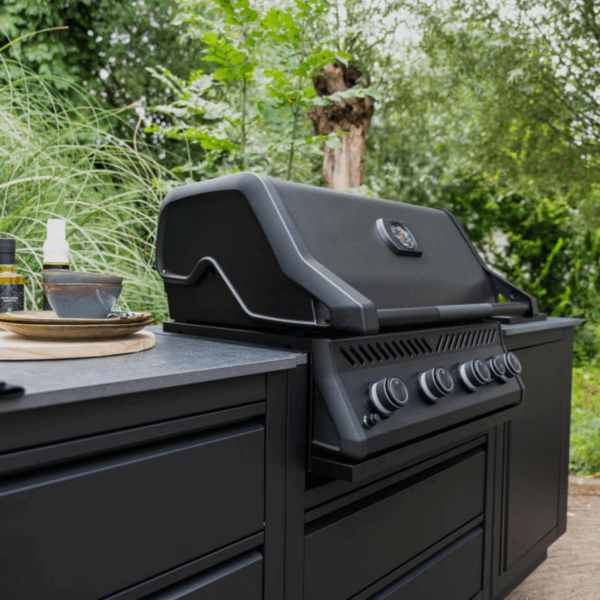
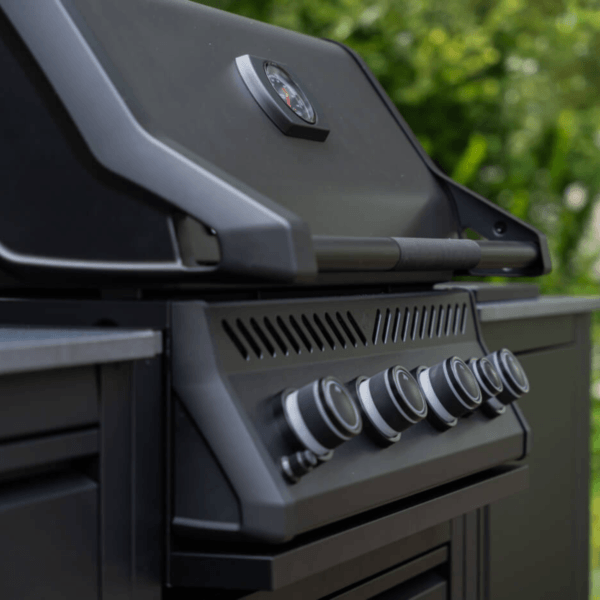
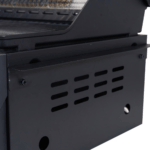
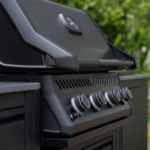
Frontal de la barbacoa de gas empotrada Napoleon Serie 300 32 Negro Mate con mandos y termómetro

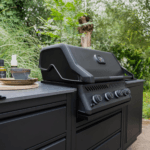
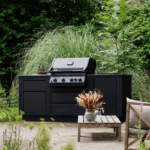
The 32 Series 300 is designed as a solution for compact outdoor kitchens, so its value lies not only in cooking well, but also in integrating naturally into a bespoke outdoor project. Its recessed format favours a more orderly reading of the space, allows the creation of a fixed cooking area and gives that visual leap that many users are looking for when they want the barbecue to be part of the overall design of the house, terrace or garden.

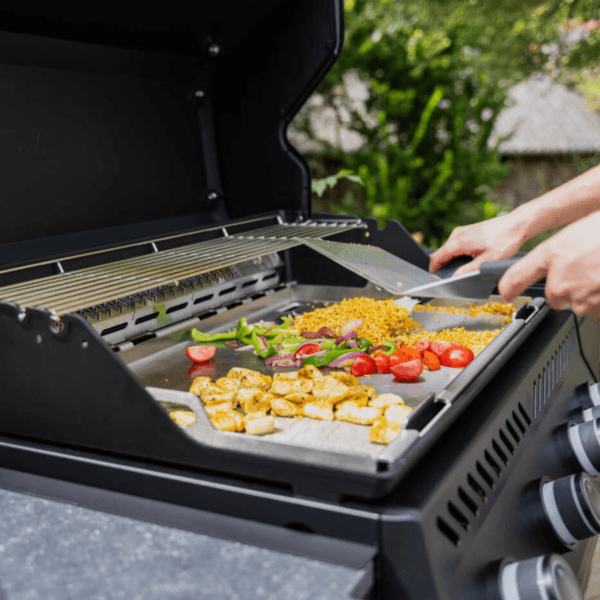
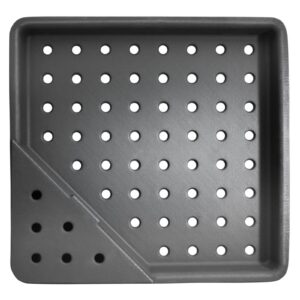
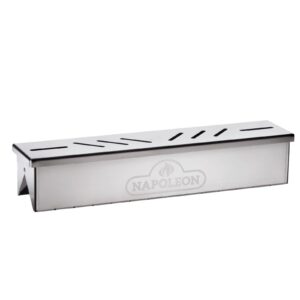
It also stands out for its compatibility with accessories and extensions that increase its practical range. It can be complemented with a grill cover, a cast iron charcoal tray and smoker, a stainless steel smoker box and other optional extras such as a rotisserie kit or griddle. This makes a lot of sense in an evolutionary set-up: you can start with a very serious base and, over time, expand the possibilities without changing the head.

🍖 Uses, cooking styles and real versatility

This barbecue doesn’t stop at the typical function of making burgers or quick meat for an informal gathering. Its configuration allows for a much wider use, from classic grilling to more leisurely roasts, indirect cooking supported by the lid and preparations where the infrared rear burner makes the difference. For those who enjoy fine-tuning meat, working on larger pieces or looking for more regular results on chicken, ribs or spit roasts, it offers a much more complete base than an elementary built-in barbecue.

In addition, the presence of a stainless steel thermal grill helps to better organise the cooking space and to play with different heat intensities within the same service. This makes it a versatile option for those who cook for several diners, need to manage different times or want to keep food warm while finishing other pieces on the main grill. In an outdoor kitchen project, this ability to adapt to informal dinners, family meals or more gastronomic sessions is precisely what gives long-term value.

✅ Safety, ease of use and practical day-to-day value.

Beyond design and power, there are details that greatly enhance the everyday user experience. The JETFIRE™ individual ignition simplifies start-up, the ACCU-PROBE™ thermometer makes it possible to better control cooking without relying solely on intuition and the robust ergonomic knobs make operation more convenient and straightforward. These are elements that do not attract so much attention on a first commercial reading, but make all the difference when the barbecue becomes part of a real outdoor kitchen routine.

It also adds value that Napoleon’s design is geared towards cleanliness and continuous use, which is important in a fixed outdoor installation. The combination of materials, the constructive logic of the head and the possibility of complementing the equipment with specific accessories mean that this Napoleon built-in gas barbecue not only serves to dress up a space, but also to turn it into a more functional, more complete cooking area with a clearly superior image. For a user who wants to give his outdoor kitchen a special touch without losing practicality, this 32 Series 300 has very solid arguments.
Use and Maintenance

This plan covers the day-to-day use and verified basic maintenance of the Napoleon 300 Series 32 Matte Black Built-In Gas Grill. For installation, recessing, and gas connection, built-in grills must be mounted in a non-combustible enclosure and installed and serviced by qualified personnel, in accordance with local regulations and the model manual. Additionally, this type of grill should only be used outdoors in a well-ventilated area.

Step-by-Step Safety Guide

  1. Before cooking, make sure the grill is in a clear, well-ventilated outdoor area with no flammable materials nearby. It should not be used indoors, in garages, or in enclosed spaces, and very windy locations should be avoided.
  2. Visually inspect the cooking area before each use. Check that the drip tray or grease collection system does not have excessive residue and that the sealing plates are in place.
  3. Perform a quick inspection of the burners and ignition if the grill has been idle for several days or weeks. Periodically check that the venturi tubes and the infrared burner area are free of obstructions, and that the JETFIRE™ system and burner ports remain clean.
  4. Light the grill and cook following the sequence in the model manual. For this product, daily use should rely on the JETFIRE™ ignition and the ACCU-PROBE™ thermometer for more convenient and precise control.
  5. While cooking, keep gas hoses, cables, and other heat-sensitive items away from the heat source.
  6. When finished, turn off the controls and shut off the gas at the propane tank when the grill is not in use. If the grill will be stored indoors, the tank must be disconnected and stored outside in a ventilated area and out of the reach of children.

Routine Maintenance

  1. Always perform maintenance when the grill is cool.
  2. Clean the cooking grates frequently. This model features porcelain-enameled cast iron WAVE™ grates. After cleaning, you may apply a very light coat of cooking oil to help preserve the surface.
  3. Regularly clean accumulated grease. The grease tray, drip pan, and searing plates must be kept clean to reduce the risk of grease fires.
  4. Clean the control panel with mild products. Use warm water and soap with a soft cloth and avoid abrasive cleaners.
  5. If you notice erratic ignition or a weak flame, check the cleanliness of the ignition system and the burner ports.

More thorough periodic maintenance

  1. Remove the grates and searing plates for a deep clean when you see visible grease buildup or charred residue.
  2. Before reassembling, inspect the burners and ensure the ports are not blocked.
  3. Perform a seasonal check if the grill has been unused for some time, paying attention to the venturi tubes, burners, and ignition areas.

What to avoid

  • Do not modify the grill or its components.
  • Do not use the grill indoors or in enclosed areas.
  • Do not attempt to control flare-ups with water, beer, or other liquids.
  • Do not use a pressure washer or high-pressure cleaner on the appliance.
  • Do not allow cold water to come into contact with hot porcelain or enamel parts.

Specifications

  • Cooking System and Power
    • Total Power: 17.30 kW
    • Main Burners: 4
    • Main Burner Power: 13.6 kW
    • Rear Burner: infrared
    • Rear Burner Power: 3.7 kW
    • Ignition: JETFIRE™
    • Temperature control: ACCU-PROBE™
  • Cooking surface
    • Official main cooking surface dimensions: 73 × 46 cm
    • Warming rack: yes, stainless steel
    • Official warming rack dimensions: not specified
    • Total cooking area specified: 4,560 cm²
  • Materials and Key Features
    • Cooking chamber: cast aluminum
    • Main burners: stainless steel
    • Cooking grates: WAVE™ porcelain-enameled cast iron
    • Searing plates: dual-level stainless steel
    • Warming rack: stainless steel
    • Controls: ergonomic and sturdy
    • Lid: with elegant design
    • Color: matte black
  • Product Dimensions
    • Height: 57.6 cm
    • Height with lid open: 95.7 cm
    • Width: 84.6 cm
    • Depth: 67.5 cm
  • Warranty
    • 15-year limited warranty

🍗 Lemon and Herb-Marinated Chicken with Grilled Baby Potatoes

This recipe is designed to make the most of a built-in gas grill with multiple burners, a lid, and ample cooking surface. The idea is to first use a higher-heat zone to sear the chicken, then switch to a lower-heat zone to finish cooking with more control.

Ingredients (4 servings)

  • 1 whole chicken, butterfly-cut, about 1.6 to 1.8 kg
  • 800 g baby potatoes
  • 2 lemons
  • 30 ml extra virgin olive oil
  • 4 garlic cloves
  • 1 tablespoon chopped rosemary
  • 1 tablespoon chopped thyme
  • 1 teaspoon sweet paprika
  • Salt to taste
  • Black pepper to taste

Step 1. Prepare the chicken

Take the chicken out of the refrigerator well in advance so it loses its surface chill. Pat it dry thoroughly with paper towels, especially the skin, so it browns better on the grill. Check that it’s fully opened and press lightly on the breast to flatten it as much as possible. This helps ensure even cooking.

Step 2. Make the marinade

Squeeze 1 lemon into a bowl and mix the juice with the olive oil, minced garlic, rosemary, thyme, paprika, salt, and pepper. Stir well until the mixture is smooth. It should have a fluid texture so it spreads easily over the entire surface of the chicken.

Step 3. Marinate the chicken

Coat the chicken on both sides, paying special attention to the thighs, drumsticks, and breast. Ideally, the marinade should also penetrate the areas near the joints. Let it rest, covered, so it absorbs the flavor. While it rests, prepare the side dish.

Step 4. Prepare the potatoes

Wash the baby potatoes thoroughly. If some are larger, cut them in half so they’re all similar in size and cook more evenly. Toss them with a little oil, salt, pepper, and the zest of the second lemon. Stir until they’re well coated.

Step 5. Set up the grill

Preheat the grill with the lid closed until it’s ready for cooking. Before placing the food on the grill, brush the grates and lightly oil them if necessary. Set up two cooking zones: a zone with more intense heat to sear the chicken at the start and another zone with gentler heat to finish cooking it with the lid closed without burning the outside.

Step 6. Sear the chicken

Place the chicken skin-side down on the hottest zone. Lay it flat and avoid moving it once it’s in place so the skin can start to brown properly. Leave it long enough until you see color, light grill marks, and firmer skin. If you try to move it too soon, it will tend to stick more.

Step 7. Move it to a gentler heat

Once the skin is well-seared, flip the chicken and move it to the coolest part of the grill. Close the lid and let it finish cooking slowly. During this phase, check the thickest parts—especially the breast and thighs—from time to time. If any part browns too much too soon, move it to an even cooler spot.

Step 8. Cook the potatoes at the same time

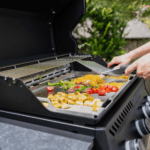
While the chicken continues to cook, place the potatoes on the main grill, in a medium-heat zone. You can also use a grill-safe tray or container if you prefer to handle them more easily. Turn them occasionally so they brown on all sides. The goal is for them to be cooked through on the inside and lightly charred on the outside. If you see that they’re ready before the chicken, you can move them to the warming rack to keep them warm without over-browning them.

Step 9. Add the lemon to the grill

Cut the second lemon into halves or quarters and place it cut-side down for the last few minutes. This will lightly caramelize it and mellow out some of its sharpness. You can then squeeze it over the chicken just before serving to enhance the aroma and add a fresher finish.

Step 10. Check for doneness

Before removing the chicken, check the junction between the thigh and drumstick in particular, as this is usually the area that takes the longest. The meat should look well-done, and the juices should not appear pink. If the breast is already done but the thigh needs a little more time, leave the chicken in the low-heat zone for a few more minutes, always with the lid closed.

Step 11. Resting and carving

Remove the chicken from the grill and let it rest for a few minutes before carving. This resting period helps the juices settle and makes the meat more tender when served. First, cut the chicken into quarters, then separate the breasts or portions depending on how you plan to serve it.

Step 12. Plating

Serve the chicken with the golden baby potatoes and finish by squeezing the roasted lemon over the top. If you want a more visually appealing presentation, add a few fresh rosemary or thyme leaves just before bringing it to the table.