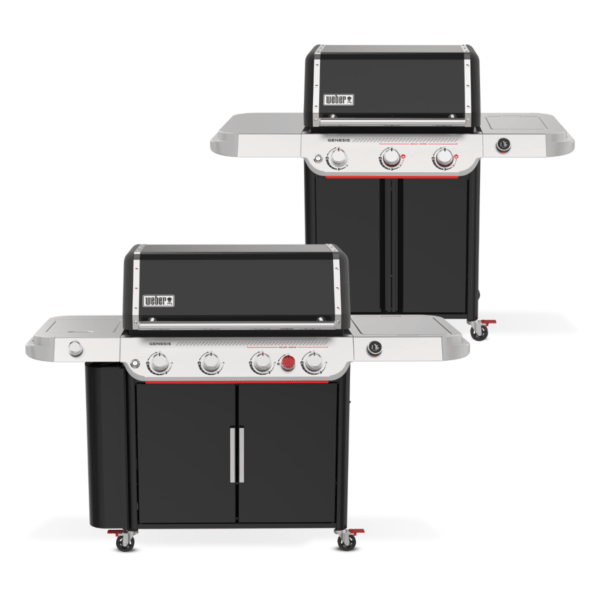
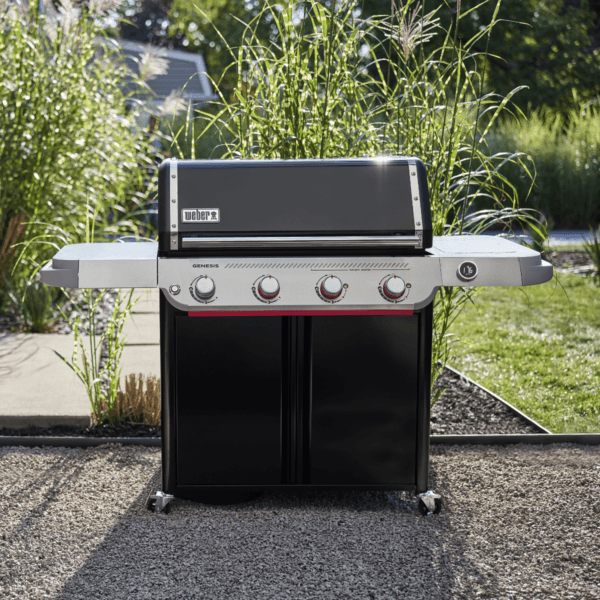
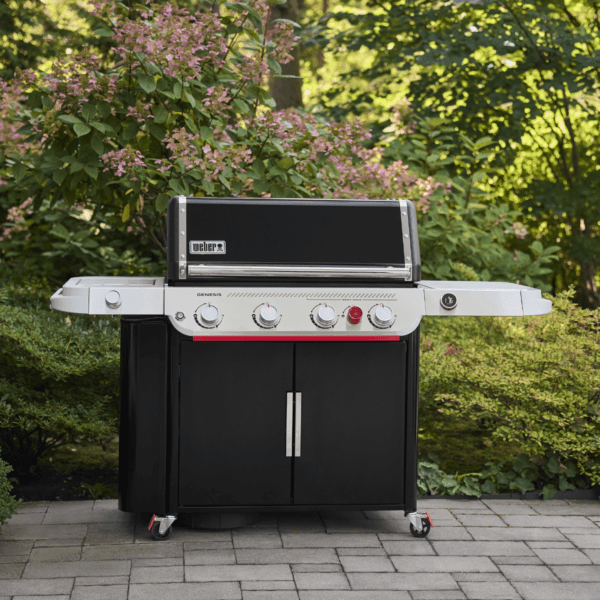
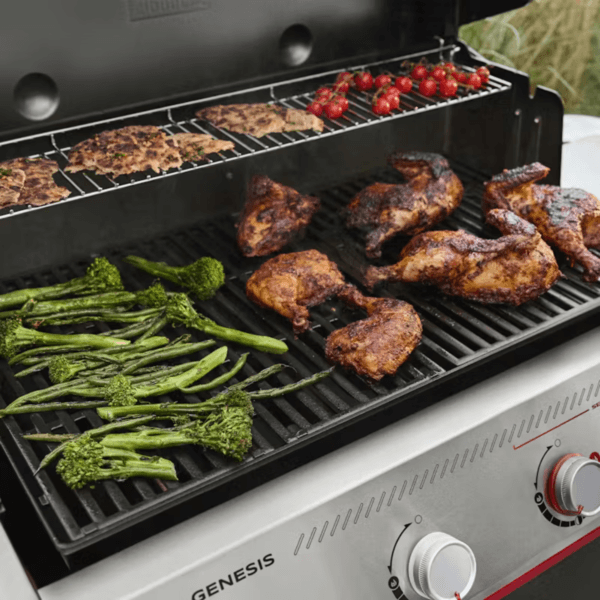
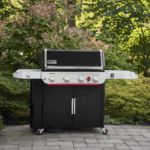
The Weber Genesis Smart gas barbecue is designed for those who want to make a clear leap from a conventional gas barbecue and are looking for a more complete, more precise and more ambitious outdoor cooking experience. Within the Genesis Smart family, Weber combines power, digital cooking assistance and a configuration aimed at cooking with more control and more comfort. In this range, connectivity, the specific sealing area and a proposal clearly focused on a user who wants to go beyond a basic barbecue to enjoy a more serious, more functional and more versatile outdoor kitchen stand out.
🔩 Materials and construction with premium presence
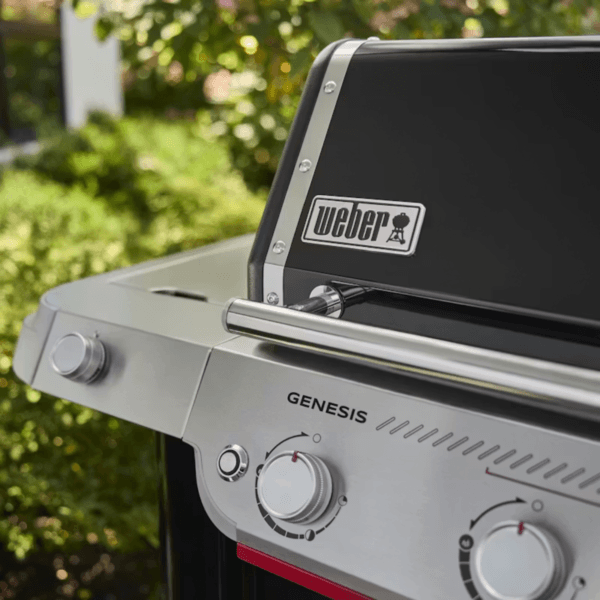
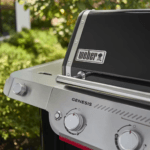
From the first glance, the Weber Genesis Smart conveys the feeling of a robust, contemporary product that is clearly superior to that of a standard barbecue. Its design shows a very careful integration between lid, body and side tables, with a front with a technical presence and large controls that reinforce its premium character. It is not just a question of aesthetics: visually, it is perceived as a barbecue ready to become the centre of an outdoor cooking area and to accompany frequent use with a solid and well-resolved image.
That sense of solidity fits with the approach of the Genesis family, ready and designed to offer a more complete and evolved user experience. It is a range that feels designed for users who value both performance and the environment in which they cook, with a presence that works particularly well on terraces, gardens and porches where the barbecue is part of the whole experience and not just a one-off meal.
📱 Smart functionalities and real cooking control
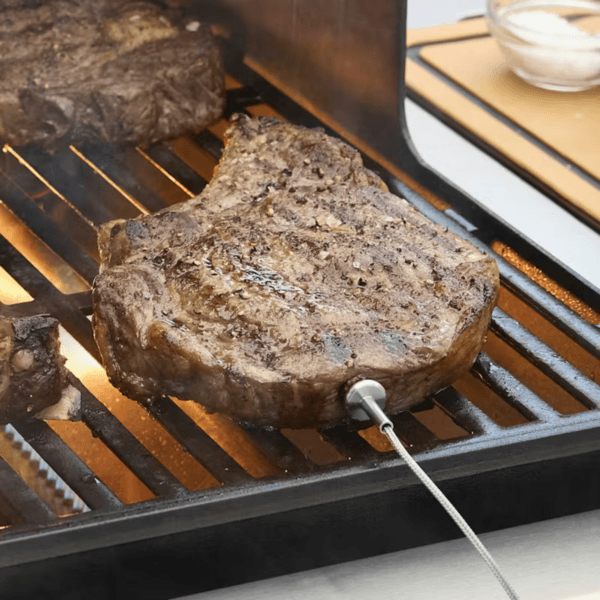
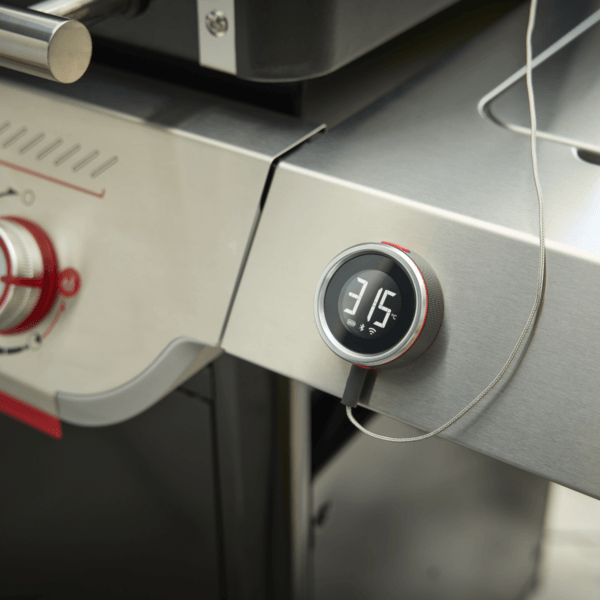
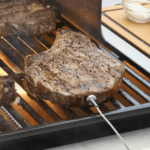
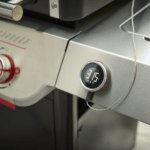
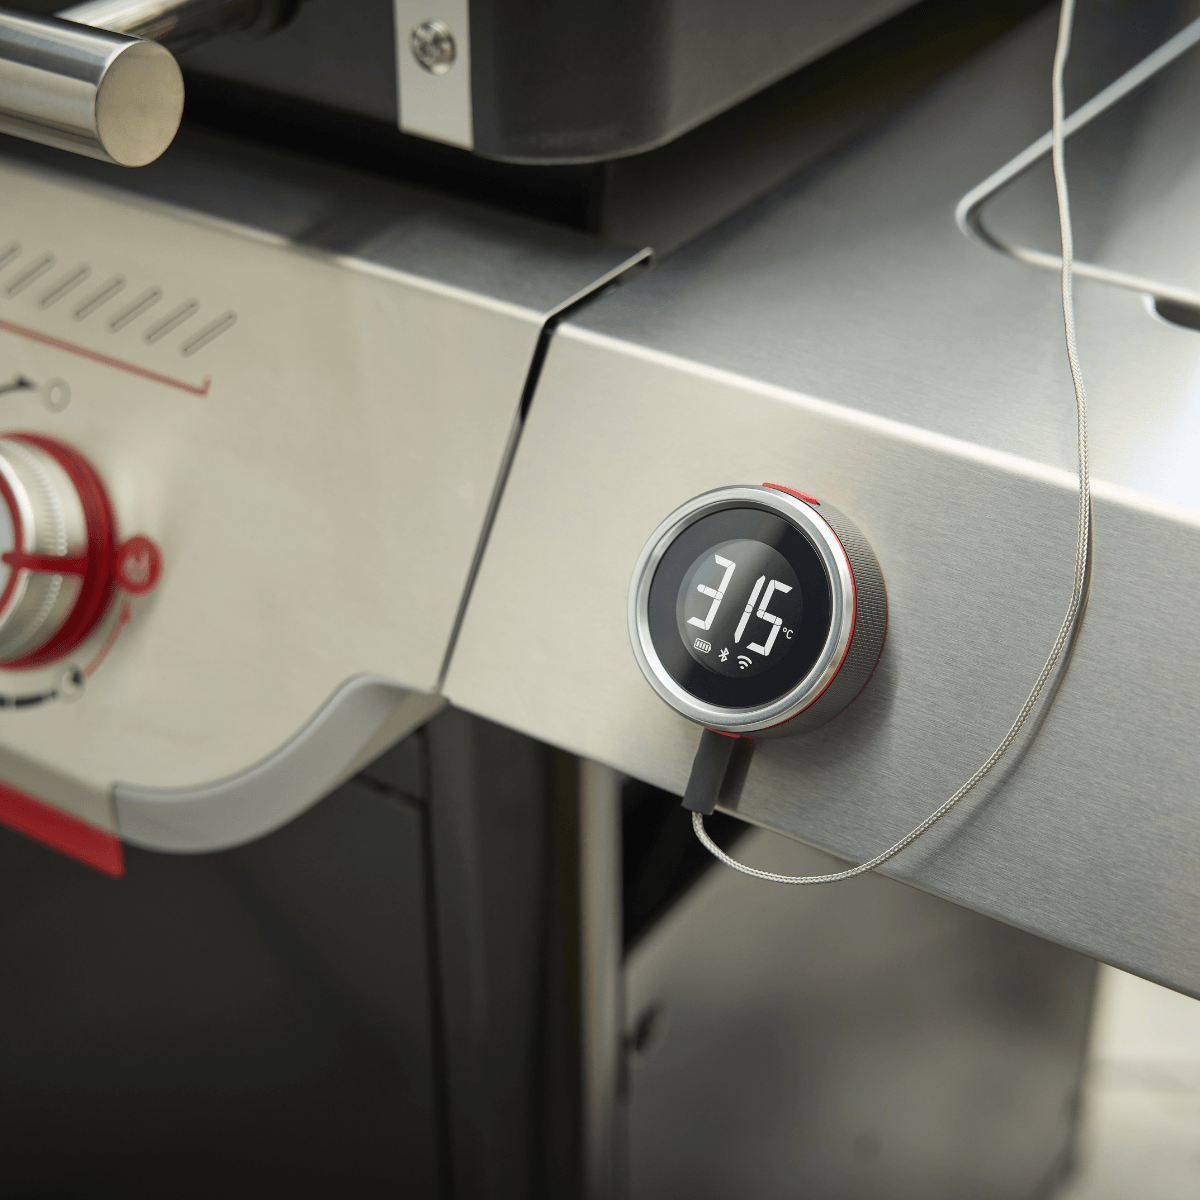
One of the big differentiators of this Weber Genesis smart gas barbecue is that connectivity has a practical and visible application in everyday use. The Smart range is designed to offer a more guided cooking experience, with greater traceability and more precise control of the process. This means more convenient, tidier cooking with less room for error, which is especially valuable when you want to cook for more people or are looking for a more refined result.
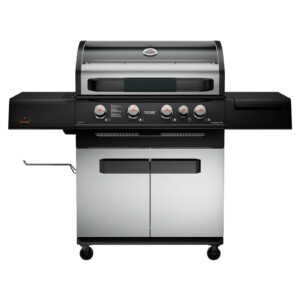
The image fits particularly well with this block because it shows the technological character of the product: a front digital control with visible reading and a visual integration that helps to communicate that we are not in front of a conventional gas barbecue, but before an equipment with a more advanced proposal. This intelligent component has a real practical value for those who want to cook with more peace of mind and a more modern and connected user experience.
🔥 Performance and power for cooking with more ambition
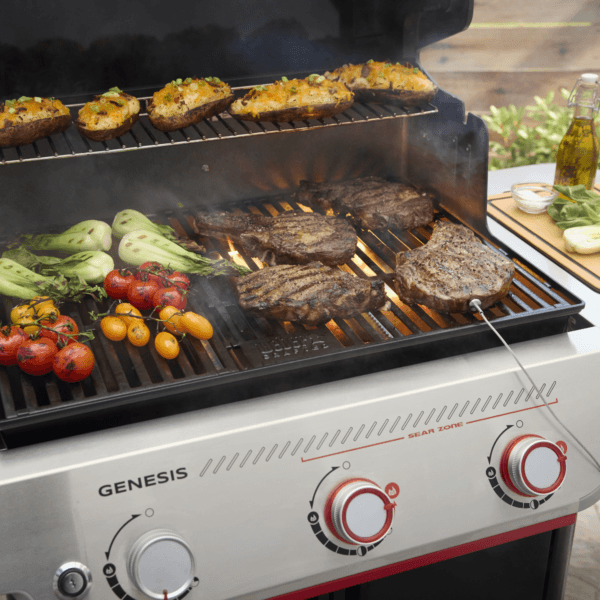
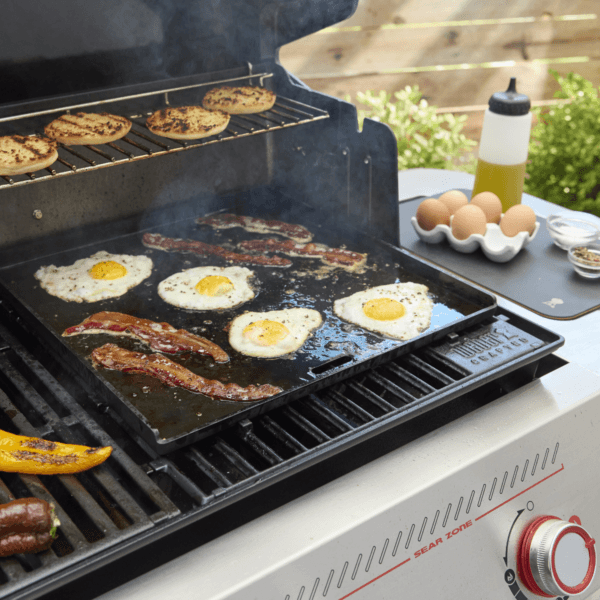
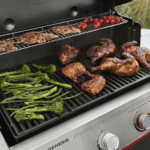
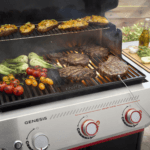
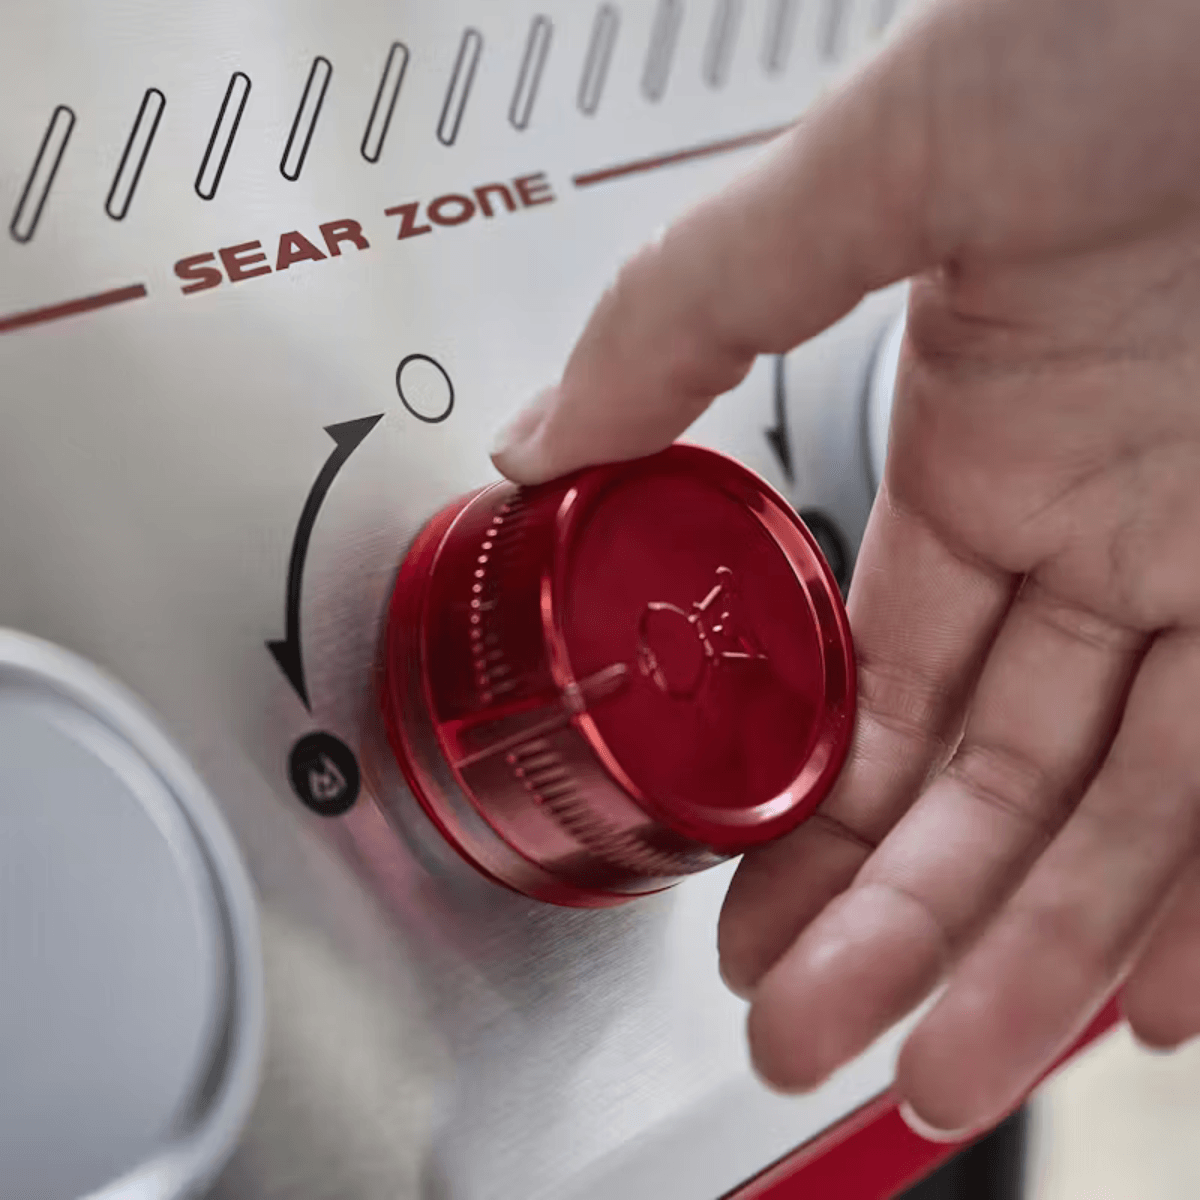
The Genesis Smart family is focused on delivering a more complete cooking experience than a basic barbecue, and one of its key features is the ability to work harder when the recipe calls for it. This is where the Sear Zone comes into play, one of the most attractive functions in the range for those who value a more powerful sear and a more marked finish on meats, vegetables or pieces with a greater presence on the grill. Depending on the model you choose, it will have its own independent burner (as shown in the image) or will be integrated into two of the burners.
The image of this block is the one that best helps to communicate this concept, as it clearly shows the identification of the Sear Zone and the specific control associated with this function. This visually reinforces the idea of a barbecue designed to cook with intention, with room for better marking, intensifying the heat in a specific zone and getting more out of each cooking. It’s not just about having power, it’s about having a more intelligent use of that power.
🧩 Design, integration and compatibilities for a more complete outdoor kitchen
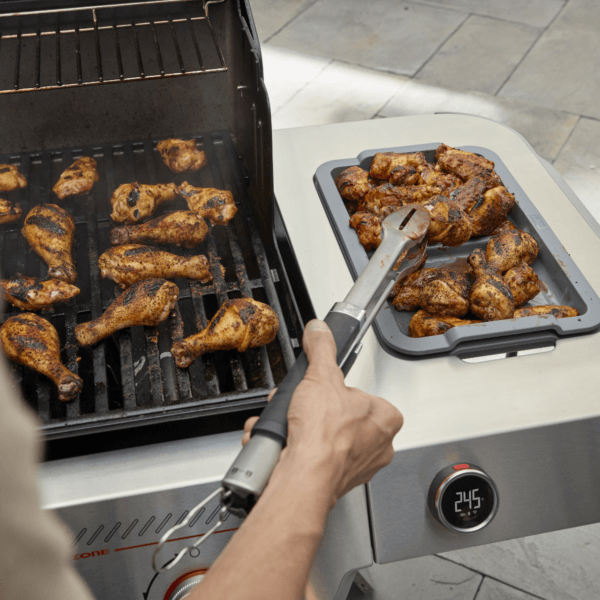
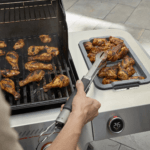
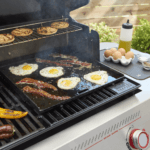
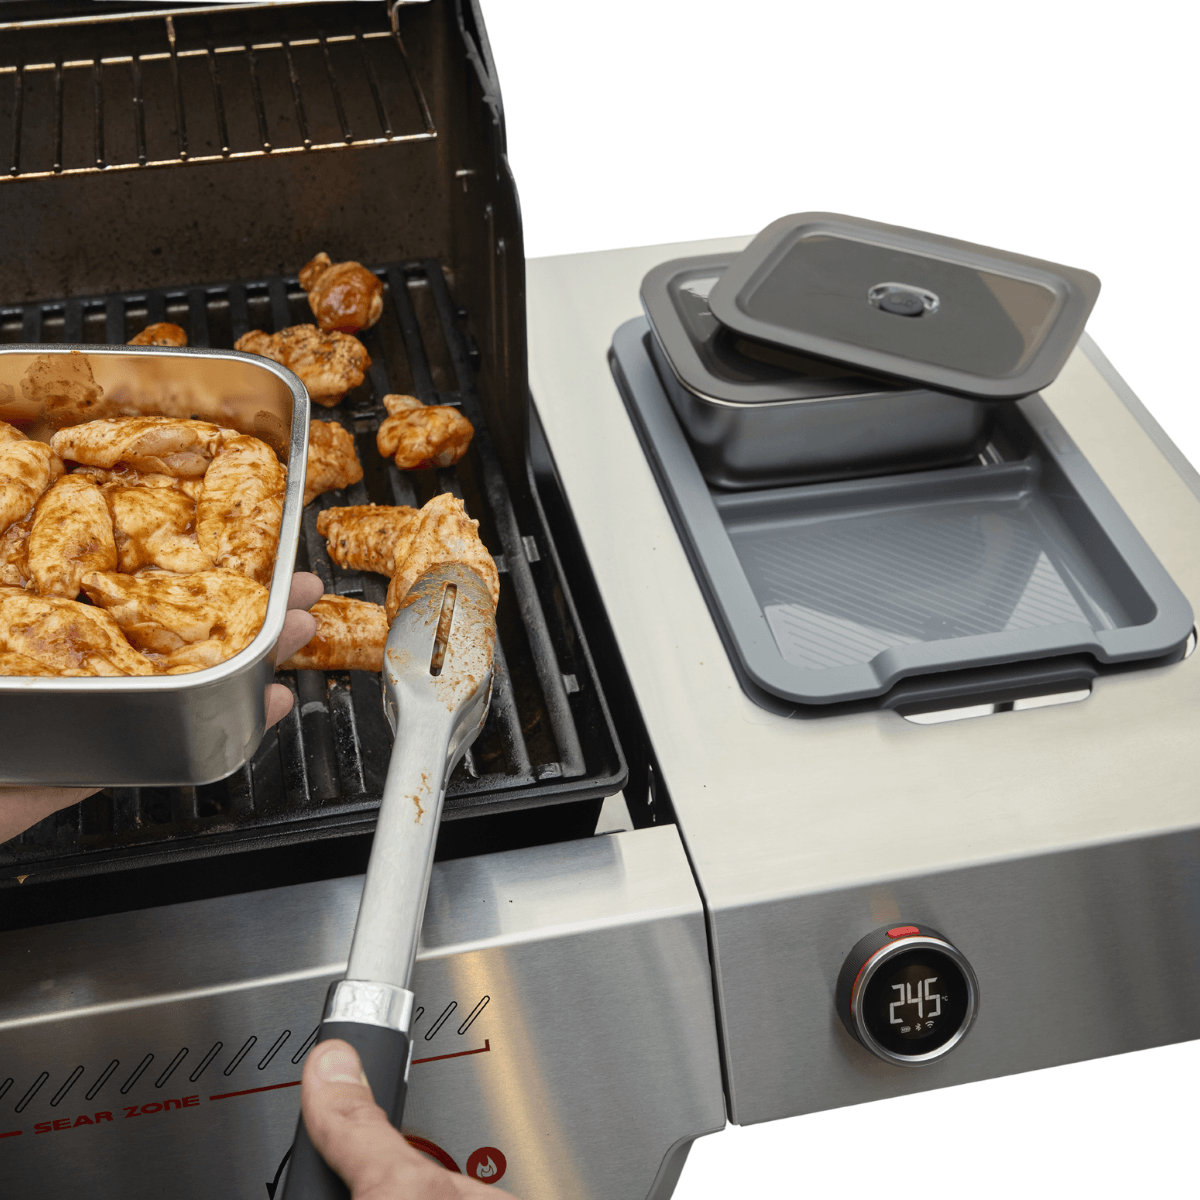
The Genesis Smart works especially well for the user who doesn’t just want a barbecue, but a centrepiece within their outdoor space. Its design and configuration allow it to be seen as a much more complete solution, ready to accompany an organised, comfortable and more versatile outdoor kitchen. This is especially attractive for those who often cook for more people and value both the capacity of the grill and the work environment that surrounds it.
This image shows this practical integration very well: the side support, the preparation of ingredients and the sense of order during cooking help to reinforce the message of a barbecue designed to function as a more complete whole. This approach fits very well with the user profile that is looking for versatility, more comfort and a more professional outdoor experience.
🍖 Uses, ease of use and real practical value
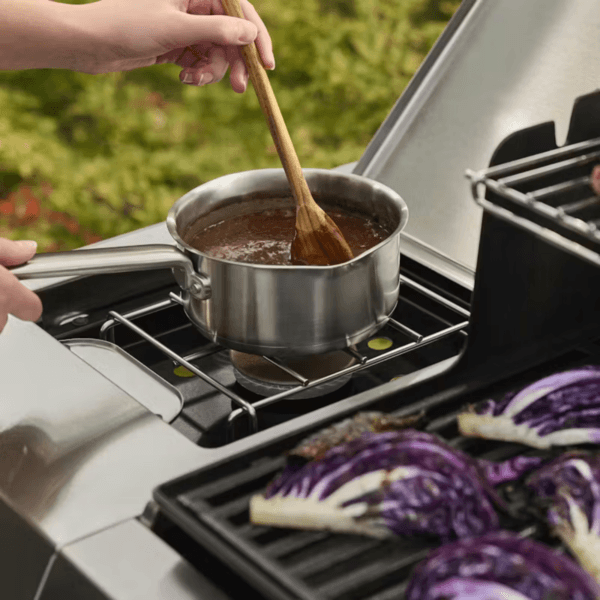
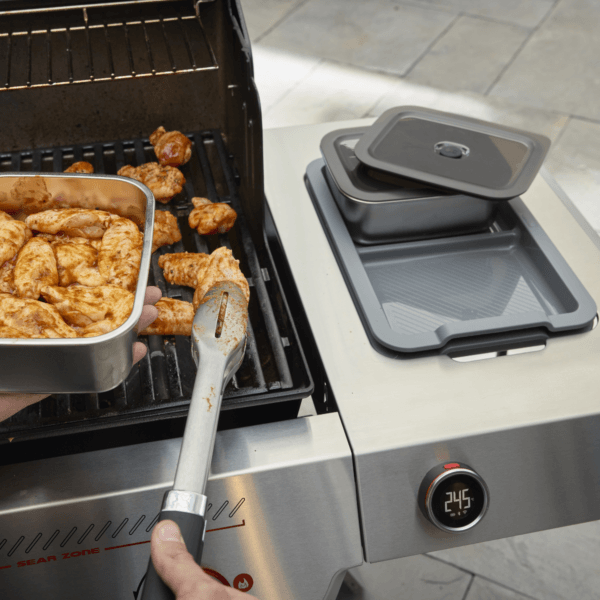
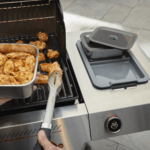
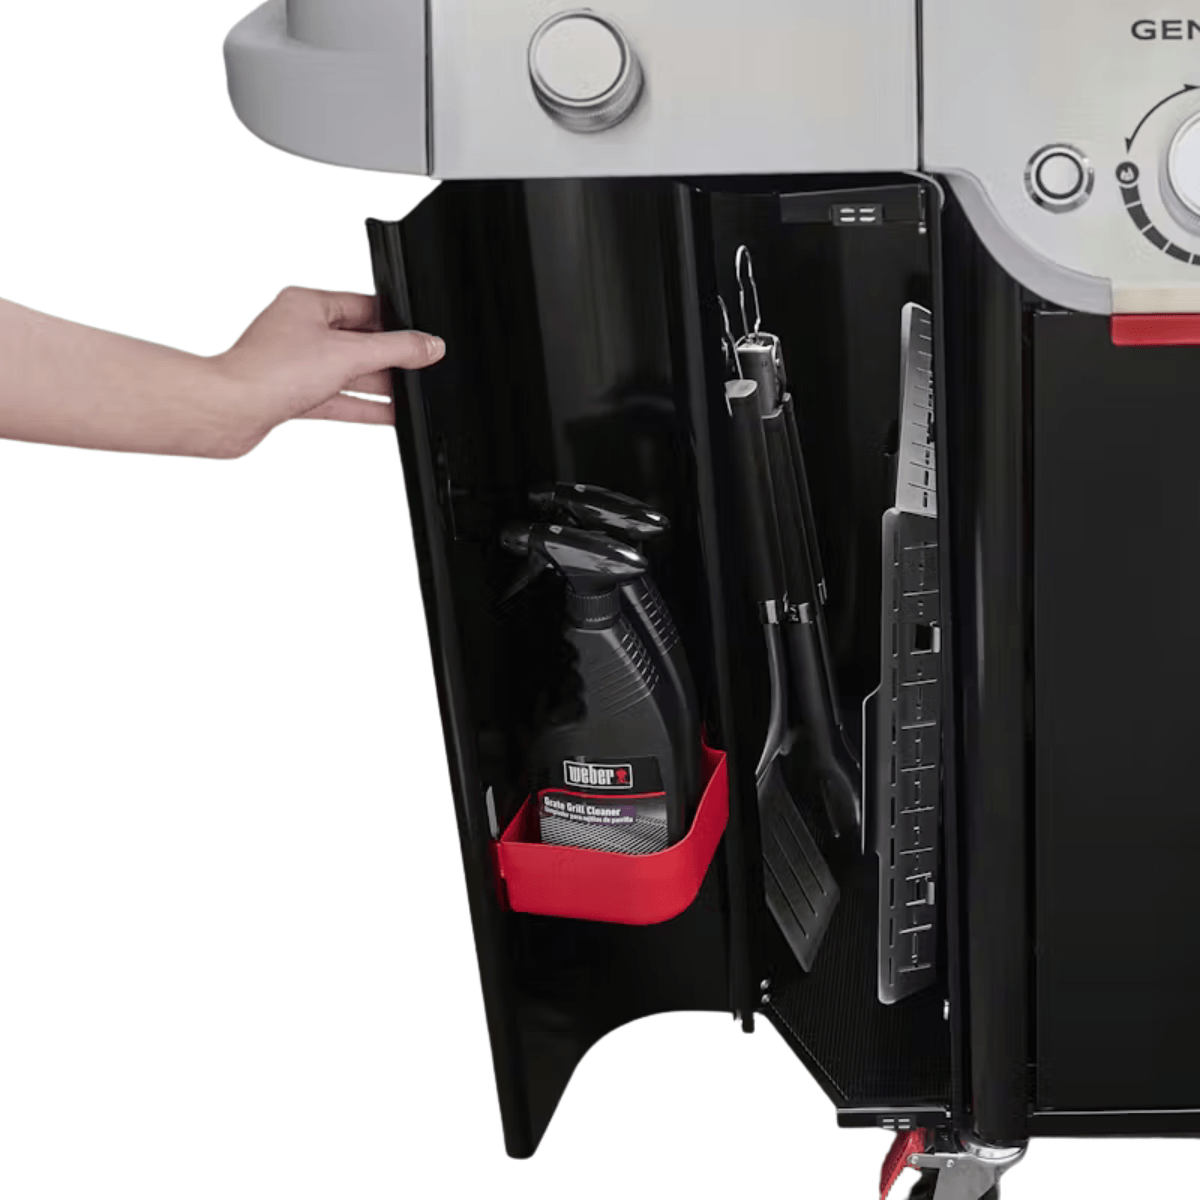
This Weber Genesis smart gas barbecue is a great fit for an enthusiastic user who wants to cook on a higher level, but also with greater ease. The combination of control, connectivity, sealing zone and workspace organisation makes the set-up particularly interesting for those who want to repeat better results and enjoy the whole process more, not just the final moment of serving the food.
The image of this block reinforces the practical value of the product very well, as it reveals an integrated storage area that helps to keep accessories and utensils closer at hand (depending on the model, it may or may not have this extra space). This part of the design provides real day-to-day convenience and scores points for a more orderly use before, during and after cooking. All this makes this range a very solid proposal for those who are looking for a premium, functional and really smart gas barbecue.
📊 Comparison of variations
Within this family, the more compact variants are a very interesting option for those who want a premium smart gas barbecue with a more balanced and easy-to-integrate format. The larger versions, on the other hand, are better suited to those who frequently cook for more people or who want to work on several dishes at the same time with greater convenience. In both cases, the big difference compared to a conventional barbecue lies in the sum of connectivity, control, sealing area and better organisation of the work around the grill.
| Variation |
Capacity approach |
Number of burners |
Cooking grill dimensions |
Intelligent functions |
Light |
Type of grills |
Folding side table |
Side burner |
Extra storage space |
| Genesis EX-325W |
Most contained format in the range |
3 |
68 × 48 cm |
Digital Wi-Fi thermometer, Weber Connect connectivity and Sear Zone boost |
No |
Weber Crafted Gourmet BBQ System grids |
Yes, right side |
No |
No |
| Genesis EX-425W |
More working range for more diners |
4 |
86 × 48 cm |
Digital Wi-Fi thermometer, Weber Connect connectivity and Sear Zone boost |
No |
Weber Crafted Gourmet BBQ System grids |
Yes, right side |
No |
No |
| Genesis EXP-325W |
Balanced option for intensive domestic use |
3 + 1 burner for sealing |
68 × 48 cm |
Digital Wi-Fi thermometer, Weber Connect and separate Sear Zone connectivity |
Yes, Nightvision LED light integrated in handle |
Weber Crafted Gourmet BBQ System grates + extendable top grate |
Yes, right side |
Yes |
Yes, left side accessory compartment |
| Genesis EXP-425W |
Larger capacity for larger services |
4 + 1 burner for sealing |
86 × 48 cm |
Digital Wi-Fi thermometer, Weber Connect connectivity and separate Sear Zone |
Yes, Nightvision LED light integrated in handle |
Weber Crafted Gourmet BBQ System grates + extendable top grate |
Yes, right side |
Yes |
Yes, left side accessory compartment |
Use and Maintenance
General Use and Maintenance Plan for the Weber Genesis Smart Series
Since this is a versatile product line with a very similar approach to use across versions, it makes sense to follow a
common general plan. Differences in capacity or features between models do not alter the core principles of use: preheat thoroughly, cook in zones, clean regularly, and inspect contact and support surfaces to maintain consistent performance and ensure a safer user experience.
Before Each Use
- Place the grill on a stable, well-ventilated surface.
- Check that the lid, side tables, and controls are clean and free of grease or accumulated dirt.
- Visually inspect the cooking grates to ensure there is no residue left over from previous use.
- Verify that the drip pan or grease collection system is not full.
- If you’re using smart features, make sure the display and probes are clean and ready to go.
- Preheat the grill with the lid closed before you start cooking. This helps stabilize the cooking process and makes cleaning the grill easier afterward.
- Once preheated, brush the grill with a suitable tool to remove surface residue.
During cooking
- Organize the grill into heat zones for more precise cooking.
- Reserve the hottest zone for searing and a milder one for finishing large or delicate cuts.
- Avoid overcrowding the cooking surface so that heat can circulate better.
- Use the side tables to keep ingredients, utensils, and serving trays more organized.
- If you’re cooking meat, fish, or vegetables with different cooking times, add the items that require longer cooking first.
- Whenever possible, avoid constantly opening the lid to maintain thermal stability.
- If you use probes or digital controls, keep them clean and handle them with care to ensure they remain in good working order.
After each use
- Let the grill remain lit for a few minutes to help char any surface residue.
- Turn off the grill by following the usual procedure for closing the controls and shutting off the gas supply.
- Wait for it to cool down sufficiently before handling the internal parts.
- Brush the grates again to remove any cooking residue.
- Clean the side tables and the outside of the lid with a soft cloth.
- Empty or check the grease collection system if residue has accumulated.
- Store the accessories and utensils in the storage area once everything is completely dry.
Regular Maintenance
- Perform a more thorough cleaning of the grates as often as required by actual use of the grill.
- Check the inside of the grill pan and the areas near the burners to prevent grease buildup.
- Periodically check the condition of the sensors, cables, and control elements if you regularly use the smart features.
- Keep the exterior surfaces clean to better preserve the product’s overall appearance.
- Check the lower compartment or storage area to prevent moisture, food residue, or accumulated dirt.
- If you won’t be using the grill for a while, leave it clean, dry, and protected.
Best Practices for Use
- Do not clean the barbecue while it is hot, except for light brushing of the grates when necessary.
- Do not store damp utensils in the storage area.
- Do not allow grease to accumulate over several consecutive uses.
- Do not force the controls, lids, or moving parts.
- Cook better through control and organization of zones rather than constant high intensity.
Practical Value for the User
Proper maintenance not only helps preserve the Genesis Smart’s appearance but also enhances the cooking experience, facilitates daily use, and ensures more consistent performance over time. In a line designed for users who want to go beyond a conventional barbecue, ensuring cleanliness, organization, and proper preparation before each use is part of getting the most out of the product.
Use and MaintenanceGeneral Use and Maintenance Plan for the Weber Genesis Smart SeriesSince this is a versatile product line with a very similar approach to use across versions, it makes sense to follow a
common general plan. Differences in capacity or features between models do not alter the core principles of use: preheat thoroughly, cook in zones, clean regularly, and inspect contact and support surfaces to maintain consistent performance and ensure a safer user experience.
Before Each Use
- Place the grill on a stable, well-ventilated surface.
- Check that the lid, side tables, and controls are clean and free of grease or accumulated dirt.
- Visually inspect the cooking grates to ensure there is no residue left over from previous use.
- Verify that the drip pan or grease collection system is not full.
- If you’re using smart features, make sure the display and probes are clean and ready to go.
- Preheat the grill with the lid closed before you start cooking. This helps stabilize the cooking process and makes cleaning the grill easier afterward.
- Once preheated, brush the grill with a suitable tool to remove surface residue.
During cooking
- Organize the grill into heat zones for more precise cooking.
- Reserve the hottest zone for searing and a milder one for finishing large or delicate cuts.
- Avoid overcrowding the cooking surface so that heat can circulate better.
- Use the side tables to keep ingredients, utensils, and serving trays more organized.
- If you’re cooking meat, fish, or vegetables with different cooking times, add the items that require longer cooking first.
- Whenever possible, avoid constantly opening the lid to maintain thermal stability.
- If you use probes or digital controls, keep them clean and handle them with care to ensure they remain in good working order.
After each use
- Let the grill remain lit for a few minutes to help char any surface residue.
- Turn off the grill by following the usual procedure for closing the controls and shutting off the gas supply.
- Wait for it to cool down sufficiently before handling the internal parts.
- Brush the grates again to remove any cooking residue.
- Clean the side tables and the outside of the lid with a soft cloth.
- Empty or check the grease collection system if residue has accumulated.
- Store the accessories and utensils in the storage area once everything is completely dry.
Regular Maintenance
- Perform a more thorough cleaning of the grates as often as required by actual use of the grill.
- Check the inside of the grill pan and the areas near the burners to prevent grease buildup.
- Periodically check the condition of the sensors, cables, and control elements if you regularly use the smart features.
- Keep the exterior surfaces clean to better preserve the product’s overall appearance.
- Check the lower compartment or storage area to prevent moisture, food residue, or accumulated dirt.
- If you won’t be using the grill for a while, leave it clean, dry, and protected.
Best Practices for Use
- Do not clean the barbecue while it is hot, except for light brushing of the grates when necessary.
- Do not store damp utensils in the storage area.
- Do not allow grease to accumulate over several consecutive uses.
- Do not force the controls, lids, or moving parts.
- Cook better through control and organization of zones rather than constant high intensity.
Practical Value for the User
Proper maintenance not only helps preserve the Genesis Smart’s appearance but also enhances the cooking experience, facilitates daily use, and ensures more consistent performance over time. In a line designed for users who want to go beyond a conventional barbecue, ensuring cleanliness, organization, and proper preparation before each use is part of getting the most out of the product.
Use and MaintenanceGeneral Use and Maintenance Plan for the Weber Genesis Smart SeriesSince this is a versatile product line with a very similar approach to use across versions, it makes sense to follow a
common general plan. Differences in capacity or features between models do not alter the core principles of use: preheat thoroughly, cook in zones, clean regularly, and inspect contact and support surfaces to maintain consistent performance and ensure a safer user experience.
Before Each Use
- Place the grill on a stable, well-ventilated surface.
- Check that the lid, side tables, and controls are clean and free of grease or accumulated dirt.
- Visually inspect the cooking grates to ensure there is no residue left over from previous use.
- Verify that the drip pan or grease collection system is not full.
- If you’re using smart features, make sure the display and probes are clean and ready to go.
- Preheat the grill with the lid closed before you start cooking. This helps stabilize the cooking process and makes cleaning the grill easier afterward.
- Once preheated, brush the grill with a suitable tool to remove surface residue.
During cooking
- Organize the grill into heat zones for more precise cooking.
- Reserve the hottest zone for searing and a milder one for finishing large or delicate cuts.
- Avoid overcrowding the cooking surface so that heat can circulate better.
- Use the side tables to keep ingredients, utensils, and serving trays more organized.
- If you’re cooking meat, fish, or vegetables with different cooking times, add the items that require longer cooking first.
- Whenever possible, avoid constantly opening the lid to maintain thermal stability.
- If you use probes or digital controls, keep them clean and handle them with care to ensure they remain in good working order.
After each use
- Let the grill remain lit for a few minutes to help char any surface residue.
- Turn off the grill by following the usual procedure for closing the controls and shutting off the gas supply.
- Wait for it to cool down sufficiently before handling the internal parts.
- Brush the grates again to remove any cooking residue.
- Clean the side tables and the outside of the lid with a soft cloth.
- Empty or check the grease collection system if residue has accumulated.
- Store the accessories and utensils in the storage area once everything is completely dry.
Regular Maintenance
- Perform a more thorough cleaning of the grates as often as required by actual use of the grill.
- Check the inside of the grill pan and the areas near the burners to prevent grease buildup.
- Periodically check the condition of the sensors, cables, and control elements if you regularly use the smart features.
- Keep the exterior surfaces clean to better preserve the product’s overall appearance.
- Check the lower compartment or storage area to prevent moisture, food residue, or accumulated dirt.
- If you won’t be using the grill for a while, leave it clean, dry, and protected.
Best Practices for Use
- Do not clean the barbecue while it is hot, except for light brushing of the grates when necessary.
- Do not store damp utensils in the storage area.
- Do not allow grease to accumulate over several consecutive uses.
- Do not force the controls, lids, or moving parts.
- Cook better through control and organization of zones rather than constant high intensity.
Practical Value for the User
Proper maintenance not only helps preserve the Genesis Smart’s appearance but also enhances the cooking experience, facilitates daily use, and ensures more consistent performance over time. In a line designed for users who want to go beyond a conventional barbecue, ensuring cleanliness, organization, and proper preparation before each use is part of getting the most out of the product.
Use and MaintenanceGeneral Use and Maintenance Plan for the Weber Genesis Smart SeriesSince this is a versatile product line with a very similar approach to use across versions, it makes sense to follow a
common general plan. Differences in capacity or features between models do not alter the core principles of use: preheat thoroughly, cook in zones, clean regularly, and inspect contact and support surfaces to maintain consistent performance and ensure a safer user experience.
Before Each Use
- Place the grill on a stable, well-ventilated surface.
- Check that the lid, side tables, and controls are clean and free of grease or accumulated dirt.
- Visually inspect the cooking grates to ensure there is no residue left over from previous use.
- Verify that the drip pan or grease collection system is not full.
- If you’re using smart features, make sure the display and probes are clean and ready to go.
- Preheat the grill with the lid closed before you start cooking. This helps stabilize the cooking process and makes cleaning the grill easier afterward.
- Once preheated, brush the grill with a suitable tool to remove surface residue.
During cooking
- Organize the grill into heat zones for more precise cooking.
- Reserve the hottest zone for searing and a milder one for finishing large or delicate cuts.
- Avoid overcrowding the cooking surface so that heat can circulate better.
- Use the side tables to keep ingredients, utensils, and serving trays more organized.
- If you’re cooking meat, fish, or vegetables with different cooking times, add the items that require longer cooking first.
- Whenever possible, avoid constantly opening the lid to maintain thermal stability.
- If you use probes or digital controls, keep them clean and handle them with care to ensure they remain in good working order.
After each use
- Let the grill remain lit for a few minutes to help char any surface residue.
- Turn off the grill by following the usual procedure for closing the controls and shutting off the gas supply.
- Wait for it to cool down sufficiently before handling the internal parts.
- Brush the grates again to remove any cooking residue.
- Clean the side tables and the outside of the lid with a soft cloth.
- Empty or check the grease collection system if residue has accumulated.
- Store the accessories and utensils in the storage area once everything is completely dry.
Regular Maintenance
- Perform a more thorough cleaning of the grates as often as required by actual use of the grill.
- Check the inside of the grill pan and the areas near the burners to prevent grease buildup.
- Periodically check the condition of the sensors, cables, and control elements if you regularly use the smart features.
- Keep the exterior surfaces clean to better preserve the product’s overall appearance.
- Check the lower compartment or storage area to prevent moisture, food residue, or accumulated dirt.
- If you won’t be using the grill for a while, leave it clean, dry, and protected.
Best Practices for Use
- Do not clean the barbecue while it is hot, except for light brushing of the grates when necessary.
- Do not store damp utensils in the storage area.
- Do not allow grease to accumulate over several consecutive uses.
- Do not force the controls, lids, or moving parts.
- Cook better through control and organization of zones rather than constant high intensity.
Practical Value for the User
Proper maintenance not only helps preserve the Genesis Smart’s appearance but also enhances the cooking experience, facilitates daily use, and ensures more consistent performance over time. In a line designed for users who want to go beyond a conventional barbecue, ensuring cleanliness, organization, and proper preparation before each use is part of getting the most out of the product.
Use and MaintenanceGeneral Use and Maintenance Plan for the Weber Genesis Smart SeriesSince this is a versatile product line with a very similar approach to use across versions, it makes sense to follow a
common general plan. Differences in capacity or features between models do not alter the core principles of use: preheat thoroughly, cook in zones, clean regularly, and inspect contact and support surfaces to maintain consistent performance and ensure a safer user experience.
Before Each Use
- Place the grill on a stable, well-ventilated surface.
- Check that the lid, side tables, and controls are clean and free of grease or accumulated dirt.
- Visually inspect the cooking grates to ensure there is no residue left over from previous use.
- Verify that the drip pan or grease collection system is not full.
- If you’re using smart features, make sure the display and probes are clean and ready to go.
- Preheat the grill with the lid closed before you start cooking. This helps stabilize the cooking process and makes cleaning the grill easier afterward.
- Once preheated, brush the grill with a suitable tool to remove surface residue.
During cooking
- Organize the grill into heat zones for more precise cooking.
- Reserve the hottest zone for searing and a milder one for finishing large or delicate cuts.
- Avoid overcrowding the cooking surface so that heat can circulate better.
- Use the side tables to keep ingredients, utensils, and serving trays more organized.
- If you’re cooking meat, fish, or vegetables with different cooking times, add the items that require longer cooking first.
- Whenever possible, avoid constantly opening the lid to maintain thermal stability.
- If you use probes or digital controls, keep them clean and handle them with care to ensure they remain in good working order.
After each use
- Let the grill remain lit for a few minutes to help char any surface residue.
- Turn off the grill by following the usual procedure for closing the controls and shutting off the gas supply.
- Wait for it to cool down sufficiently before handling the internal parts.
- Brush the grates again to remove any cooking residue.
- Clean the side tables and the outside of the lid with a soft cloth.
- Empty or check the grease collection system if residue has accumulated.
- Store the accessories and utensils in the storage area once everything is completely dry.
Regular Maintenance
- Perform a more thorough cleaning of the grates as often as required by actual use of the grill.
- Check the inside of the grill pan and the areas near the burners to prevent grease buildup.
- Periodically check the condition of the sensors, cables, and control elements if you regularly use the smart features.
- Keep the exterior surfaces clean to better preserve the product’s overall appearance.
- Check the lower compartment or storage area to prevent moisture, food residue, or accumulated dirt.
- If you won’t be using the grill for a while, leave it clean, dry, and protected.
Best Practices for Use
- Do not clean the barbecue while it is hot, except for light brushing of the grates when necessary.
- Do not store damp utensils in the storage area.
- Do not allow grease to accumulate over several consecutive uses.
- Do not force the controls, lids, or moving parts.
- Cook better through control and organization of zones rather than constant high intensity.
Practical Value for the User
Proper maintenance not only helps preserve the Genesis Smart’s appearance but also enhances the cooking experience, facilitates daily use, and ensures more consistent performance over time. In a line designed for users who want to go beyond a conventional barbecue, ensuring cleanliness, organization, and proper preparation before each use is part of getting the most out of the product.
B Technical specificationsB data-start=‘2172’>Weber Genesis smart gas barbecue
A well-balanced option for intensive domestic usePremium model within the Smart rangeCooking system
- 3 burners + 1 searing burner
- Separate Sear Zone
- With side burner
Cooking surface
- Main grill: 68 × 48 cm
- Warming rack: extendable top rack
Connected and smart control
- Wi-Fi thermometer -Fi digital thermometer
- Weber Connect connectivity
- Smart system for monitoring and controlling cooking
Grills and highlights
- Weber Crafted Gourmet BBQ System Grates
- Extendable top rack
- Nightvision LED light integrated into the handle
- Fold-out side table on the right-hand side
Storage
- Left-hand side compartment for accessories
B Technical specifications
- Weber Genesis Smart Gas Barbecue
- The model with the largest capacity in the EX range
- Designed for cooking for more guests with more working space
Cooking system
- 4 burners
- Sear Zone boost
- No side burner
Cooking surface
Connected and smart control
- Wi-Fi -Fi digital thermometer
- Weber Connect connectivity
- Smart approach for more controlled and convenient cooking
Grills and highlights
- Weber Crafted Gourmet BBQ System Grates
- Folding side table on the right-hand side
- No integrated lighting
B Technical specifications
- Weber Genesis Smart Gas Barbecue
- The model with the largest capacity in the EX range
- Designed for cooking for more guests with more working space
Cooking system
- 4 burners
- Sear Zone boost
- No side burner
Cooking surface
Connected and smart control
- Wi-Fi -Fi digital thermometer
- Weber Connect connectivity
- Smart approach for more controlled and convenient cooking
Grills and highlights
- Weber Crafted Gourmet BBQ System Grates
- Folding side table on the right-hand side
- No integrated lighting
B Technical specifications >
Weber Genesis Smart Gas BarbecueThe most compact model in the rangeDesigned for those looking for a premium connected option in a more balanced formatCooking system
- 3 burners
- Sear Zone boost
- No side burner
Cooking surface
Connected and smart control
- Digital Wi-Fi thermometer
- Weber Connect connectivity
- Smart approach to monitoring and controlling cooking
Grills and highlights
- Weber Crafted Gourmet BBQ System grates
- Folding side table on the right-hand side
- No built-in lighting
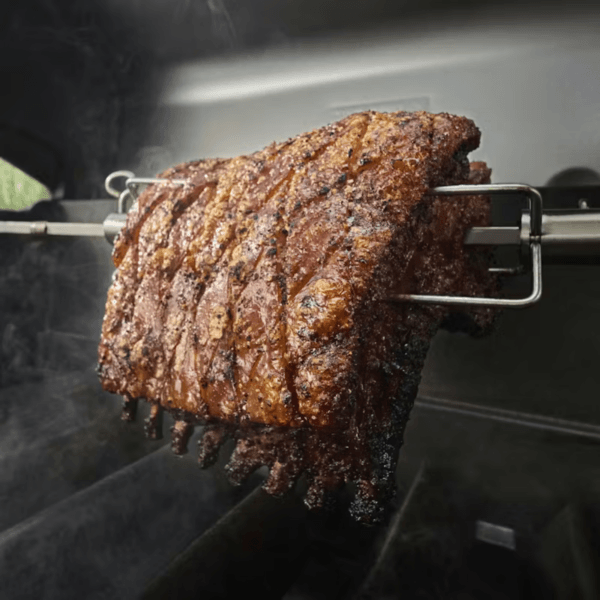
Glazed pork ribs with grilled sweetcorn
This recipe is best suited to a larger barbecue as it requires time, organisation and space to cook a main dish alongside a side dish at the same time. It is designed for gatherings or long meals, where the barbecue becomes the centrepiece of the experience.
Ingredients
- 1 pork rib
- 2 tablespoons of paprika
- 1 teaspoon of garlic powder
- 1 teaspoon of onion powder, optional
- Salt
- Ground black pepper
- Barbecue sauce to taste
- 4 corn cobs
- 2 tablespoons extra virgin olive oil
Steps to follow
- Pat the rack of pork dry thoroughly with kitchen paper.
- Mix together the paprika, garlic powder, salt, pepper and, if desired, the onion powder.
- Rub the dry mixture thoroughly over the entire surface of the rack so that it is evenly distributed.
- Leave the meat to rest whilst you prepare the barbecue.
- Preheat the barbecue and set up a medium-heat cooking zone so that the meat can cook slowly without burning on the outside.
- Place the ribs on the grill and let them cook gradually. Turn them as necessary so that the heat is distributed more evenly.
- Do not apply the barbecue sauce right at the start, as it may caramelise too quickly. It is best to add it once the meat is well on its way.
- Towards the end, brush the ribs with barbecue sauce and allow it to adhere well to the surface.
- Coat the corn cobs with olive oil and place them in another area of the grill. Turn them regularly so they brown evenly.
- When the ribs are tender and have a nice colour on the outside, remove them and let them rest for a few minutes before carving.
- Serve with the freshly roasted sweetcorn.
Useful tips
- This recipe improves greatly when cooked patiently and without excessive heat at the start.
- The sauce should be added at the end to avoid bitter flavours caused by over-caramelisation.
- If you want a more complete meal, you can serve it with coleslaw or roast potatoes.
Grilled salmon with courgette, lemon and a hint of dill
This fish recipe is the perfect way to show that a smart barbecue isn’t just for meat. Salmon requires more precise control to remain juicy, and this method makes the most of accurate, controlled cooking, with a simple side dish that doesn’t steal the limelight.
Ingredients
- 2 salmon fillets with skin
- 1 courgette
- 1 lemon
- 2 tablespoons extra virgin olive oil
- Salt
- Ground black pepper
- Dried or fresh dill, optional
- 1 teaspoon mild mustard, optional
Steps to follow
- Check that the salmon fillets have no visible bones and pat them dry thoroughly with kitchen paper.
- Cut the courgette into long strips or thick slices, depending on how you prefer to serve it.
- Prepare a light dressing with olive oil, a few drops of lemon juice, salt, pepper and a little dill if you want a more aromatic flavour.
- Lightly brush the salmon with this dressing, taking care not to use too much so that it doesn’t drip excessively onto the grill.
- Toss the courgette with a little oil and salt.
- Preheat the barbecue and prepare a medium-heat zone. For fish, it’s best to avoid excessive heat from the start.
- Place the salmon skin-side down first. Let it cook without moving it too much; this helps it keep its shape and prevents it from breaking apart.
- Cook the courgette at the same time, turning it when it starts to brown.
- Once the salmon has cooked well on the underside and looks more opaque at the sides, you can carefully turn it over briefly to finish cooking the top, although you can also finish it without turning it over if the thickness allows.
- Remove it before it overcooks; the fish should be juicy, not dry.
- Serve with a few drops of lemon juice and, if you like, a very light touch of mustard or dill.
Useful tips
- The salmon skin helps to protect the flesh during cooking.
- It’s best not to turn it too often, as it can break easily.
- If you use a wide spatula, you’ll find it easier to remove it in one piece.
- This recipe works particularly well when served with a fresh salad or some boiled potatoes.
Lemon-marinated chicken with roasted vegetables
This recipe is designed to make the most of a larger cooking surface, allowing you to cook the main protein and the side dish at the same time. It works very well when you’re cooking for several people and want to keep things organised, with enough space to move the food around comfortably.
Ingredients
- 6 chicken thighs or drumsticks
- 1 lemon
- 3 tablespoons extra virgin olive oil
- 2 cloves of garlic
- 1 teaspoon oregano or mixed dried herbs
- 1 courgette
- 1 red pepper
- 1 onion
- 1 aubergine, optional
- Salt
- Ground black pepper
Steps to follow
- Prepare the marinade by mixing the lemon juice, olive oil, chopped garlic, dried herbs, salt and pepper.
- Coat the chicken thoroughly with the mixture and leave it to rest so that it absorbs the flavour.
- Wash and cut the vegetables into large pieces. It is best not to cut them too small so that they do not burn or fall through the grill.
- Dress the vegetables with a little oil and salt.
- Preheat the barbecue and divide the space into two zones: a main one for the chicken and another for the vegetables.
- Place the chicken skin-side up initially if you want it to cook more gradually, and turn the pieces carefully so they brown evenly.
- Avoid placing them in the hottest part of the barbecue from the start, especially if the marinade contains lemon and garlic, as they may brown too quickly.
- Cook the vegetables at the same time, turning them when they start to brown on one side.
- When the chicken is well on its way, you can move it closer to a hotter area to brown the outside better and make the skin more appetising.
- Check that the chicken is cooked through, especially near the bone.
- Remove the vegetables first if they are ready and set them aside.
- Serve the freshly cooked chicken accompanied by the roasted vegetables.
Useful tips
- The more uniform the vegetable pieces are, the more even the cooking will be.
- If the chicken starts to brown too much, move it to a cooler part of the grill.
- This recipe benefits greatly from cooking with the lid closed for most of the time to ensure even cooking.
Beef entrecôte with green asparagus and roast potatoes
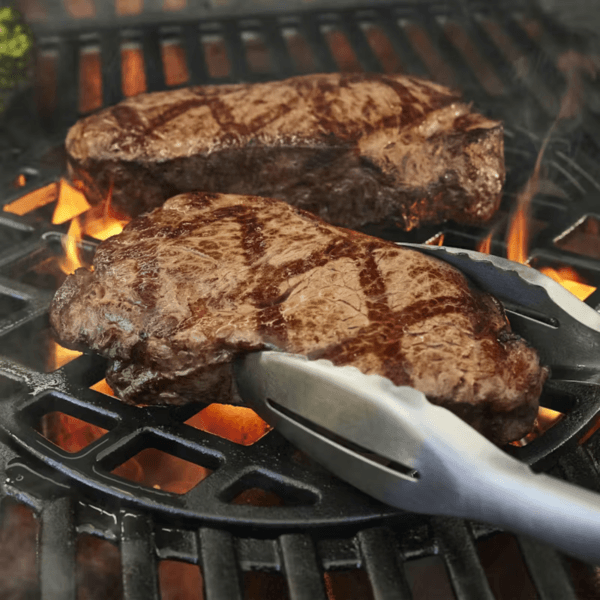
This recipe is designed to make the most of a 3-burner barbecue with a well-organised cooking process: a high-heat zone for searing the meat and a more moderate one for finishing it to the right doneness and cooking the side dish. It’s an ideal choice for a weekend meal where you’re looking for a tasty, clean result that’s easy to control.
Ingredients
- 2 good-sized beef entrecotes
- 1 bunch of green asparagus
- 2 medium potatoes
- 2 tablespoons of extra virgin olive oil
- Coarse or flaked salt
- Ground black pepper
- 1 clove of garlic, optional
- Rosemary or thyme, optional
Steps to follow
- Take the entrecotes out of the fridge in advance to bring them to room temperature. This helps ensure more even cooking.
- Wash the potatoes thoroughly and wrap them in aluminium foil with a few drops of oil and, if you like, a little rosemary or thyme.
- Wash the asparagus and trim the toughest part of the stalk.
- Preheat the barbecue with the lid closed until it is ready for cooking. Set up a hotter area for the meat and a gentler one for the potatoes and the final finishing touches.
- Place the potatoes in the medium-heat area first so they start to cook slowly.
- Toss the asparagus with a little oil and a pinch of salt. Set them aside for later.
- Pat the entrecôtes dry thoroughly with kitchen paper before placing them on the grill. This helps to create a better sear on the outside.
- Season with salt and pepper just before cooking.
- Place the entrecôtes over the hottest part of the grill and leave them undisturbed long enough for a good crust to form on the outside. Turn them over just once at this stage.
- Once both sides are well seared, move the meat to a cooler part of the grill to finish cooking to your desired doneness without burning the outside.
- While the meat is finishing, cook the asparagus on the grill until they are tender but still slightly firm.
- Check the potatoes by piercing them; they should feel soft inside.
- Remove the meat and let it rest for a few minutes before carving. This step is important to help it retain its juices better.
- Serve the entrecôte with the asparagus and the potatoes cut in half, with a little oil and salt drizzled over them if you like.
Useful tips
- Do not pierce the meat whilst cooking to prevent it from losing its juices.
- If the entrecôte is thick, it is best to sear it first and then finish cooking it in a less intense heat zone.
- Asparagus cooks quickly, so it is best to add it when the meat is nearly done.