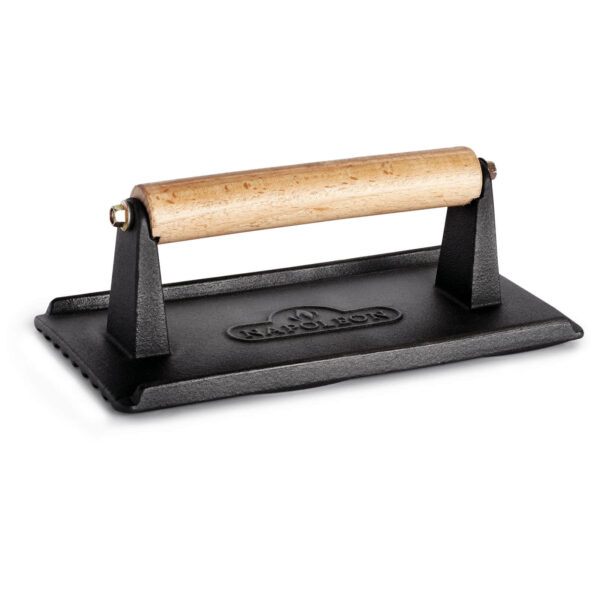
The Cast Iron Burger Press is an essential accessory for fans of smash burgers and other grilled delicacies. Its superior cast iron construction ensures durability and efficiency, ideal for those looking for the best equipment for their kitchen or grill.
Superior Cast Iron Quality
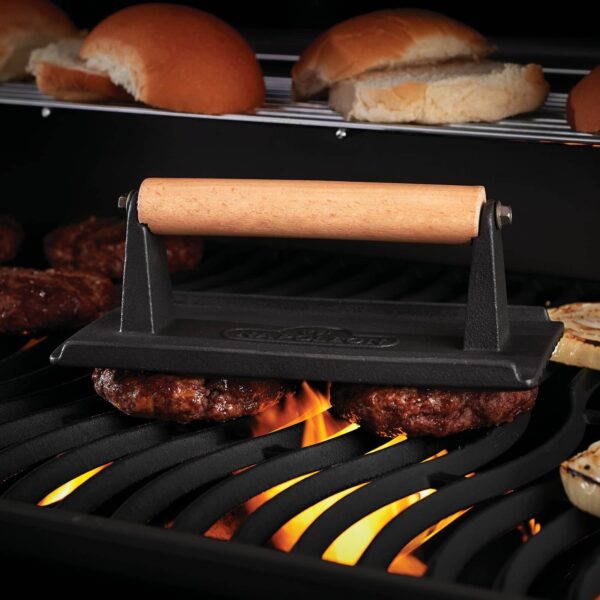
Cast iron is known for its excellent heat retention and even heat distribution. The cast iron burger press is perfect for precision cooking, ensuring that every burger is evenly cooked and has a delicious crispy crust.
Designed for Smash Burgers and More
This press is not only ideal for smash burgers, but also suits a variety of other recipes. Its versatile design makes it perfect for cooking crispy bacon, grilled cheeses and more, expanding the possibilities in the kitchen.
Efficient and Uniform Cooking
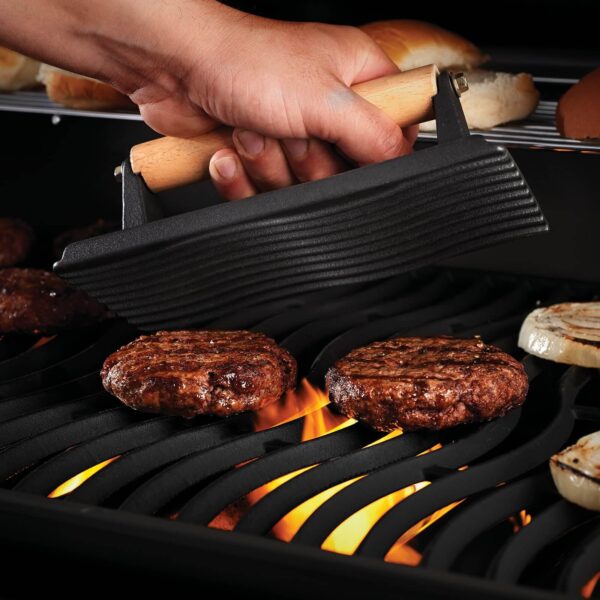
The press allows you to preheat along with the grill, ensuring that burgers and other foods cook evenly. This not only improves flavour, but also reduces cooking time, making meal preparation more efficient.
Safety Handle and Ergonomic Design
With a steel handle coated in wood, this press ensures safe and comfortable handling. The ergonomic design makes it easy to use, allowing you to press and turn food easily and safely.
Perfect Size for Various Applications
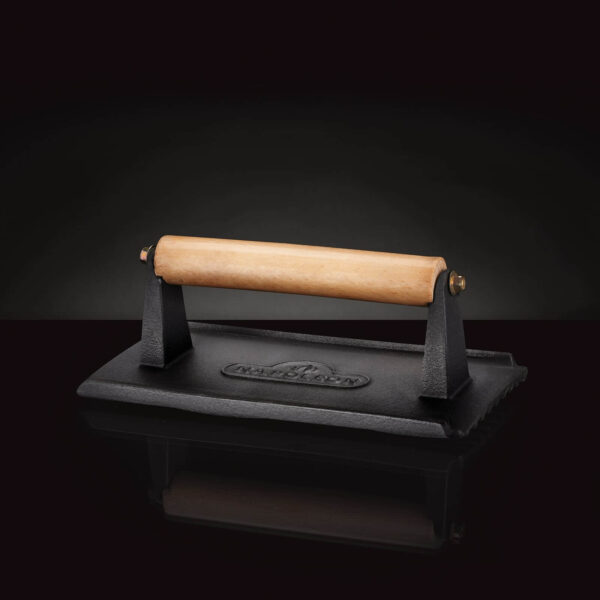
The 10 centimetre diameter of the press is ideal for multiple uses in the kitchen. From searing meat perfectly to crispy skin on fish and poultry, this press fits a variety of foods and sizes.
Applications Beyond the Grill
Although designed for barbecues, this cast iron press is also excellent for use in conventional kitchens. It is perfect for grilling cheeses, searing meat in frying pans and much more, making it a versatile accessory for any cooking enthusiast.
Maintenance and Care for a Long Service Life
Cast iron is one of the most durable and efficient materials in the kitchen, but in order for it to maintain its properties for generations, it requires a specific maintenance routine. If properly cared for, your cast iron hamburger press will not only retain its heat retention and even cooking capabilities, but will also develop a naturally non-stick surface over time. This process, known as ‘seasoning,’ is strengthened with each proper use and meticulous cleaning.
Keeping this press in optimal condition will not only extend its life, but also improve the quality of your cooking, preventing metallic flavours or rust residue from transferring to your food.
Steps to follow for proper maintenance:
- Clean Immediately After Use:Once you have finished cooking, let the press cool slightly, but not completely. Cleaning is most effective when it is still slightly warm. Use only hot water, a soft bristle brush, or an abrasive sponge specifically designed for cast iron. Do not use detergents, as they can remove the natural seasoning that protects the surface. Under no circumstances should you let the press remain submerged in water, as this accelerates rusting.
- Complete and Immediate Drying: Cast iron is very susceptible to rust if left damp. After rinsing, dry the press thoroughly with a clean, dry cloth. To ensure that no moisture remains, you can place it on a lit stove or hot grill for a few minutes. This will remove any water that has not been absorbed by the cloth.
- Preventative Oiling (Light Curing): Once dry, apply a thin layer of vegetable, canola, or linseed oil with a cloth or paper towel. Cover the entire cast iron surface—both the base and the edges—with a light, even coat. This step prevents rust formation and reinforces the non-stick coating with each use. Avoid applying too much oil, as it can become sticky.
- Smart Storage:Store the press in a cool, dry place. Do not place it in damp drawers or cover it with materials that retain moisture. If you store it in contact with other metal parts, make sure they are completely dry to avoid chemical reactions or moisture transfer. Placing a sheet of absorbent paper underneath can help keep it free of condensation.
- Occasional Deep Curing:If the press begins to show rust spots, loses its satin black colour, or becomes sticky to the touch, it is time for a complete cure. Wash the press thoroughly, dry it completely, and apply an even coat of oil. Then place it upside down in an oven preheated to 180°C (with aluminium foil underneath to catch excess oil) for one hour. Turn off the oven and let it cool completely inside. This will restore the protective coating and return it to its original efficiency.
Classic Smash Burger Recipe with Vegetarian Variation
The cast iron press transforms a simple hamburger into a gourmet experience thanks to its ability to create a crispy, flavourful crust. This smash burger recipe takes advantage of that quality to achieve a juicy inside and a seared outside. It also includes a vegetarian variation that combines vegetable protein with the umami flavour of portobello mushrooms, ideal for those looking for a meat-free but equally delicious alternative.
Classic Smash Burger
Ingredients (for 2 burgers):
- 200 g ground beef (80/20 blend: 80% lean meat, 20% fat)
- Sea salt and freshly ground black pepper
- 2 brioche buns, slightly sweet and airy
- 2 slices of cheddar cheese (American, Gouda or your favourite quick-melting cheese)
- 1 tablespoon unsalted butter (for toasting the buns)
- ½ red onion, thinly sliced into rings
- 4 to 6 slices of dill pickle
- Homemade special sauce:
- 2 teaspoons mayonnaise
- 1 teaspoon ketchup
- ½ teaspoon yellow mustard
- 1 pinch garlic powder
- 1 dash apple cider vinegar (optional, for acidity)
Detailed steps:
- Preheat: Heat the cast iron press and griddle or frying pan over medium-high heat for at least 5 minutes. High temperature is key for perfect caramelisation (Maillard effect).
- Prepare the meat: Divide the meat into 2 balls of approximately 100 g each, without compacting them too much to maintain a loose and juicy texture.
- Cooking and pressing:Place one ball on the hot griddle and press firmly with the press for 10 seconds, until the burger is approximately 1 cm thick. Cook without moving for 2 minutes.
- Flipping and cheese:Use a metal spatula to loosen and flip. Add the cheese immediately to the hot meat and cook for 1 more minute.
- Toasted bread: Spread butter on the inside of the brioche buns and toast them on the griddle until they are seared and golden brown and crispy (1-2 minutes).
- Final assembly: Spread the sauce on both halves of the bread, place the smash burger with cheese, add crispy onions, gherkins and cover with the lid of the bread.
Extra tip:
You can add a second layer of meat (double smash) for a more substantial result, or a touch of jalapeños for a spicy kick.
Vegetarian version with portobello mushrooms and chickpeas
Ingredients (for 2 burgers):
- 2 large portobello mushrooms, cleaned and stems removed
- ½ cup cooked and well-drained chickpeas
- 1 tbsp fine breadcrumbs (can be gluten-free)
- ½ tsp ground cumin
- Salt and black pepper to taste
- 1 tbsp extra virgin olive oil
- 2 brioche buns (vegan version if preferred)
- 2 slices of vegan cheddar cheese (optional)
- Red onion, gherkins and special sauce (same as in the classic recipe, using vegan mayonnaise)
Detailed steps:
- Preparation of the vegetable filling:Lightly mash the chickpeas with a fork until you have a thick paste. Add breadcrumbs, cumin, salt and pepper. Mix well.
- Filling the portobellos: Fill the inside of each portobello with the chickpea mixture, pressing down to compact it without overflowing.
- Cooking and pressing: Heat the griddle with the press. Add a little oil and place the portobellos with the filled side facing up. Press gently to shape and ensure good contact with the hot surface. Cook for 4 minutes on each side.
- Add vegan cheese (optional): Once turned, place the vegan cheese on top of the filling and let it melt while finishing cooking.
- Toast the bread and assemble: Toast the bread with a little olive oil if you prefer a 100% vegan version. Assemble the burger with the same toppings: special vegan sauce, red onion, and gherkins.
Extra tip:
You can marinate the portobellos in soy sauce, garlic, and olive oil before cooking to intensify the flavour.