Quemador de Gas Serie 500 – Napoleon

399,00  (IVA inc.)

✅ Quemador lateral empotrable de 3,5 kW.

✅ Superficie de asado 23 cm x 27 cm.

Parrilla WAVE de acero inoxidable granallado de 7,5 mm.

✅ Sistema de encendido JETFIRE™.

✅ Tapa de acero inoxidable para protección.

✅ Fácil instalación y diseño compatible con la serie 500.

Completa tu conjunto

Ver más

Tus selecciones

Precio total

SKU: BI10RTPSS-CE Categorías: ,
Google Pay Apple Pay Visa Mastercard Paypal Bizum Transferencia Cetelem Aplazame

El Quemador de Gas Serie 500 está pensado para quienes desean ampliar su zona de cocción sin comprometer el estilo ni la funcionalidad de su cocina al aire libre. Su integración perfecta con las barbacoas de la Serie 500 lo convierte en una solución ideal para lograr resultados versátiles, cómodos y eficientes. Gracias a su fabricación en acero inoxidable y su diseño empotrable, este quemador lateral ofrece una combinación equilibrada entre alto rendimiento, estética moderna y resistencia a la intemperie. Es una herramienta duradera y confiable para quienes exigen lo mejor en su espacio exterior de cocinado.

Potencia de 3,5 kW para Cocción Versátil

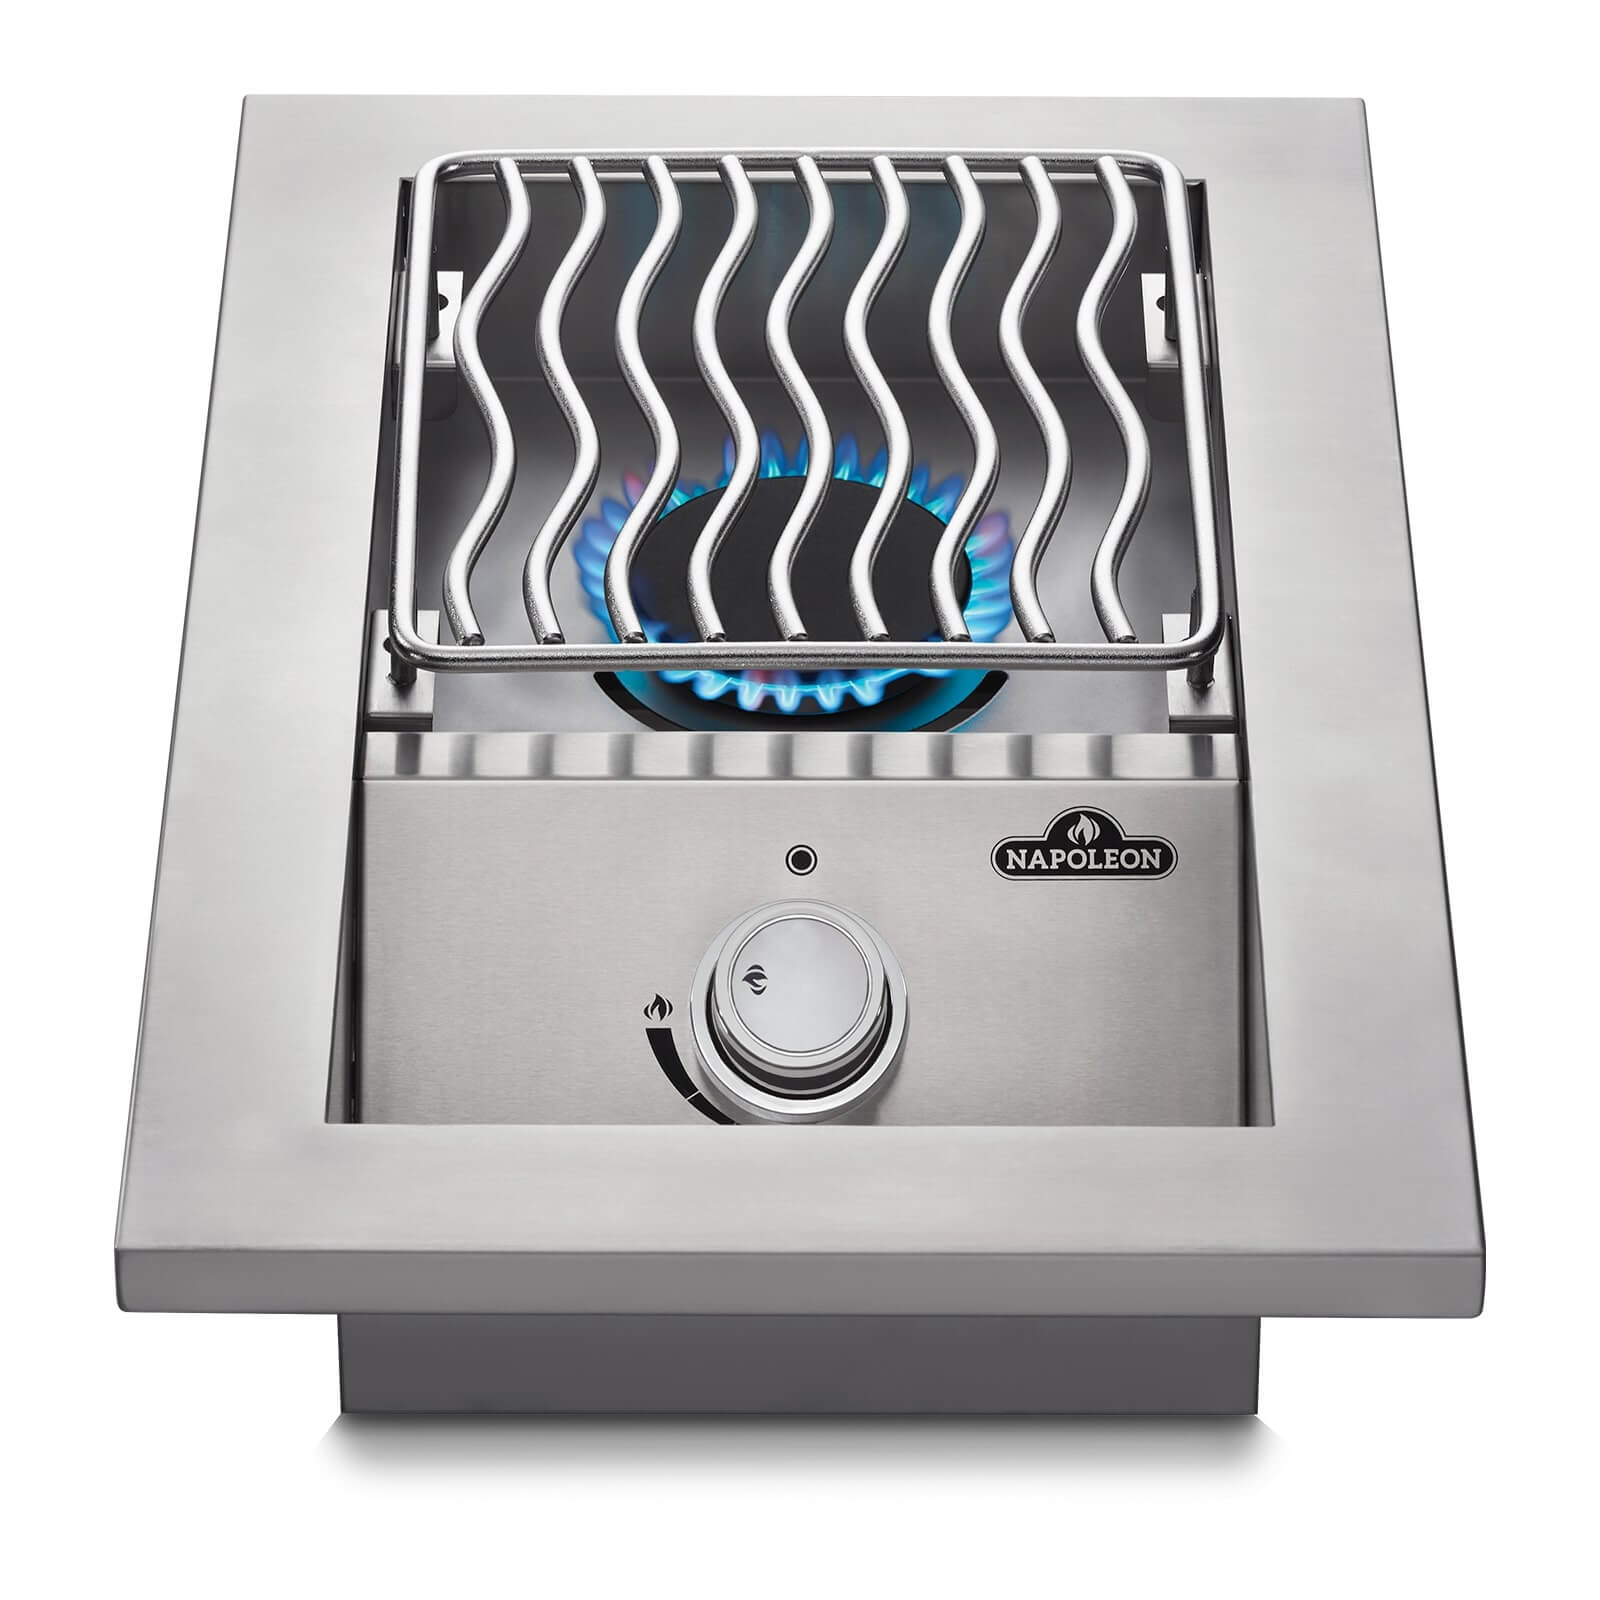
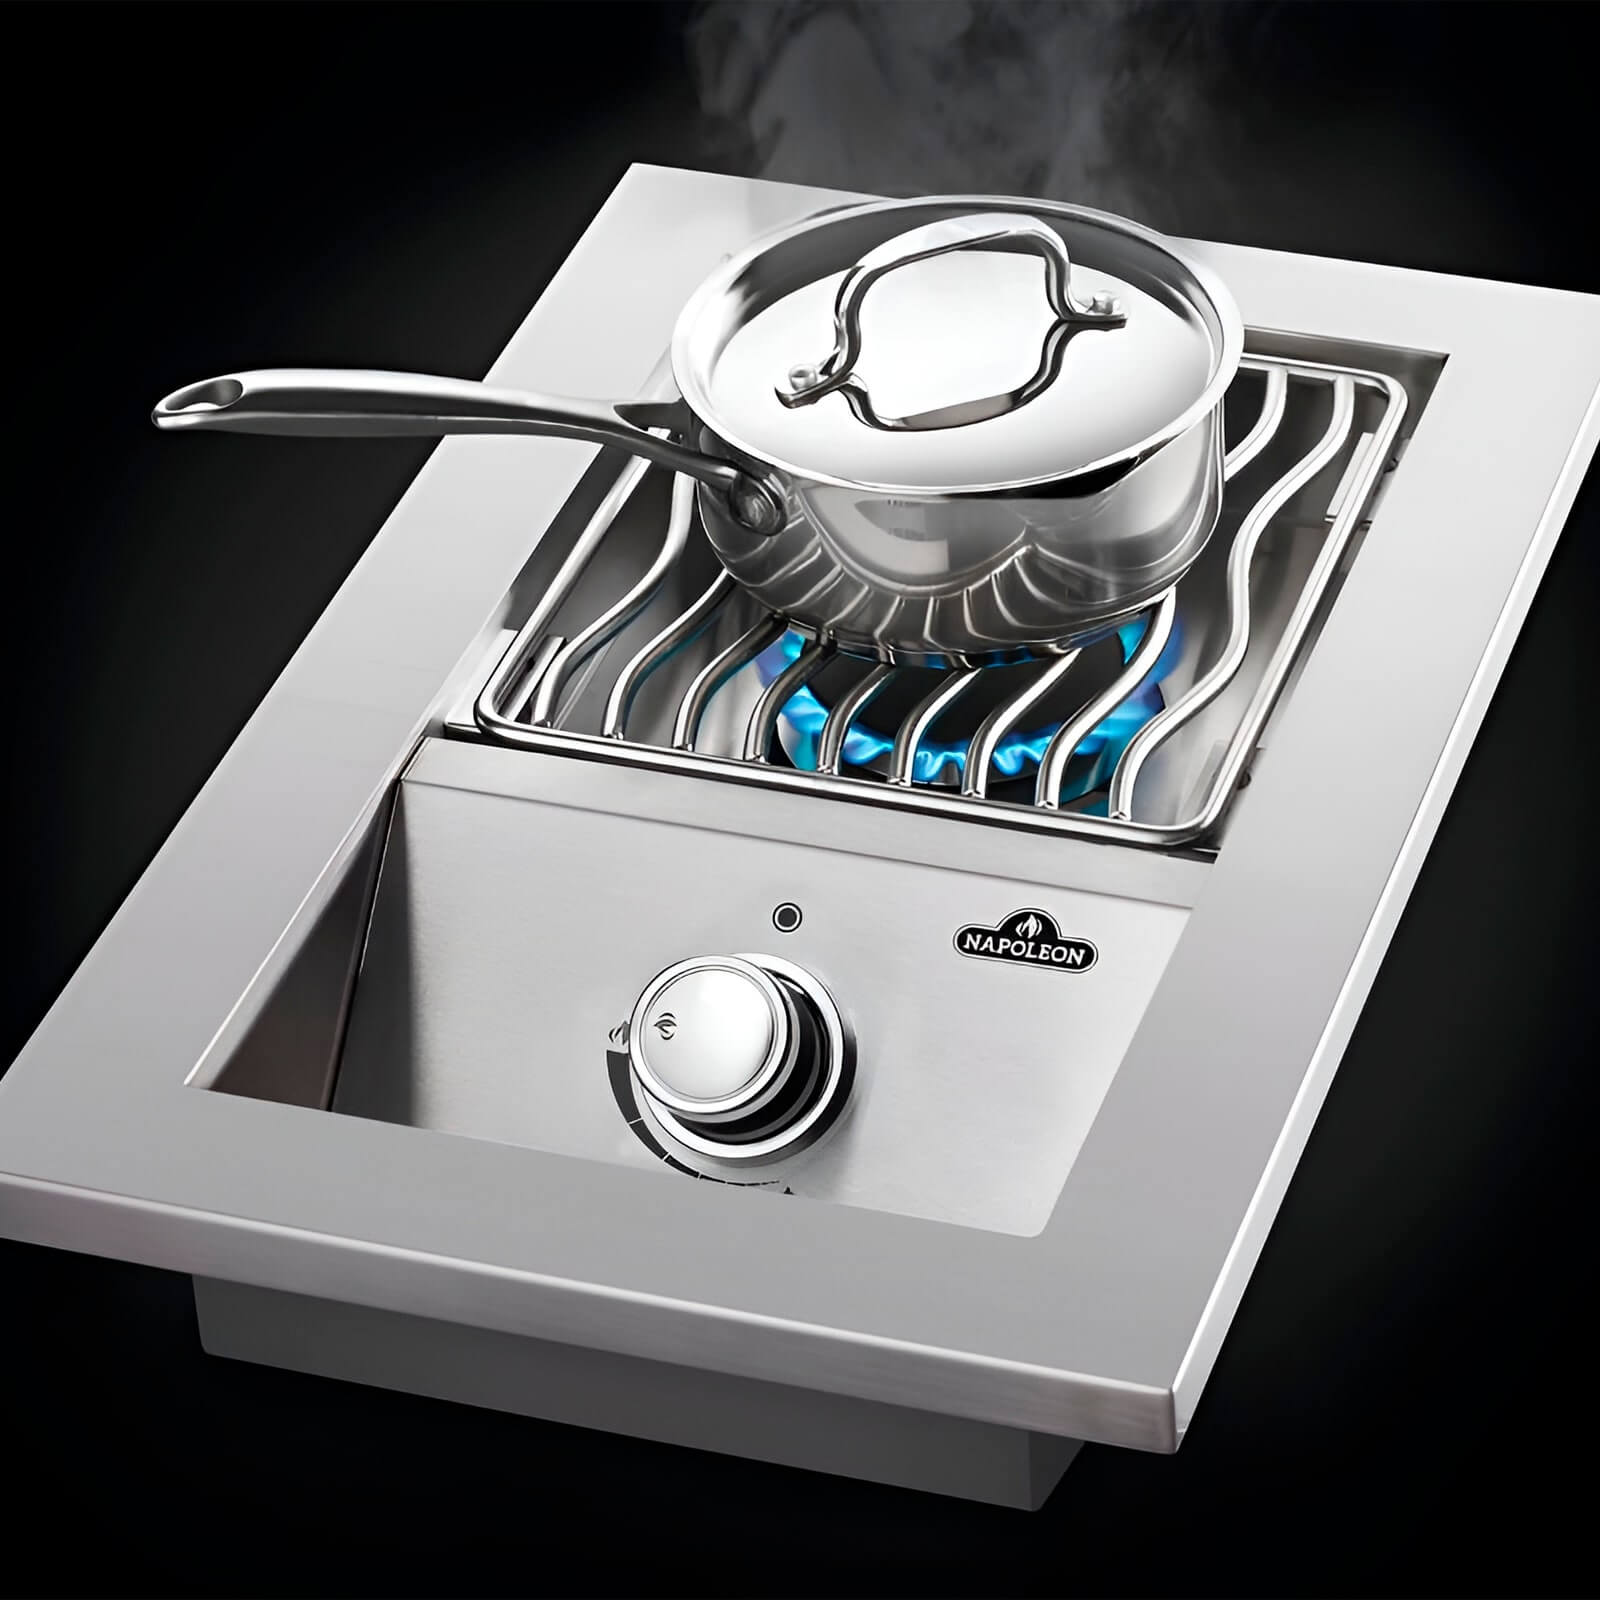
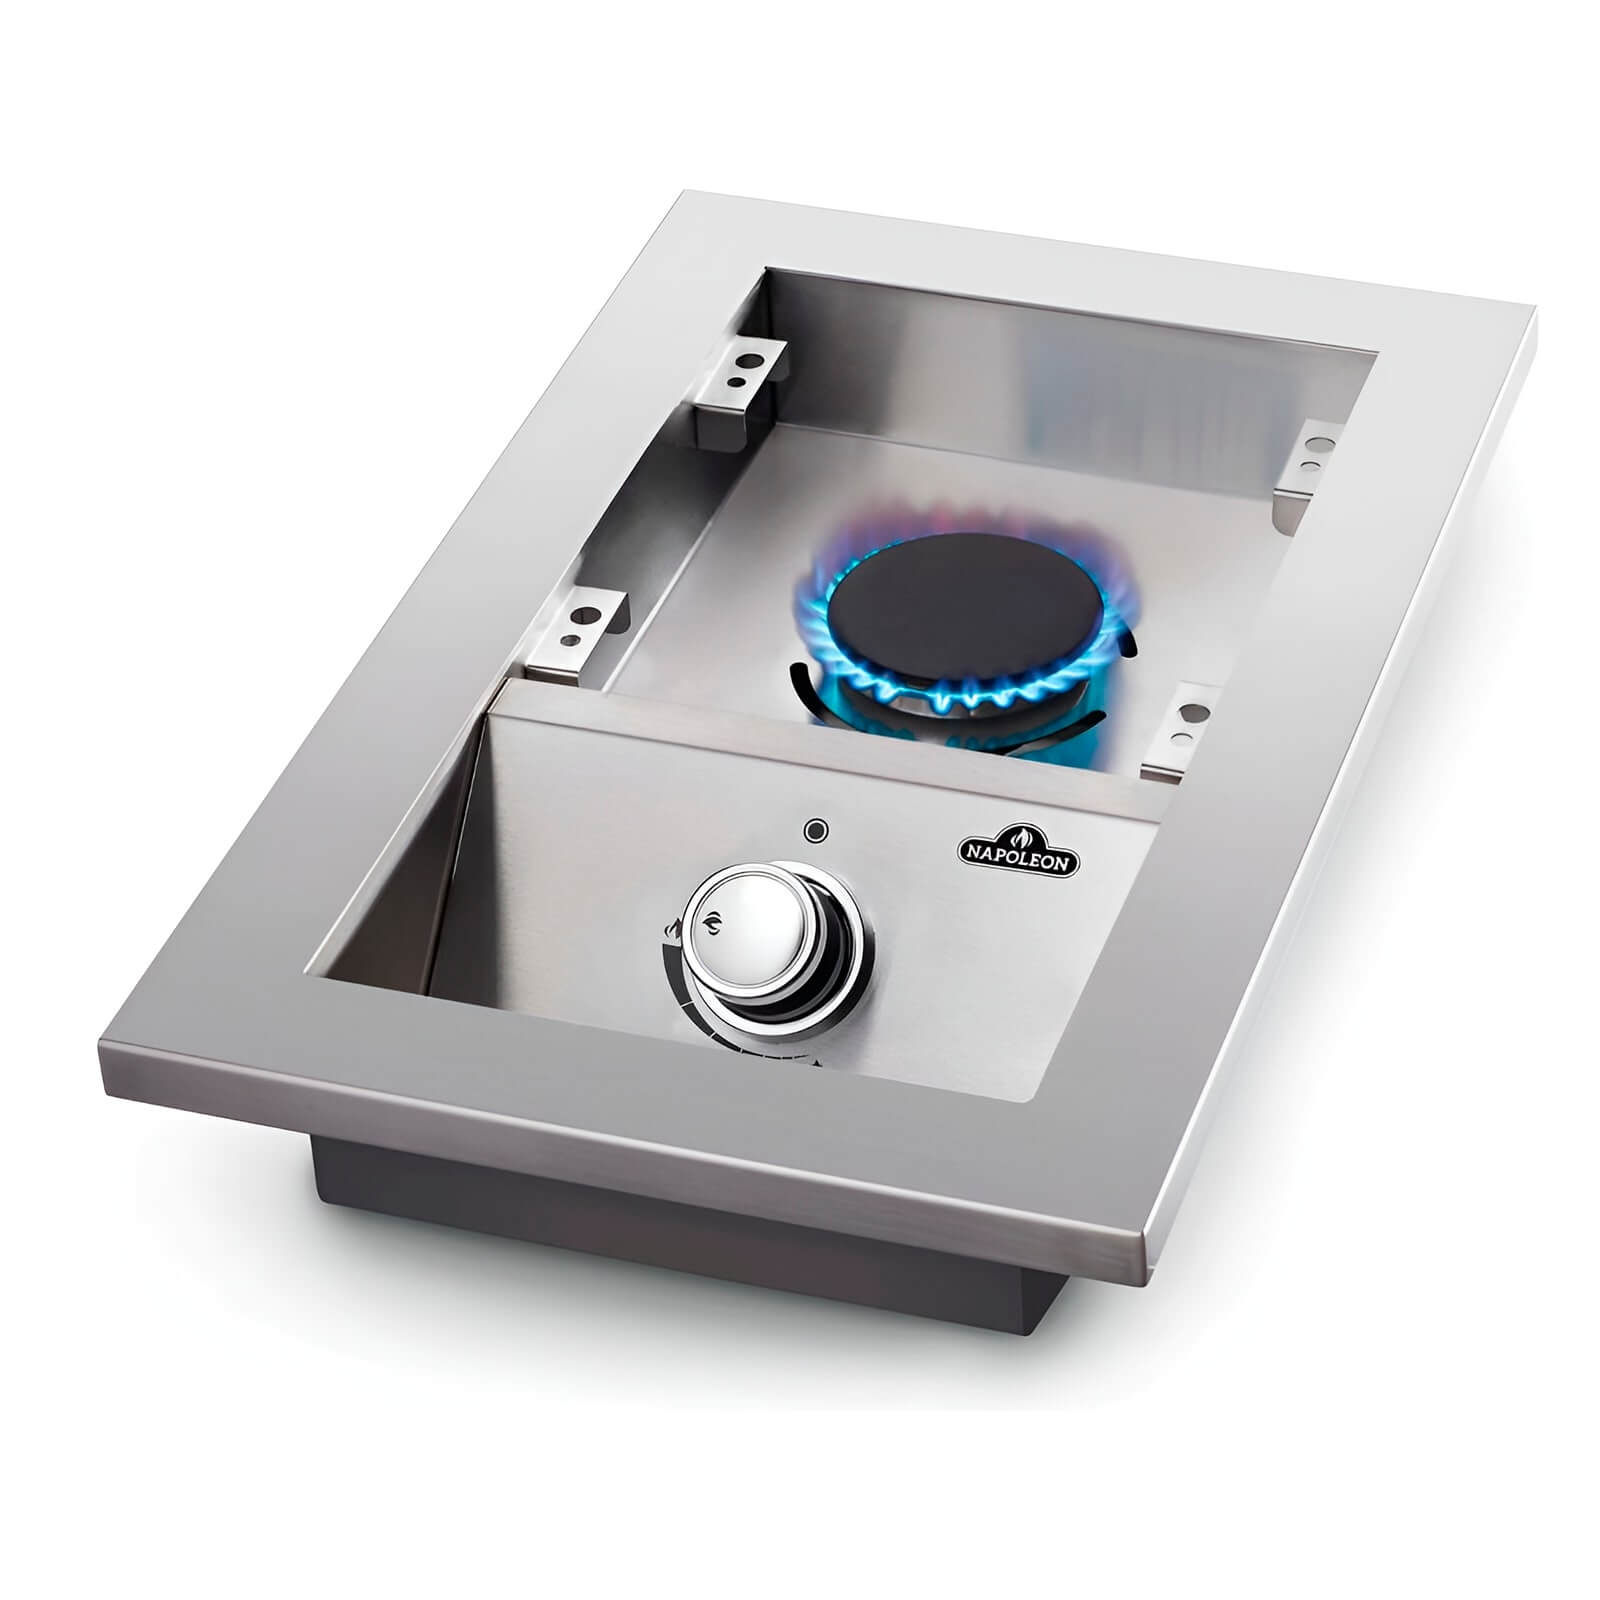
La potencia de 3,5 kW que ofrece este quemador lateral permite realizar una amplia variedad de técnicas culinarias en exteriores. Su rendimiento térmico es ideal tanto para saltear ingredientes rápidamente como para mantener elaboraciones a fuego lento, permitiendo cocinar desde una sencilla salsa hasta un platillo más elaborado sin perder temperatura constante. El quemador anular garantiza una distribución del calor eficiente sobre toda la superficie de cocción, lo cual reduce puntos calientes y mejora la precisión en la preparación. Este tipo de quemador es especialmente valioso para quienes cocinan diferentes tipos de alimentos de forma simultánea, ya que permite un control eficaz de temperaturas en paralelo a la parrilla principal.

Precisión y Durabilidad Garantizadas

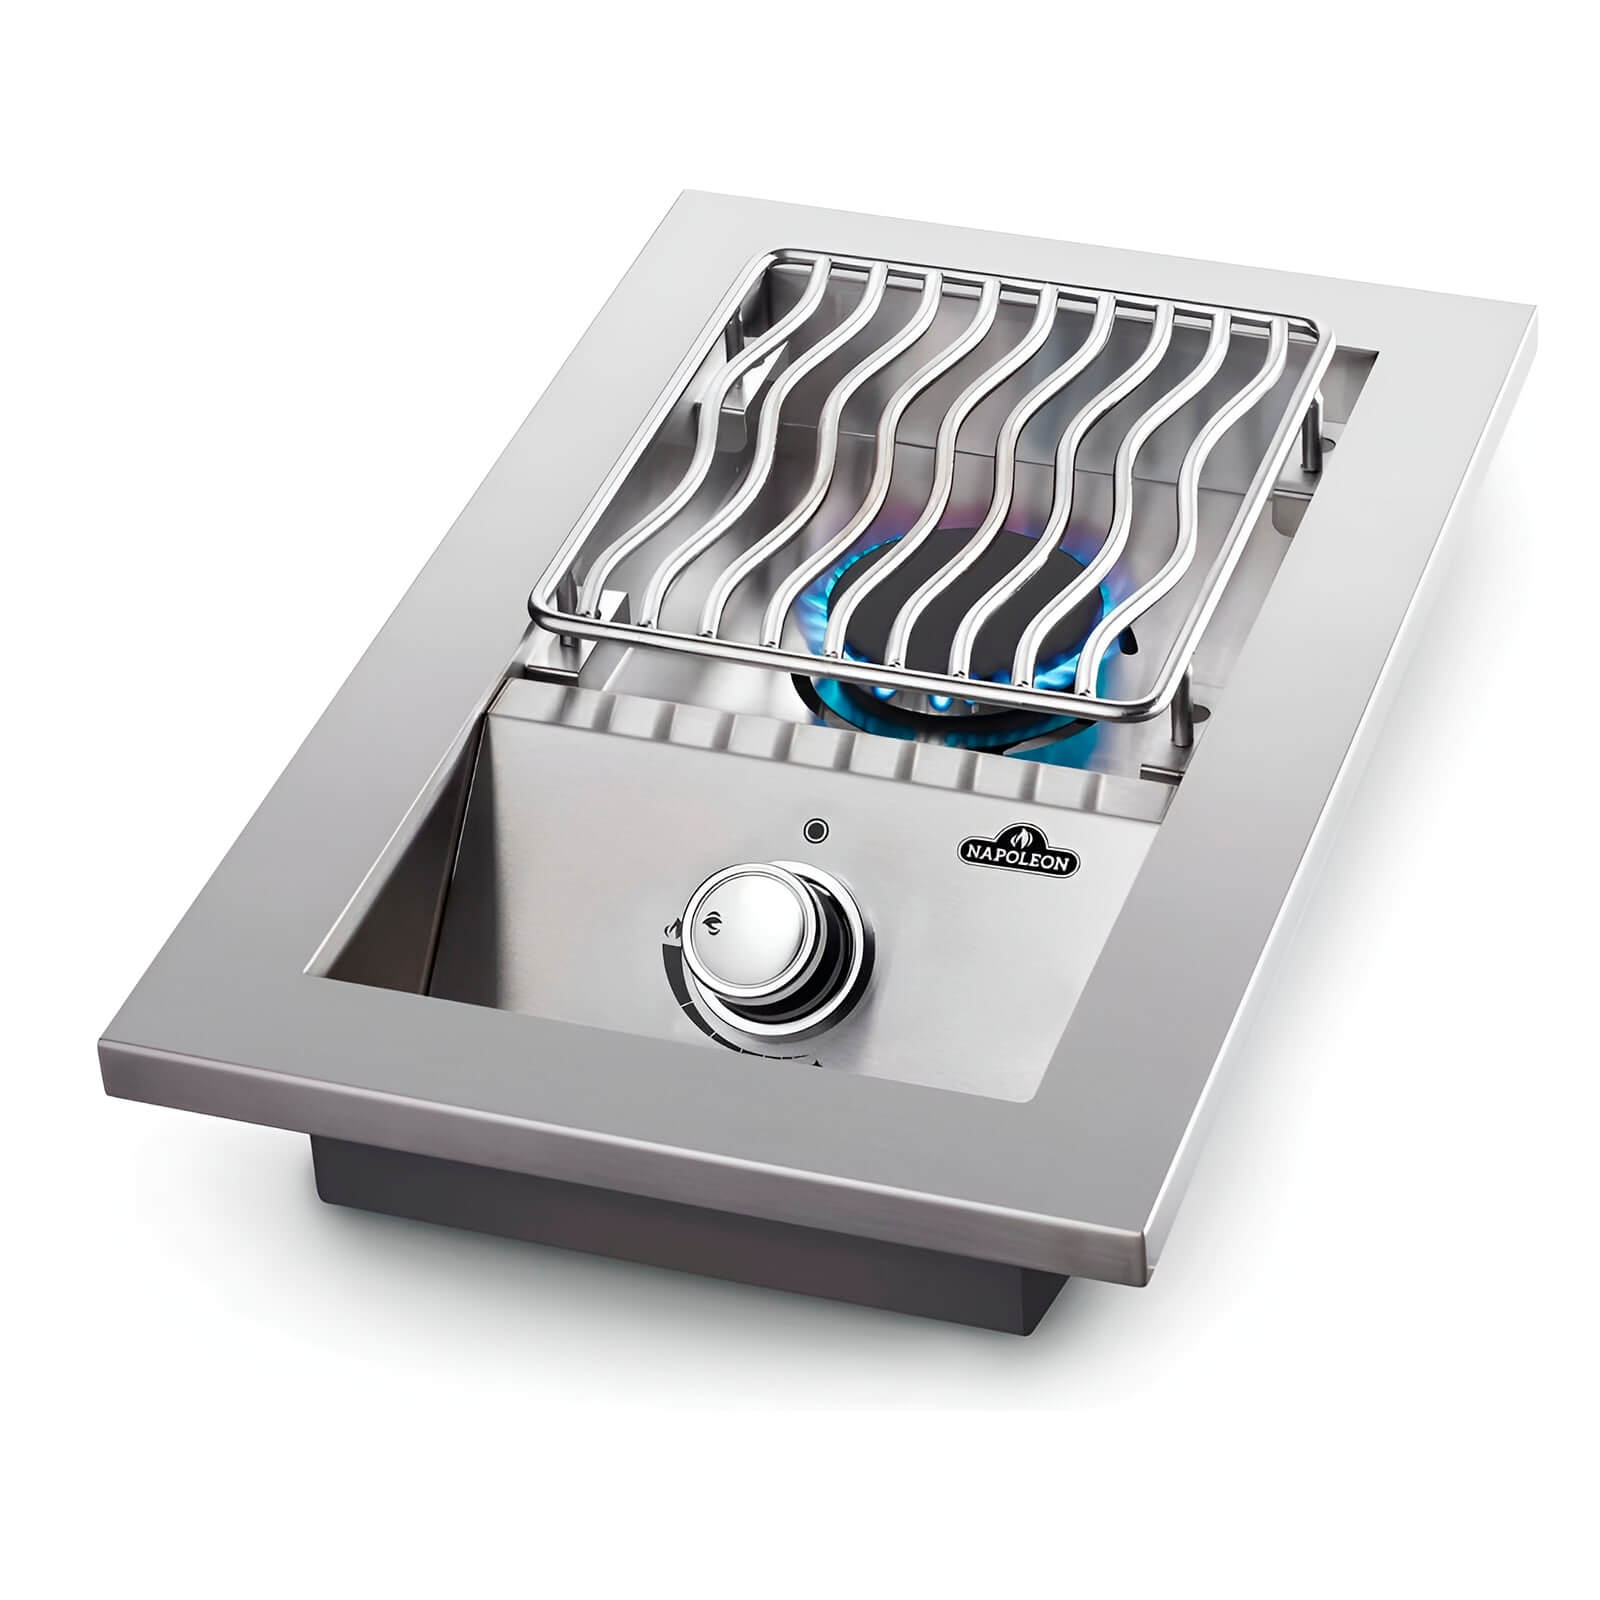
Las parrillas tipo WAVE incluidas con el Quemador Serie 500 están fabricadas en acero inoxidable granallado de 7,5 mm de grosor, lo que ofrece una retención de calor sobresaliente. Esta característica mejora no solo el sellado y marcado de los alimentos, sino también la eficiencia térmica general durante el cocinado. El diseño ondulado no es meramente estético: evita que alimentos pequeños caigan por las rendijas, ofreciendo mayor seguridad y versatilidad al cocinar mariscos, verduras o piezas delicadas. Además, estas parrillas son regulables en altura, lo que permite al usuario adaptar la distancia entre la llama y el alimento según el tipo de preparación deseada. Esta capacidad de ajuste mejora significativamente el control sobre el proceso de cocción, permitiendo adaptarse a distintas necesidades culinarias.

Rapidez y Seguridad en un Solo Paso

El sistema de encendido JETFIRE representa una mejora considerable frente a los sistemas tradicionales. A través de una llama piloto, permite encender el quemador de manera rápida y segura con solo pulsar un botón, lo que evita el uso de encendedores o cerillas. Este tipo de encendido disminuye el riesgo de fugas de gas y fallos al prender la llama, brindando al usuario una experiencia más cómoda y confiable. El sistema también es más duradero y consistente, garantizando un encendido eficaz incluso después de múltiples usos. Para quienes cocinan con frecuencia al aire libre, esta funcionalidad se traduce en mayor agilidad, menos complicaciones y mayor seguridad operativa.

Diseño Compacto y de Instalación Sencilla

El diseño empotrable del quemador facilita su instalación en encimeras exteriores siempre que estén fabricadas con materiales no inflamables, como piedra o acero. Este enfoque de montaje desde la parte superior simplifica la integración del quemador dentro del conjunto de cocina, reduciendo el tiempo y complejidad del proceso de instalación. Además, su diseño sobrio y profesional combina estéticamente con otros módulos de la Serie 500, permitiendo una cocina modular, uniforme y altamente funcional. Esta característica no solo mejora el aprovechamiento del espacio disponible, sino que también permite configurar una cocina exterior completamente personalizada y alineada con las necesidades del usuario.

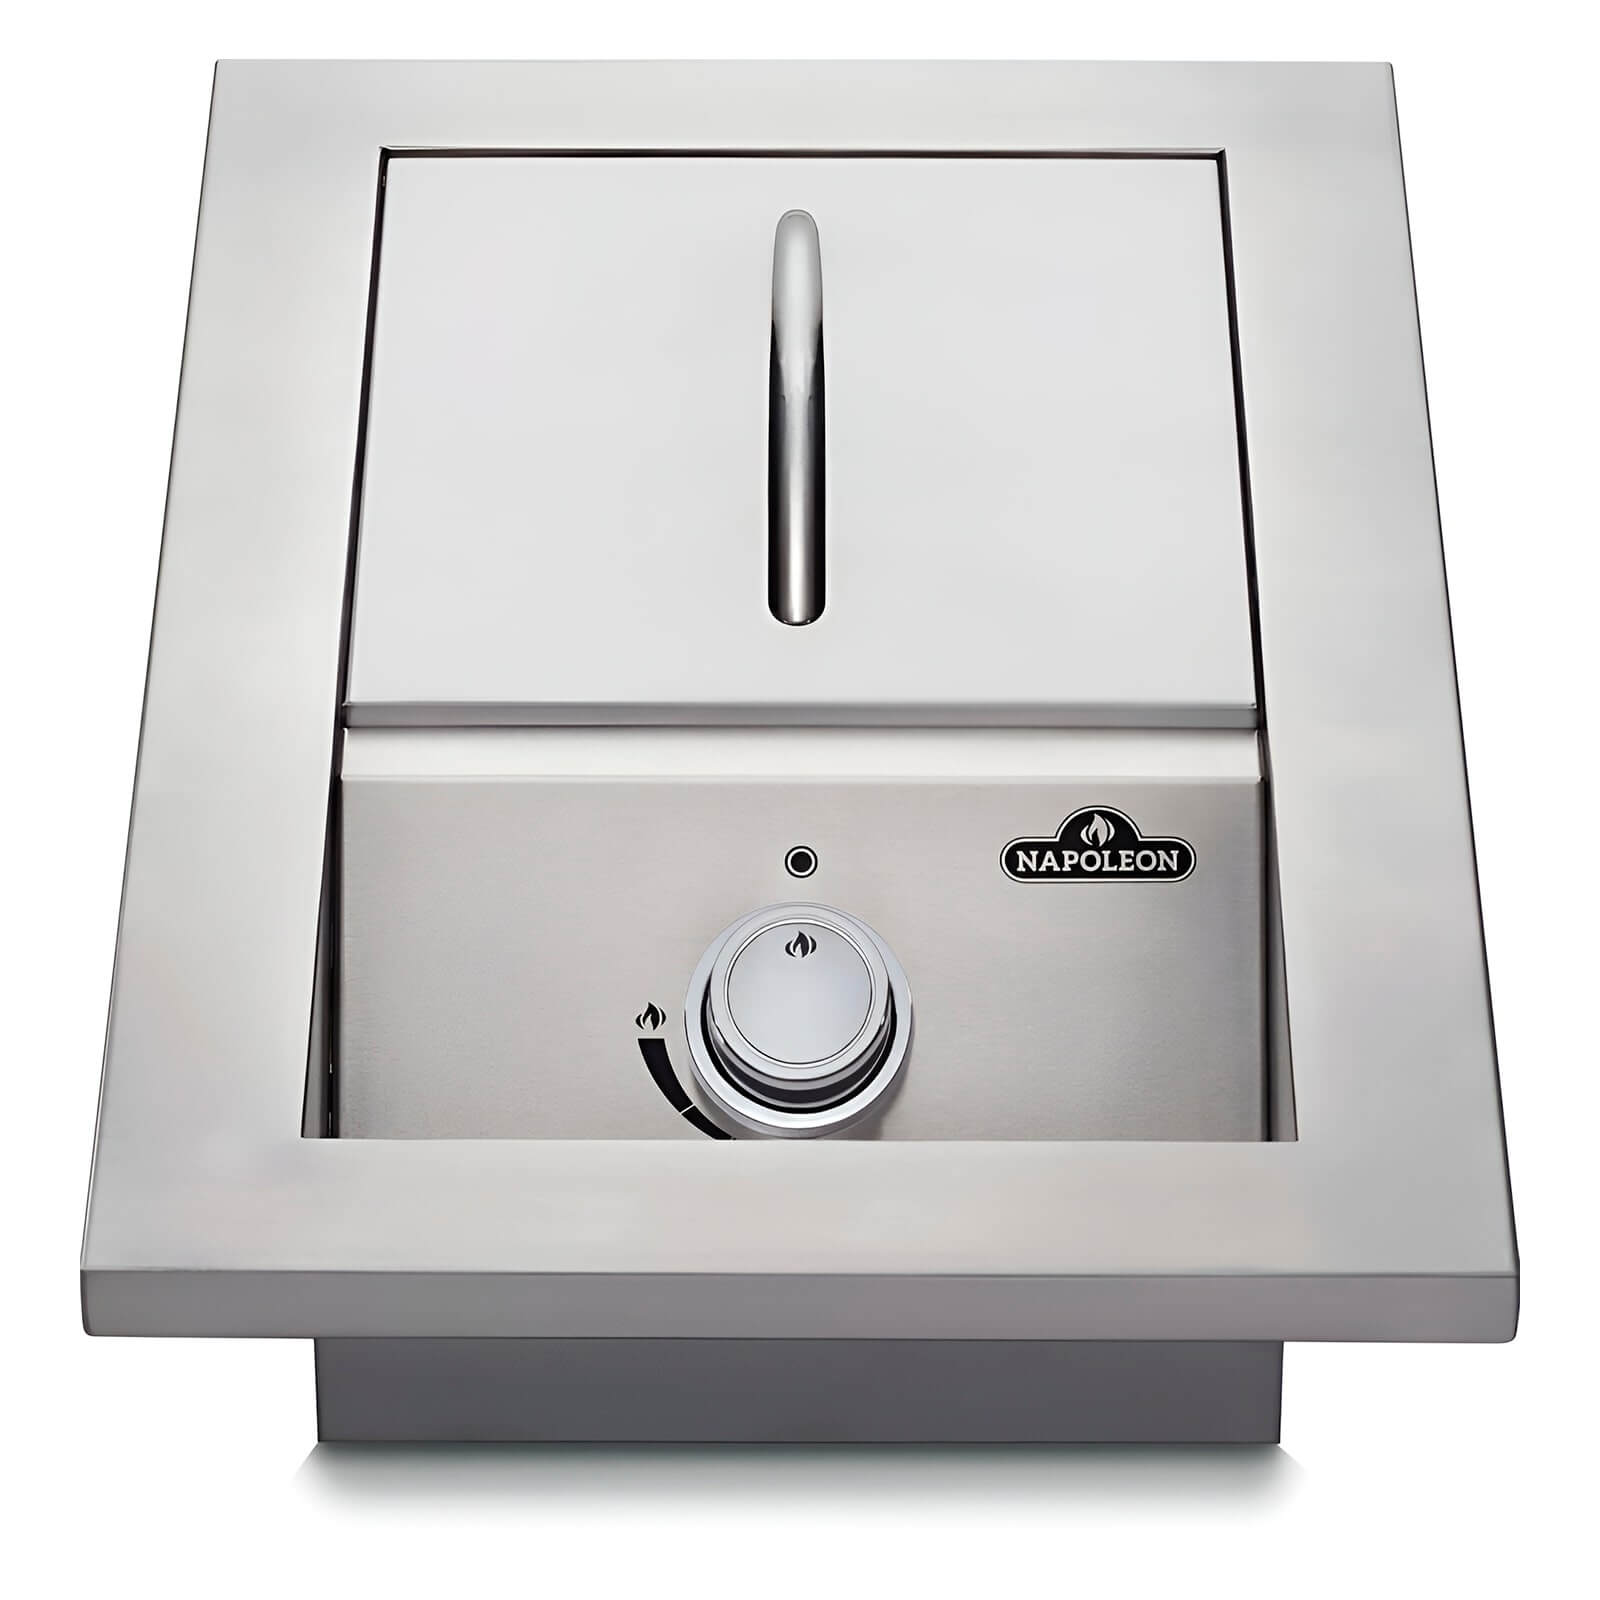
Protección Eficaz Contra la Intemperie

El quemador incluye una tapa de acero inoxidable que actúa como cubierta de protección cuando el equipo no está en uso. Esta tapa protege el quemador contra la humedad, el polvo, los escombros y otros elementos que podrían comprometer su funcionalidad con el tiempo. Al mismo tiempo, mantiene una apariencia limpia y ordenada, lo cual es especialmente importante en entornos de cocina al aire libre donde la exposición a los elementos es constante. Esta protección adicional prolonga la vida útil del quemador y mantiene su aspecto visual intacto durante años, reduciendo la necesidad de mantenimiento frecuente y conservando su rendimiento térmico.

Compatibilidad con Sistemas de Gas de Alta Eficiencia

El Quemador Serie 500 está diseñado para ser utilizado con bombonas de gas propano o butano, ofreciendo flexibilidad según la disponibilidad de suministro de cada usuario. Incorpora un regulador de presión de dos etapas preinstalado que asegura una conexión estable y segura con los sistemas de gas estándar. La conexión de rosca de 1/4 de pulgada permite el uso de mangueras de baja presión con regulador de 30 mbar, disponibles por separado. Además, es posible emplear una válvula de derivación opcional para conectar tanto el quemador como la barbacoa principal a una única bombona de gas. Esta configuración es especialmente útil en espacios reducidos, aunque se debe considerar el caudal del regulador para evitar pérdida de presión o problemas como la congelación de la bombona, lo cual podría afectar el rendimiento general del sistema.

Funcionalidad Superior para el Asado de Alto Nivel

El Quemador de Gas Serie 500 es mucho más que un accesorio adicional: es una herramienta de alto rendimiento diseñada para optimizar la experiencia culinaria en exteriores. Gracias a su combinación de potencia, durabilidad, seguridad y diseño, se convierte en un complemento indispensable para quienes buscan ampliar su cocina exterior con eficiencia y estilo. Su versatilidad y compatibilidad lo posicionan como una elección acertada para aficionados exigentes y profesionales del asado que desean contar con un equipo confiable en cada temporada.

Step-by-Step Guide for the Use and Maintenance of the 500 Series Gas Burner

To achieve efficient and safe performance, as well as extending the service life of the 500 Series Gas Burner, it is essential to adopt correct usage practices and incorporate regular and rigorous maintenance. This step-by-step guide is designed to help you make the most of the features of the side burner built into your outdoor kitchen, ensuring its structural integrity and optimal performance throughout the seasons.

Step 1: Correct Burner Installation

Selecting the installation site

The first essential step is to choose the right location for the burner. It should only be installed on non-flammable surfaces such as granite, stainless steel, natural stone or concrete. It should never be placed on wood, plastic or other combustible materials. Ensuring that the environment is well ventilated, that there is free space around the burner and that there are no flammable elements nearby is key to safe operation.

Proper gas connection

Before making any connection, check that the components are in perfect condition: hose without cracks, functional regulator and clean connections. The 500 Series Burner is designed to connect via a 1/4-inch left-hand external thread, compatible with low-pressure hoses operating at 30 mbar regulators. Make sure the system is airtight and complies with local gas installation regulations.

Leak test prior to ignition

Before lighting the burner for the first time or after any installation change, carry out a leak test. Apply soapy water or a leak detector spray to all joints. The appearance of bubbles indicates a leak. Do not light the burner until you have resolved any possible gas leaks. This step is vital to prevent accidents and ensure safe operation.

Step 2: Lighting and Using the Burner

Activation of the JETFIRE™ ignition system

Once the gas valve is open, press the button on the JETFIRE™ ignition system. This system activates a pilot flame that automatically lights the main burner, eliminating the need for external lighters. It is recommended to do this with the lid open and without any utensils on the cooking zone, thus guaranteeing visibility and safety.

Adjusting the flame for different types of cooking

The flame control allows you to customise the heat intensity precisely. For quick stir-fries, boiling or searing meat, use the high flame. To keep sauces, stocks or side dishes warm, reduce to a low and constant flame. This versatility makes the side burner a highly valuable complementary tool during complex preparations.

With a surface area of 23 x 27 cm, this side burner perfectly supports medium-sized pots, pans and woks, providing a firm base for even cooking. It is ideal for cooking side dishes, stir-fried vegetables, soups, thick sauces or pasta, allowing you to diversify the menu without relying exclusively on the main grill.

Step 3: Safe Burner Shutdown

Burner deactivation and gas supply shutoff

After finishing cooking, turn the knob to the ‘OFF’ position to extinguish the flame. Then completely close the gas supply valve from the cylinder or the main connection point. This double step is essential to prevent residual leaks or gas accumulation in the equipment environment.

Cooling time before maintenance

Allow the burner, the grills and the entire metal structure to cool naturally before cleaning, covering or moving the components. Handling the burner while it is still hot can cause burns, deformation or unnecessary damage to the materials.

Step 4: Regular Cleaning and Maintenance

Effective cleaning of WAVE™ grills

After each use and once cool, remove the grills and clean them with a soft-bristled brush to remove food residue and grease. For more thorough cleaning, use warm water with neutral soap, avoiding abrasive products. Dry the pieces completely before reassembling them to avoid premature corrosion.

Check the condition of the burner

Periodically inspect the burner orifices to detect the accumulation of grease, ash or food residues. Use a fine metal needle or special brush to keep them free and allow for a correct gas outlet. This ensures a uniform and stable combustion.

Protecting the equipment when not in use

Whenever the burner is off and cold, cover it with its integrated stainless steel lid. This will prevent moisture, dust or dirt from affecting its internal components and will significantly extend its lifespan and long-term performance.

Checking gas connections and components

Every 30 to 60 days (depending on use), carry out a general inspection of gas connections, hoses and regulators. Look for signs of wear, cracks or deformation. Replace any damaged components immediately. Keep the regulator in a stable position and tightly attached to the cylinder.

Lubrication of moving parts

Buttons, knobs and ignition mechanisms can benefit from light lubrication with products recommended by the manufacturer. Apply to contact areas to prevent jamming, ensure smooth movement and prevent premature wear.

Step 5: Storage and Preparation for New Seasons

Extended protection during periods of inactivity

If you plan not to use the burner for weeks or months, cover it completely with a waterproof and breathable cover designed for this model. These covers are made of materials resistant to UV rays, moisture and dust, offering superior protection against adverse weather conditions.

Pre-season check

Before using the burner again after a period of inactivity, carry out a comprehensive system check: check the JETFIRE™ ignition, clean the grills and check all gas connections. This check guarantees efficient ignition and safe cooking from the first use of the year.

Specifications

  • Power and Burner:
    • Burner type: Cooking ring.
    • Power: 3.5 kW.
    • Gas type: Propane and butane at 30 mbar.
  • Cooking surface and grids:
    • Grill surface: 23 cm x 27 cm.
    • Grill material: Stainless steel, 7.5 mm, shot-blasted.
    • Grid design: WAVE™ stainless steel.
  • Ignition:
    • System: JETFIRE™ for quick and easy ignition.
  • Dimensions and Weight:
    • Burner dimensions (W x D x H): 34.29 x 55.88 x 17.53 cm.
    • Installation dimensions (W x D x H): 30.5 x 47.6 x 15.2 cm.
  • Gas connection:
    • System: two-stage pressure regulator with 1/4 inch connection.
    • Note: Gas connection not included; hose and regulator to be purchased separately.
  • Materials and Construction:
    • Lid: Stainless steel.
    • Installation: Non-flammable materials only.
  • Package Contents:
    • 1 x Napoleon 500 Series recessed side burner.
  • Additional Notes:
    • Simultaneous use: Possible with integrated barbecue by means of optional bypass valve.
    • Caution: Check connections for tightness before use.

Grilled Steak with Mushroom Sauce and Sides Recipe on the Side Burner

Enjoy a delicious combination of flavours by cooking on your barbecue and making the most of your side burner. This dish includes a succulent grilled steak accompanied by a rich mushroom sauce, cooked on the side burner, and sautéed vegetables to complement the experience of a complete outdoor kitchen.

Ingredients:

For the grilled steak:
  • 4 beef steaks (about 2.5 cm thick)
  • 2 tablespoons of olive oil
  • Salt and pepper to taste
  • 1 teaspoon of garlic powder
  • 1 teaspoon fresh thyme (optional)
For the mushroom sauce:
  • 2 cups fresh mushrooms, sliced
  • 2 tablespoons butter
  • 1 clove garlic, minced
  • 1/2 cup beef stock
  • 1/2 cup whipping cream
  • 1 teaspoon Dijon mustard
  • Salt and pepper to taste
  • 1 teaspoon chopped fresh parsley for garnish
For the stir-fried vegetables:
  • 1 red pepper, cut into strips
  • 1 courgette, sliced
  • 1 red onion, sliced
  • 1 tablespoon olive oil
  • Salt and pepper to taste

Instructions:

Step 1: Prepare the Grilled Steak
  1. Marinate the Steaks: Pat the steaks dry with kitchen paper and brush with olive oil, salt, pepper, garlic powder and fresh thyme if you like. Let stand at room temperature for about 20 minutes to allow the flavours to be absorbed. Preheat the grill: Turn on the barbecue grill to high temperature. Make sure the grates are clean and lightly greased to prevent the steak from sticking.
  2. Cook the steaks: Place the steaks on the grill and cook over direct heat. For medium doneness, cook the steaks for 4-5 minutes on each side or until they reach the desired doneness. Remove the steaks from the grill and let them rest covered with aluminium foil while you prepare the sauce.
Step 2: Prepare the Mushroom Sauce on the Side Burner
  1. Turn on the Side Burner: Turn on the side burner of your outdoor kitchen to medium-high heat and place a large frying pan on it.
  2. Sauté the mushrooms: Add the butter to the pan and let it melt. Add the sliced mushrooms and sauté for 5-7 minutes until they are seared and tender. Add the minced garlic and cook for an additional minute until fragrant.
  3. Add Liquids and Seasoning: Pour the beef stock and whipping cream into the pan with the mushrooms. Add the Dijon mustard, salt and pepper to taste. Cook the mixture over medium heat, stirring occasionally, until the sauce is reduced and thickened, about 5-7 minutes. Adjust the seasoning if necessary and add the chopped parsley before serving.
Step 3: Cook the Sautéed Vegetables on the Side Burner
  1. Sauté the Vegetables: In a separate frying pan on the side burner, heat the olive oil over medium-high heat. Add the peppers, courgette and onion. Sauté the vegetables for 5-6 minutes until tender but crisp. Season with salt and pepper to taste.
Step 4: Serve and Enjoy
  1. Plating: Place a grilled steak on each plate and pour a generous portion of the mushroom sauce over each steak. Serve with the sautéed vegetables on the side.
  2. Garnish and Serve: Garnish with a little more chopped fresh parsley and serve immediately.

Alternative Vegetarian Recipe for Grilled Cauliflower Steak with Mushroom Sauce and Sautéed Vegetables

A meat-free, healthy and delicious alternative for enjoying outdoor cooking with the 500 Series Burner. Grilled cauliflower becomes a juicy and textured protagonist, ideal for absorbing the creamy mushroom sauce.

Ingredients

For the cauliflower steaks:

  • 1 large, firm head of cauliflower

  • 2 tablespoons of olive oil

  • 1 teaspoon of garlic powder

  • 1/2 teaspoon smoked paprika

  • 1/2 teaspoon ground cumin (optional)

  • Salt and pepper to taste

For the mushroom sauce: (same preparation as in the original recipe)

  • 2 cups of sliced fresh mushrooms

  • 2 tablespoons of butter

  • 1 clove of garlic, chopped

  • 1/2 cup vegetable stock

  • 1/2 cup whipping cream

  • 1 teaspoon Dijon mustard

  • Salt and pepper to taste

  • 1 teaspoon of chopped fresh parsley to garnish

For the stir-fried vegetables:

  • 1 red pepper, cut into strips

  • 1 courgette, sliced

  • 1 red onion, sliced

  • 1 tablespoon olive oil

  • Salt and pepper to taste

Step by Step

Step 1: Prepare the cauliflower steaks

  1. Remove the leaves and the lower stalk from the cauliflower, leaving the central part intact.

  2. Stand it upright and cut fillets approximately 2 cm thick from the centre to the sides.

  3. From a large head of cauliflower you should get between 2 and 3 firm centre steaks; the rest can be reserved for another use.

  4. In a small bowl, mix together the olive oil, garlic powder, paprika, cumin (optional), salt and pepper.

  5. Brush both sides of the cauliflower steaks with this mixture, making sure to cover the edges and inner areas well.

  6. Let it rest for between 15 and 20 minutes at room temperature, allowing it to absorb the flavours.

Step 2: Cook the steaks on the grill

  1. Turn the barbecue on to a medium-high heat and clean the grills with a brush.

  2. Lightly brush the grills with oil to prevent the cauliflower from sticking.

  3. Carefully place the cauliflower florets on the hot grill.

  4. Cook for 5 to 6 minutes on each side, using a wide spatula to turn them gently and prevent them from breaking.

  5. The aim is to achieve visible grill marks and a tender but firm texture.

  6. Remove and cover with aluminium foil to keep warm while you prepare the sauce and accompaniments.

Step 3: Prepare the mushroom sauce on the side burner

  1. Turn the burner on to medium-high and place a large frying pan on it.

  2. Add the butter and let it melt completely.

  3. Add the sliced mushrooms and cook for 5 to 7 minutes, until they are seared and tender.

  4. Add the chopped garlic and cook for a further minute until it releases its aroma.

  5. Pour in the vegetable stock and the whipping cream.

  6. Add the Dijon mustard, salt and pepper to taste.

  7. Cook over a medium heat, stirring occasionally, until the sauce reduces and thickens, approximately 5 to 7 minutes.

  8. Add the chopped parsley just before serving.

Step 4: Prepare the stir-fried vegetables on the side burner

  1. In another frying pan, heat the olive oil on the side burner.

  2. Add the red pepper, courgette and red onion.

  3. Sauté for 5 to 6 minutes, stirring occasionally, until tender but still crisp.

  4. Season with salt and pepper to taste.

  5. Remove from the heat and set aside for plating up.

Step 5: Arrange the dish and serve

  1. Place a grilled cauliflower steak in the centre of each plate.

  2. Pour a generous portion of hot mushroom sauce over each steak.

  3. Serve with the sautéed vegetables on the side of the plate.

  4. Sprinkle with some fresh parsley and serve immediately.

¿Tienes alguna duda?

Consulta las preguntas frecuentes

¿Qué tipos de barbacoas ofrecéis en barbecueworld.es?↓

¿Las barbacoas que vendéis son aptas para uso en interiores y exteriores?↓

¿Qué ventajas tiene una barbacoa de gas frente a una de carbón?↓

¿Cuáles son las mejores barbacoas para terrazas pequeñas?↓

¿Cómo debo limpiar y mantener mi barbacoa?↓

¿Puedo comprar recambios específicos para mi barbacoa?↓