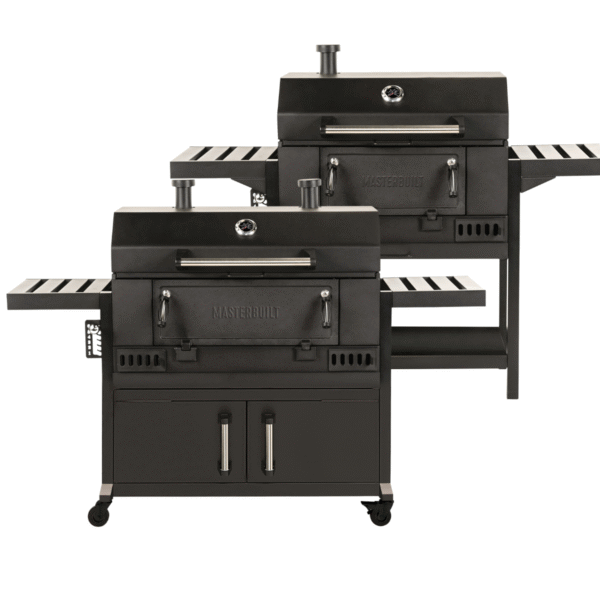
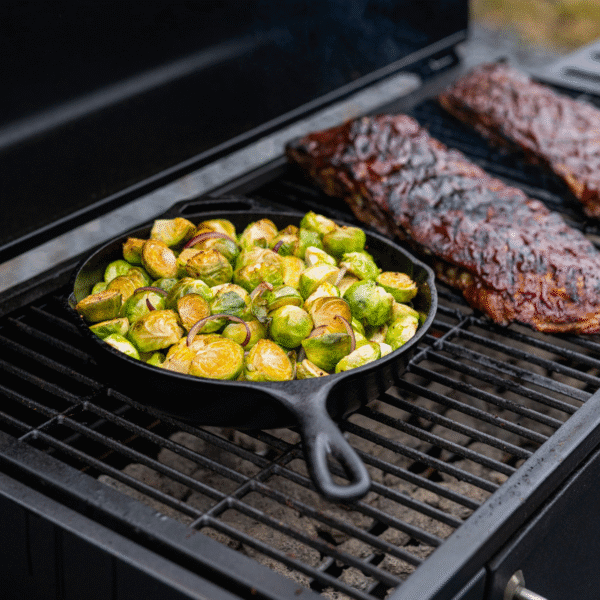
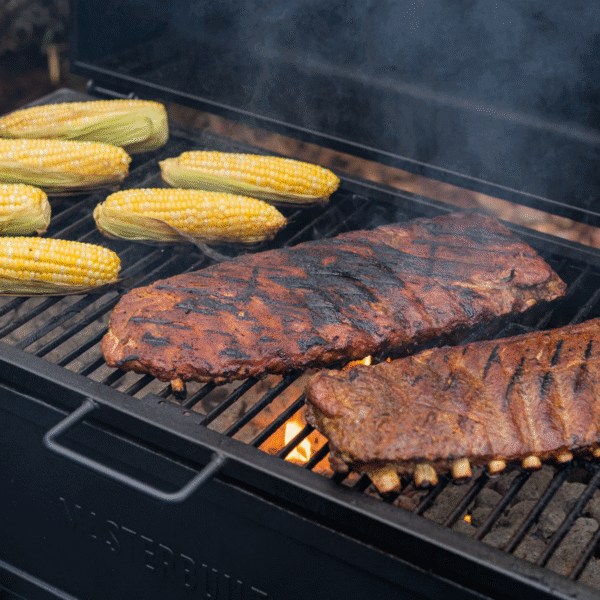
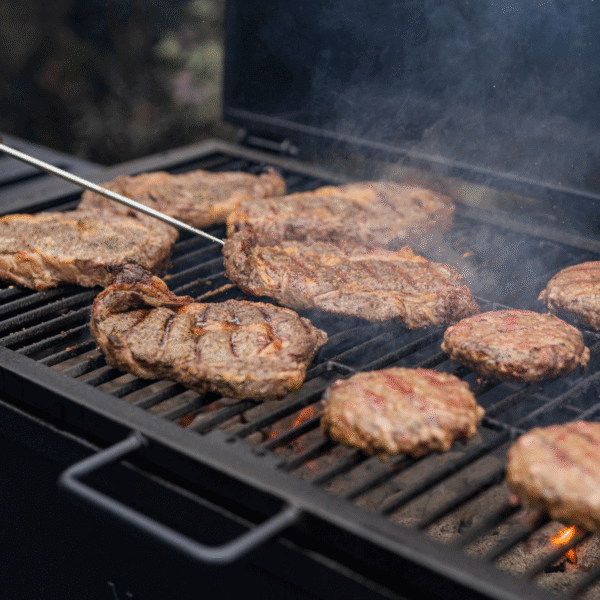
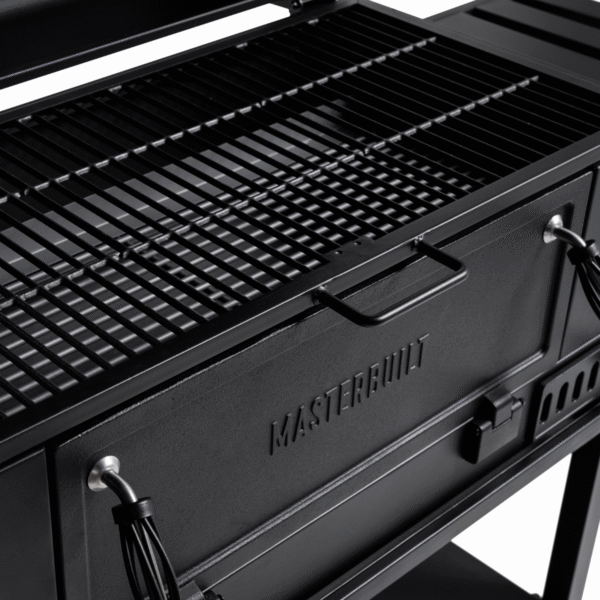
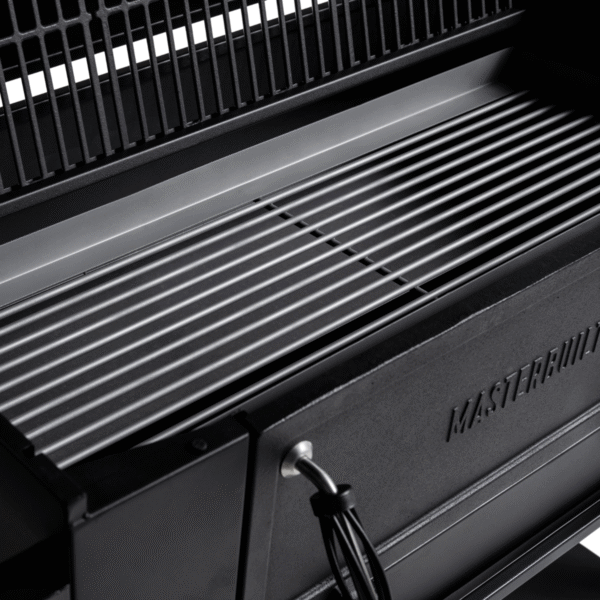
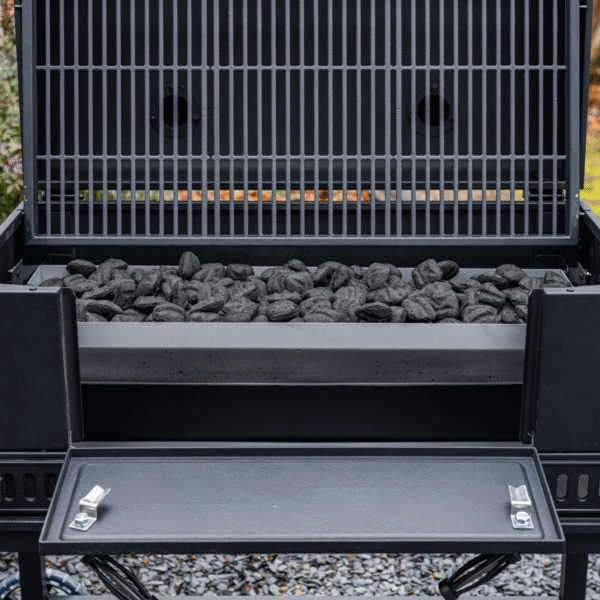
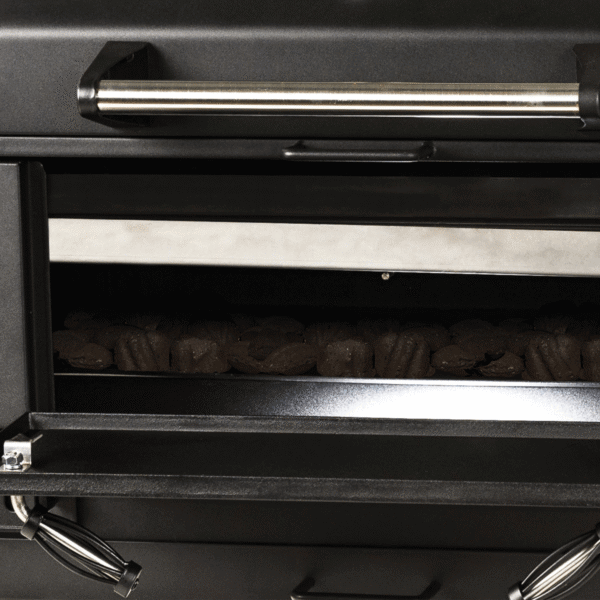
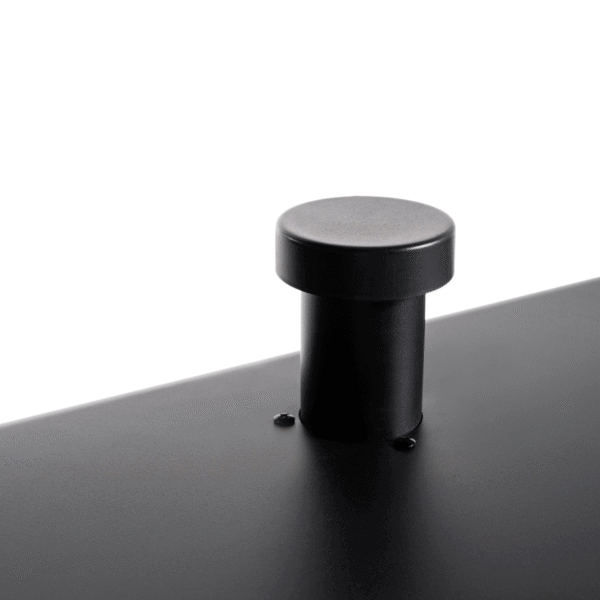
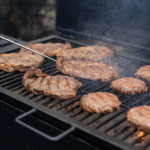
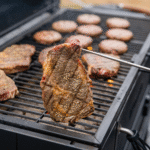
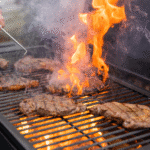
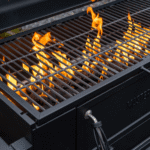
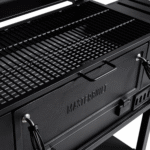
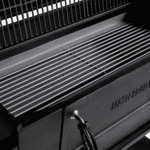
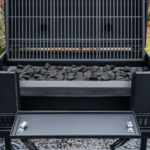
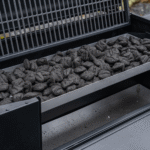
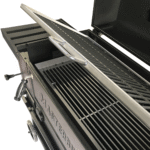
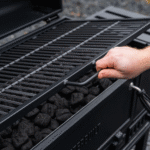
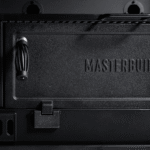
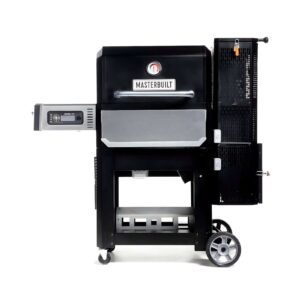
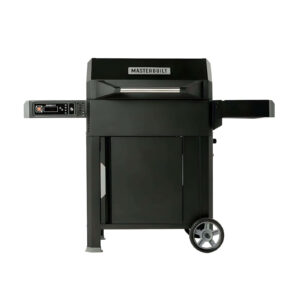
The Masterbuilt Wagon is a charcoal barbecue with a lift-up tray designed to play with heat with surgical precision. The cast iron grill seals with authority, the front-loading design allows you to feed the fire without losing heat, and the venting system, with one 30″ and two 36″ chimneys, maintains a stable draft to transition from direct to indirect without drama. It is the choice for those who want “chef’s” results with simple and efficient handling.
🔩 Materials and construction
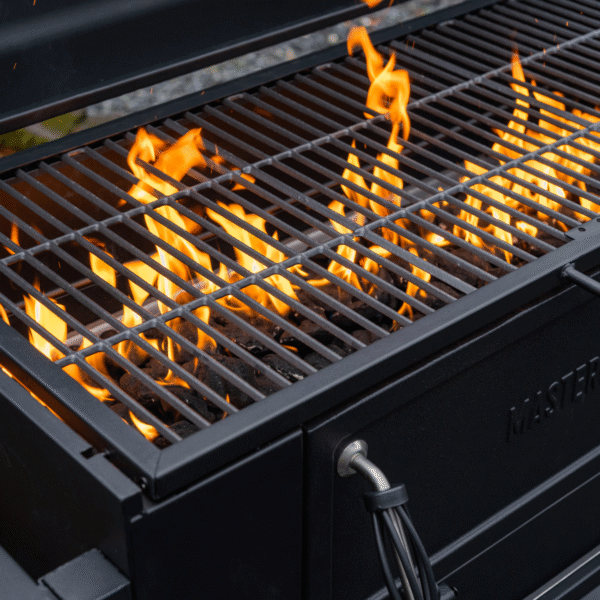
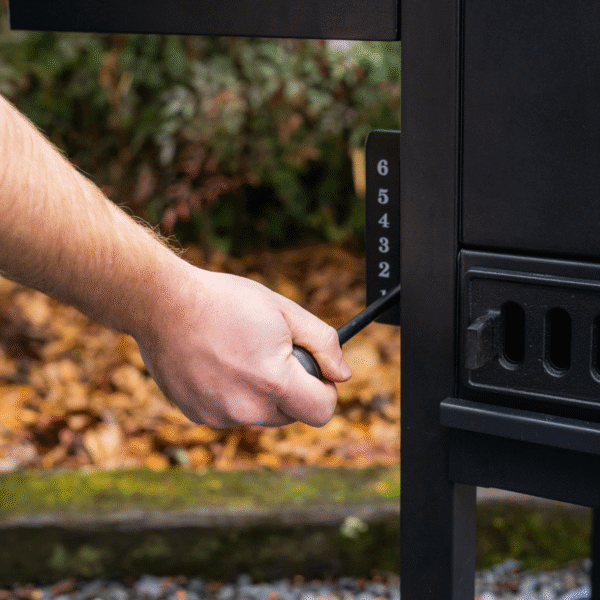
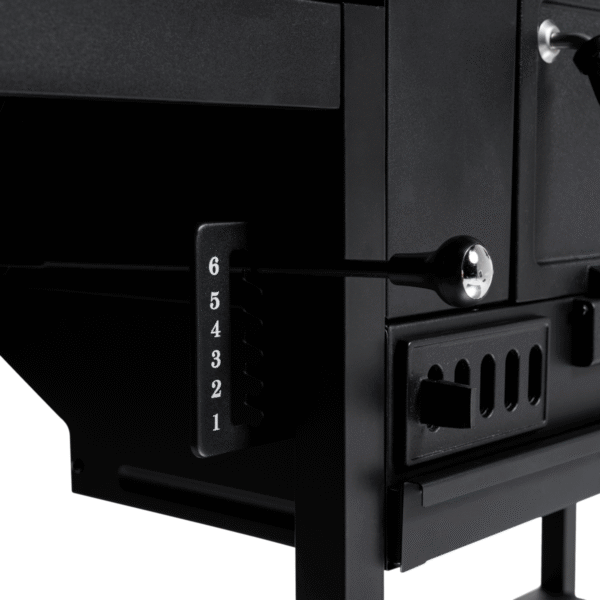
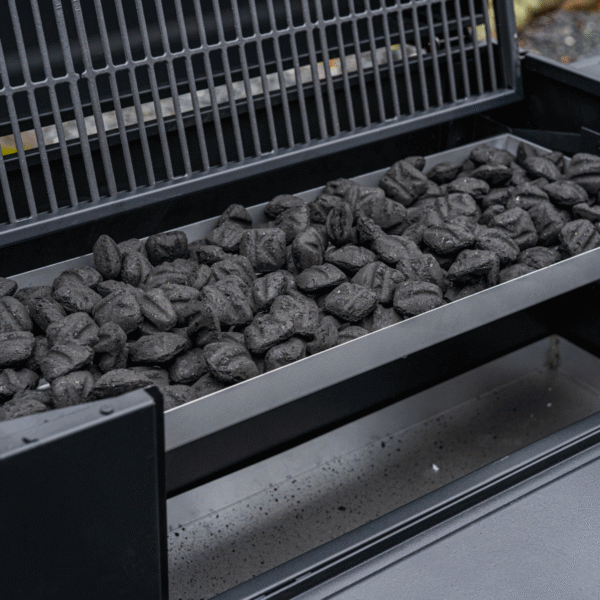
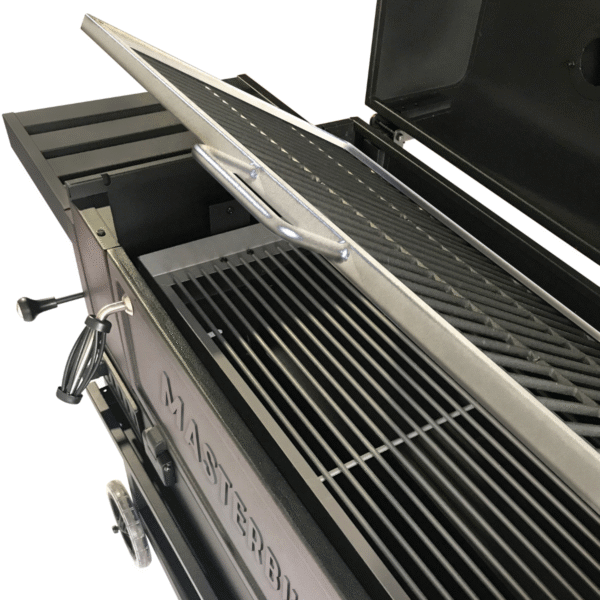
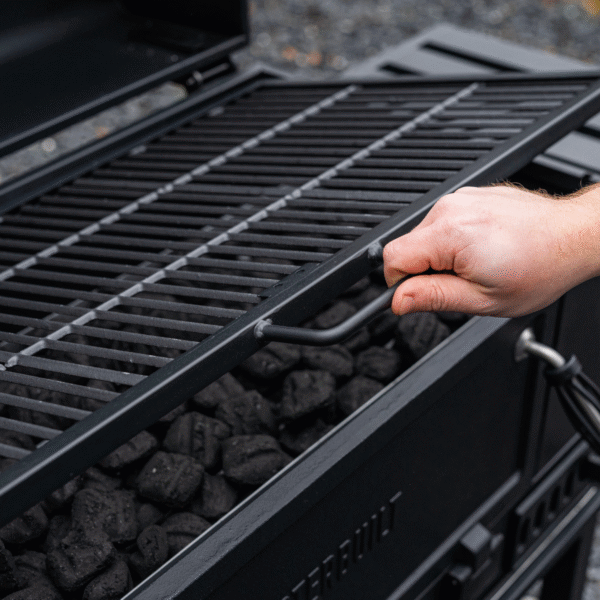
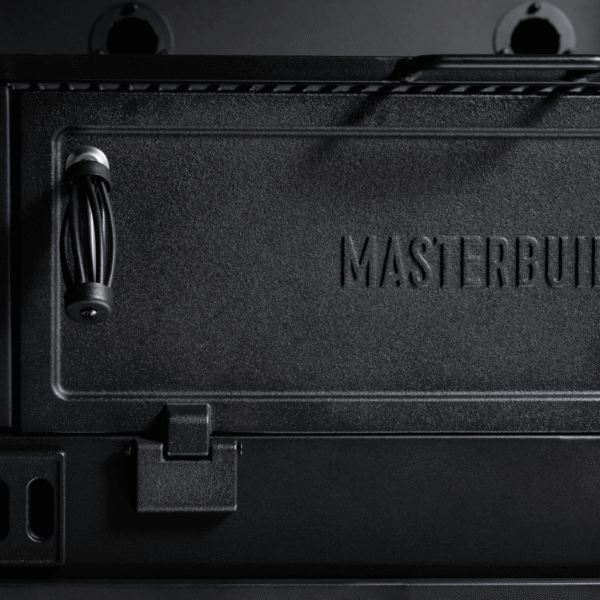
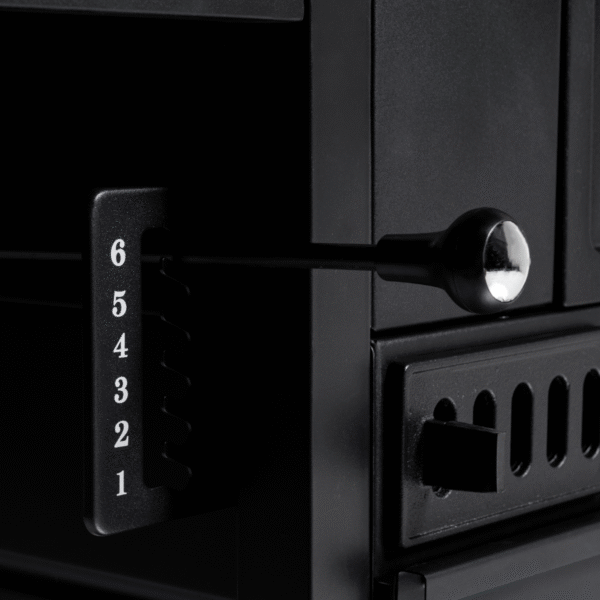
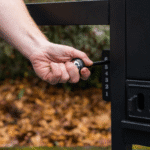
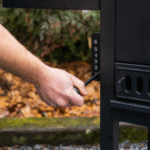
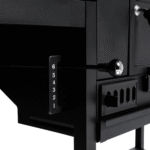
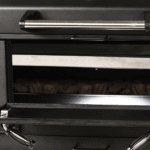
The protagonist is the cast iron grill, chosen for its enormous thermal inertia: it absorbs a lot of energy and gives it back in the form of deep, evenly browned marks. Underneath, the charcoal tray rests on a sturdy frame that is raised or lowered by means of a lever; the whole is designed to withstand the weight of the fuel and its changes in expansion. At the front, a coal loading door prevents the main lid from opening, minimising heat loss.
The removable ash tray facilitates quick and tidy cleaning. In the 36″ version, the chassis integrates a lower cabinet with doors for storing charcoal and utensils, as well as four wheels, two of them with brakes, which provide stability and controlled mobility; the 30″ version opts for an open frame and two large wheels for trolley-type movement.
⚙️ Outstanding features
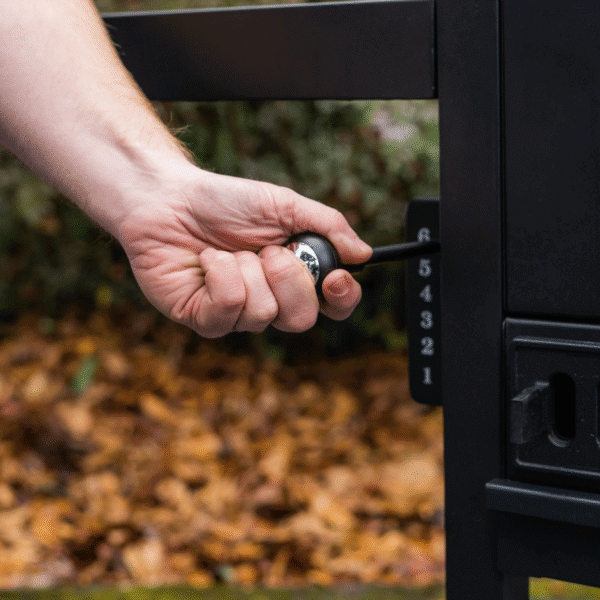
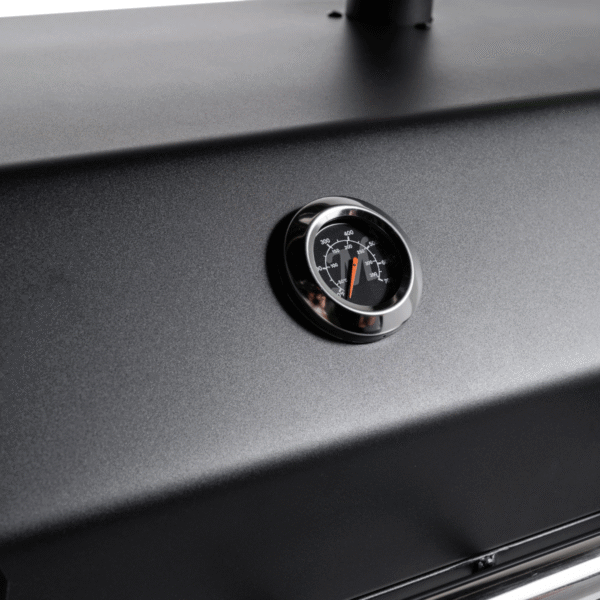
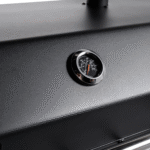
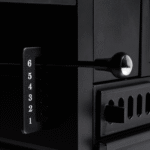
The charcoal height adjustment in up to 6 positions is the “superpower” of the Wagon: you bring the coals closer to the grill for a blazing hot sear or move them further away for medium or low temperature cooking. Front loading allows you to add charcoal or briquettes in continuous service – ideal for long events – and the thermometer lid gives you a quick reading of the interior environment.
The bottom vents and chimney (s) regulate airflow with great sensitivity; opening increases draft and dries out the atmosphere, closing gently stabilises cooking and retains moisture.
🔥 Performance and efficiency
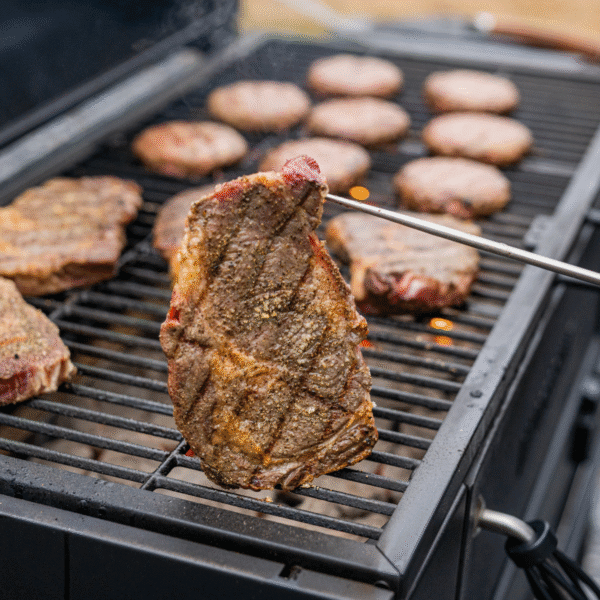
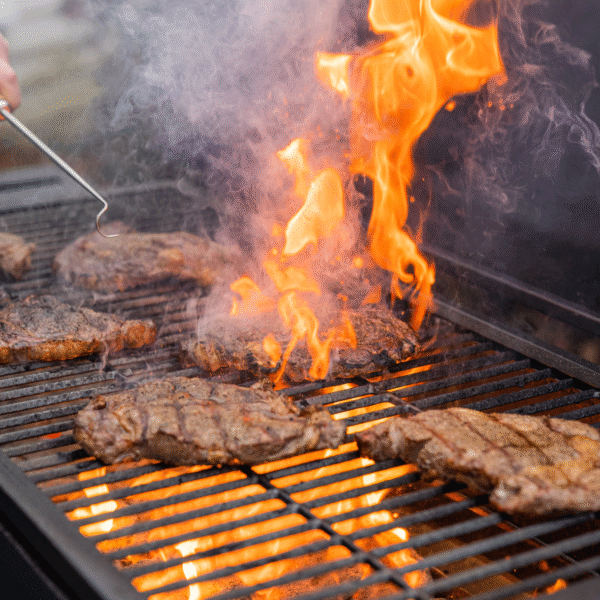
The sum of cast iron + adjustable height translates into immediate response: you don’t just have to open or close vents; a simple change of level modifies the heat exchange by radiation. Directly, the grill “glues” a crispy crust without drying out; indirectly, the heat circulates around the grill for even grilling.
The 36″ version, with two chimneys, evacuates smoke and moisture with more flow, which is appreciated when the surface is full or when working with bulky pieces.
🧠 Design and aesthetics
The “wagon” format balances style and functionality: straight lines, sober finishes and two side shelves for mise en place, trays or thermometers. The front handles offer a secure grip when handling doors and the height lever is in a comfortable position, avoiding awkward postures.
At 30″ the whole unit conveys visual and real agility; at 36″ the lower cabinet provides presence and order, topped by four swivel castors that facilitate manoeuvring even in tight spaces.
🧩 Compatibilities and extras
Accepts charcoal or briquettes indistinctly. On the grill you can use pizza stones, griddles, vegetable baskets or additional “first floor” grills.
The high top format allows for smoke hoods and cheese or smoked butter domes. Some 36″ packs offer an outdoor protective cover, useful if the barbecue sleeps on a terrace or in the garden.
🍖 Benefits for different cooking styles
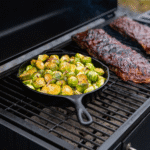
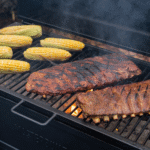
In direct the tray in high position turns the grid into a high heat flow zone, perfect for chops, smash burgers or vegetables that appreciate the “wok point”. In indirect cooking, simply lower the charcoal and play with the vents to maintain constant rhythms for ribs, whole chickens or large fish.
For outdoor cooking beyond the grill, the thermal mass of cast iron favours paellas, griddles and cast iron, maintaining stable energy even when the lid is opened frequently.
🛡️ Safety and ease of use
This is a well-ventilated outdoor appliance. It should be positioned at a generous distance from combustible surfaces, wear gloves when moving the lever or handling the front door and do not move it when hot.
Ash management is simple: when cooling, the ash tray is removed and disposed of in a metal container. The thermometer helps to work in safe ranges, avoiding unnecessary overheating.
🆚 Integrated comparison table
| Feature |
Wagon 30 |
Wagon 36″ Wagon |
| Carbon adjustment |
Lever with up to 6 positions |
Lever with up to 6 positions |
| Chimneys |
1 |
2 |
| Fuel loading |
Front door |
Front door |
| Grille |
Cast iron |
Cast iron |
| Ash management |
Removable tray |
Removable tray |
| Side shelves |
2 (non-folding) |
2 (folding) |
| Lower frame |
Open frame |
Cabinet with doors |
| Castors |
2 trolley type |
4 (2 with brakes) |
| Focus of use |
Agile and compact |
High capacity and organisation |
| Key visual difference |
Slim chassis, one chimney |
More robust appearance, two stacks |
Masterbuilt Wagon 30‘ / 36’
They share materials and operation, so I let you have a
single plan with specific notes when things change between sizes.
✅ Before first use (curing)
- Wash the cooking grate with hot water and a little soap; rinse and dry thoroughly.
- Coat the grate and interior surfaces of the chamber with a thin layer of vegetable oil.
- Place charcoal in the tray (medium-low position) and light with a chimney starter or solid fuel (no liquids).
- Close the lid and open the vents halfway: maintain a medium temperature for 45–60 minutes.
- Let it cool, remove ashes and repeat if you want extra curing.
Note 36‘: open
both chimneys equally during curing for balanced airflow.
🔥 Start-up for each cooking session
- Quick inspection: clean grill, empty ash tray, height lever free, wheels locked (36’).
- Initial load: fill the chimney starter, pour the lit coals into the tray.
- Preheating: lid closed for 10–15 minutes. Adjust the height and vents according to the desired result:
- Strong seal (direct): tray high, vents ¾ open; lid ajar if you want more sizzling.
- Medium power: tray in the middle, vents ½ open; ideal for chicken, vegetables, sausages.
- Low & slow (indirect): tray low, charcoal on one side or centred with diffuser; vents ¼–½ open.
Note 30‘: single chimney; use the
lower vents for fine adjustment.
Note 36’: distribute the opening between
two chimneys for stability when the grill is full.
↕️ Charcoal height management (the lever is your superpower)
- To raise the temperature instantly, raise one level and wait 30–60 seconds.
- To lower and avoid burning, lower one or two levels and close the vents slightly.
- For thick pieces: mark high, finish medium/low with the lid closed.
🌬️ Air flow control (vents + chimney[s])
- More air = more heat: open the lower vents and chimney(s).
- Less air = less heat: close in small increments (5–10 mm makes a difference).
- Strong wind: turn the chimney away from the wind and open the outlet a little more to avoid bitter smoke.
➕ Refuelling during use
- Open the front door; add briquettes/charcoal that are already lit or in a ring/snake shape if you want a steady burn.
- Close the door and do not open the main lid for 2–3 minutes to allow the fire to recover.
- Reposition the height if the heat intensity has changed.
🔁 Switch between direct and indirect (on the fly)
- Push the embers to one side with a poker and lower one or two levels.
- Place the piece in the area without embers and close the lid.
- Maintain the temperature by opening the vents slightly; smoke with a couple of chunks of wood on the embers (optional).
🧯 Safe snuffer
- Close all vents and chimney(s).
- Wait for the charcoal to smother and cool completely.
- Empty the ash pan into a metal container; never into the rubbish bin if it is still warm.
- 36‘: let the wheels locked when storing; 30’: stand it upright.
🧼 Quick cleaning after each use
- While the grill is still warm, scrape off any residue with a wire brush or scraper.
- Step: Wipe with a paper towel and a drop of oil to seal the cast iron grill.
- Remove ashes when cool; clean the ash tray and dry.
- Wipe the lid/exterior with a damp cloth; dry and, if available, cover with a cover.
🧹 Deep cleaning (every 6–10 uses)
- Remove the grill and tray; vacuum or sweep loose debris from the interior.
- Wash the grill and shelves with warm water and mild soap; dry immediately.
- Check the vents and hinges: remove any crusts that prevent them from turning.
- Check the hardware and tighten if loose.
- If you see a spot with surface rust, sand it lightly, clean it and season it again with oil over medium heat.
🛡️ Rust prevention and exterior care
- Keep the barbecue dry; avoid letting wet ash inside.
- Whenever possible, keep the cover on; if it is outdoors, raise the wheels on a draining surface.
- In coastal areas, increase the frequency of light oiling of the grill.
- Avoid abrasive cleaners; use soft cloths and mild detergent.
🗃️ Order and storage (36‘ vs 30’)
- 36": use the lower cabinet for dry charcoal, solid lighters and utensils. Keep 2 wheels locked when cooking.
- 30": use the open bottom shelf (if you have one) for charcoal and accessories in a plastic box with a lid.
🧪 Simple thermometer calibration (optional)
- Boil water: it should read approx. 100 °C at sea level (adjust ± according to altitude).
- If there is a noticeable deviation, remember the offset mentally or use an auxiliary digital thermometer on the grate.
🔧 Regular maintenance (checklist)
- After each use: clean the grill, empty the ash pan, cover.
- Monthly: deep clean, check screws, vent shafts and condition of lid gasket (if applicable).
- Quarterly: lightly re-season with oil, inspect paint and rust spots.
- Pre-season: test draft, grease hinges and wheels; at 36", check brakes.
🆘 Quick troubleshooting
- Temperature does not rise: open vents, raise tray, use dry charcoal and distribute new burning coals through the front door.
- Bitter/black smoke: open chimney(s) to vent, use less wood, avoid dripping grease directly onto embers.
- Hot spots: lower the tray one level or rotate the grill/pieces; at 36", balance both chimneys.
- Fire snuffer: remove accumulated ash that lids air intakes, add active briquettes.
🔒 Essential safety (always)
- Outdoors and well ventilated only.
- Never move when hot or use flammable liquids to light.
- Keep 3 m clear around and have heat-resistant gloves handy.
- Keep children and pets away during use and while cooling.
Masterbuilt Wagon 30‘ / 36’
They share materials and operation, so I let you have a single plan with specific notes when things change between sizes.
✅ Before first use (curing)
Wash the cooking grate with hot water and a little soap; rinse and dry thoroughly.
Coat the grill and the interior surfaces of the chamber with a thin layer of vegetable oil.
Place charcoal on the tray (position medium-low) and light with a lighter or solid firelighters (no liquids).
Keep the lid closed and the vents half open: maintain a medium temperature for 45–60 minutes.
Let it cool, remove ashes and repeat if you want extra curing.
Note 36: open both chimneys equally during curing for balanced airflow.
🔥 Start-up for each cooking session
Quick inspection: clean grill, empty ash tray, height lever free, wheels locked (36‘).
Initial load: fill the firebox with kindling, pour burning embers into the tray.
Preheating: close the lid for 10–15 min. Adjust the height and vents according to the desired result:
Strong seal (direct): high tray, vents ¾ open; lid ajar if you want more sizzling.
Medium power: tray medium, vents ½ open; ideal for chicken, vegetables, sausages.
Low & slow (indirect): low tray, charcoal on one side or centred with diffuser; vents ¼–½ open.
Note 30‘: a single chimney; use the lower vents for fine tuning. Note 36: Distribute the opening between two chimneys for stability when the grill is full.
↕️ Charcoal height management (the lever is your superpower)
To instantly raise the temperature, raise one level and wait 30–60 seconds.
To lower the temperature and avoid burning, lower the heat by one or two levels and slightly close the vents.
For thick pieces: mark high, finish medium/low with the lid closed.‘>🌬️ Air flow control (vents + chimney[s])
More air = more heat: open lower vents and chimney(s).
Less air = less heat: close in small increments (5–10 mm makes a difference).
Strong wind: turn the fireplace away from the wind and open the outlet a little more to avoid bitter smoke.
➕ Refuelling during use
Open the front door; add briquettes/charcoal that are already lit or in a ring/snake shape if you want a steady burn.>
Close the door and do not open the main lid for 2–3 minutes to allow the fire to recover.
Readjust the height if the heat intensity has changed.
🔁 Switch between direct and indirect (on the fly)
Push the embers to one side with a poker and lower one or two levels.
Place the piece in the area without embers and close the lid.3014‘ data-start=’2892‘>
Maintain the temperature with the vents slightly open; smoke with a couple of chunks of wood on the embers (optional).
🧯 Safe snuffer
Close all vents and chimney(s).
Wait for the charcoal to smother and cool completely.
Empty the ashtray into a metal container; never into the regular rubbish bin if it is still warm.
36‘: let the wheels locked when storing; 30’: place it on a stable surface.‘ data-start=’3337‘>🧼 Quick clean after each use
With the grill still warm, scrape off any residue with a wire brush or scraper.
Step with a paper towel with a drop of oil to seal the cast iron grill. data-start=‘3562’>
Remove ashes when cool; clean the ash pan and dry.‘>
Wipe the lid/exterior with a damp cloth; dry and, if you have one, cover with a cover.
🧹 Deep cleaning (every 6–10 uses)
Remove the grill and tray; vacuum or sweep loose debris from the interior.
Wash the grill and shelves with warm water and mild soap; dry immediately.
Check vents and hinges: remove any crusts that prevent them from turning. data-start=‘4002’>
Check screws and tighten if loose. data-start=‘4060’>
If you see a spot with surface rust, sand it lightly, clean it and season it again with oil at medium heat.
🛡️ Rust prevention and exterior care
Keep the barbecue dry; avoid letting damp ash inside.>
Whenever possible, keep the cover on; if it is outdoors, raise the wheels above a draining surface.
In coastal areas, increase the frequency of light oiling of the grill.
Avoid abrasive cleaners; use soft cloths and mild detergent.
🗃️ Order and storage (36‘ vs 30’)
36‘: use the lower cabinet for dry charcoal, solid fuel lighters and utensils. Keep 2 wheels locked when cooking.
30‘: take advantage of the open bottom shelf (if you have one) for charcoal and accessories in a plastic box with a lid. 🧪 Simple thermometer calibration (optional) 🧪-start=‘4921’>
Boil water: it should read approx. 100 °C at sea level (adjust ± according to altitude).
If there is a noticeable deviation, remember the offset mentally or use an auxiliary digital thermometer on the hob.
🔧 Regular maintenance (checklist)
After each use: clean the grill, empty the ash tray, cover.
Monthly: deep clean, check screws, fan shafts and condition of lid seal (if applicable).
Quarterly: light re-curing with oil, paint inspection and rust spots.
Pre-season: test drive, grease hinges and wheels; at 36‘, check brakes.
🆘 Quick troubleshooting
Does not heat up: open vents, raise tray, use dry charcoal and distribute new burning coals through the front door.
Bitter/black smoke: open chimney(s) to vent, use less wood, avoid fat dripping directly onto embers.>
Hot spots: lower the tray one level or rotate the grill/pieces; at 36‘, balance both chimneys.
The fire goes out: remove any ash that is acting as a lid on the air vents and add active briquettes.
🔒 Essential safety (always)
Only outdoors and well ventilated.
Never move when hot or use flammable liquids to light.
Keep 3 m clear around and keep heat-resistant gloves handy.
Keep children and pets away during use and while cooling.
Masterbuilt Wagon 30‘ / 36’
They share materials and operation, so I let you have a
single plan with specific notes when things change between sizes.
✅ Before first use (curing)
- Wash the cooking grate with hot water and a little soap; rinse and dry thoroughly.
- Coat the grate and interior surfaces of the chamber with a thin layer of vegetable oil.
- Place charcoal in the tray (medium-low position) and light with a chimney starter or solid fuel (no liquids).
- Close the lid and open the vents halfway: maintain a medium temperature for 45–60 minutes.
- Let it cool, remove ashes and repeat if you want extra curing.
Note 36‘: open
both chimneys equally during curing for balanced airflow.
🔥 Start-up for each cooking session
- Quick inspection: clean grill, empty ash tray, height lever free, wheels locked (36’).
- Initial load: fill the chimney starter, pour the lit coals into the tray.
- Preheating: lid closed for 10–15 minutes. Adjust the height and vents according to the desired result:
- Strong seal (direct): tray high, vents ¾ open; lid ajar if you want more sizzling.
- Medium power: tray in the middle, vents ½ open; ideal for chicken, vegetables, sausages.
- Low & slow (indirect): tray low, charcoal on one side or centred with diffuser; vents ¼–½ open.
Note 30‘: single chimney; use the
lower vents for fine adjustment.
Note 36’: distribute the opening between
two chimneys for stability when the grill is full.
↕️ Charcoal height management (the lever is your superpower)
- To raise the temperature instantly, raise one level and wait 30–60 seconds.
- To lower and avoid burning, lower one or two levels and close the vents slightly.
- For thick pieces: mark high, finish medium/low with the lid closed.
🌬️ Air flow control (vents + chimney[s])
- More air = more heat: open the lower vents and chimney(s).
- Less air = less heat: close in small increments (5–10 mm makes a difference).
- Strong wind: turn the chimney away from the wind and open the outlet a little more to avoid bitter smoke.
➕ Refuelling during use
- Open the front door; add briquettes/charcoal that are already lit or in a ring/snake shape if you want a steady burn.
- Close the door and do not open the main lid for 2–3 minutes to allow the fire to recover.
- Reposition the height if the heat intensity has changed.
🔁 Switch between direct and indirect (on the fly)
- Push the embers to one side with a poker and lower one or two levels.
- Place the piece in the area without embers and close the lid.
- Maintain the temperature by opening the vents slightly; smoke with a couple of chunks of wood on the embers (optional).
🧯 Safe snuffer
- Close all vents and chimney(s).
- Wait for the charcoal to smother and cool completely.
- Empty the ash pan into a metal container; never into the rubbish bin if it is still warm.
- 36‘: let the wheels locked when storing; 30’: stand it upright.
🧼 Quick cleaning after each use
- While the grill is still warm, scrape off any residue with a wire brush or scraper.
- Step: Wipe with a paper towel and a drop of oil to seal the cast iron grill.
- Remove ashes when cool; clean the ash tray and dry.
- Wipe the lid/exterior with a damp cloth; dry and, if available, cover with a cover.
🧹 Deep cleaning (every 6–10 uses)
- Remove the grill and tray; vacuum or sweep loose debris from the interior.
- Wash the grill and shelves with warm water and mild soap; dry immediately.
- Check the vents and hinges: remove any crusts that prevent them from turning.
- Check the hardware and tighten if loose.
- If you see a spot with surface rust, sand it lightly, clean it and season it again with oil over medium heat.
🛡️ Rust prevention and exterior care
- Keep the barbecue dry; avoid letting wet ash inside.
- Whenever possible, keep the cover on; if it is outdoors, raise the wheels on a draining surface.
- In coastal areas, increase the frequency of light oiling of the grill.
- Avoid abrasive cleaners; use soft cloths and mild detergent.
🗃️ Order and storage (36‘ vs 30’)
- 36": use the lower cabinet for dry charcoal, solid lighters and utensils. Keep 2 wheels locked when cooking.
- 30": use the open bottom shelf (if you have one) for charcoal and accessories in a plastic box with a lid.
🧪 Simple thermometer calibration (optional)
- Boil water: it should read approx. 100 °C at sea level (adjust ± according to altitude).
- If there is a noticeable deviation, remember the offset mentally or use an auxiliary digital thermometer on the grate.
🔧 Regular maintenance (checklist)
- After each use: clean the grill, empty the ash pan, cover.
- Monthly: deep clean, check screws, vent shafts and condition of lid gasket (if applicable).
- Quarterly: lightly re-season with oil, inspect paint and rust spots.
- Pre-season: test draft, grease hinges and wheels; at 36", check brakes.
🆘 Quick troubleshooting
- Temperature does not rise: open vents, raise tray, use dry charcoal and distribute new burning coals through the front door.
- Bitter/black smoke: open chimney(s) to vent, use less wood, avoid dripping grease directly onto embers.
- Hot spots: lower the tray one level or rotate the grill/pieces; at 36", balance both chimneys.
- Fire snuffer: remove accumulated ash that lids air intakes, add active briquettes.
🔒 Essential safety (always)
- Outdoors and well ventilated only.
- Never move when hot or use flammable liquids to light.
- Keep 3 m clear around and have heat-resistant gloves handy.
- Keep children and pets away during use and while cooling.