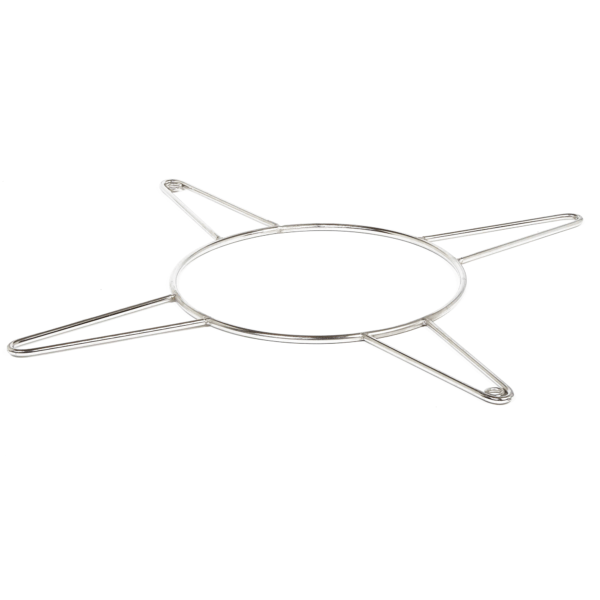
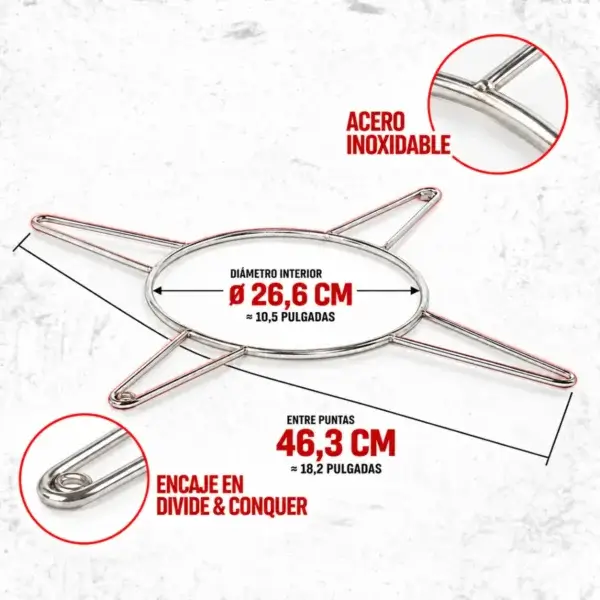
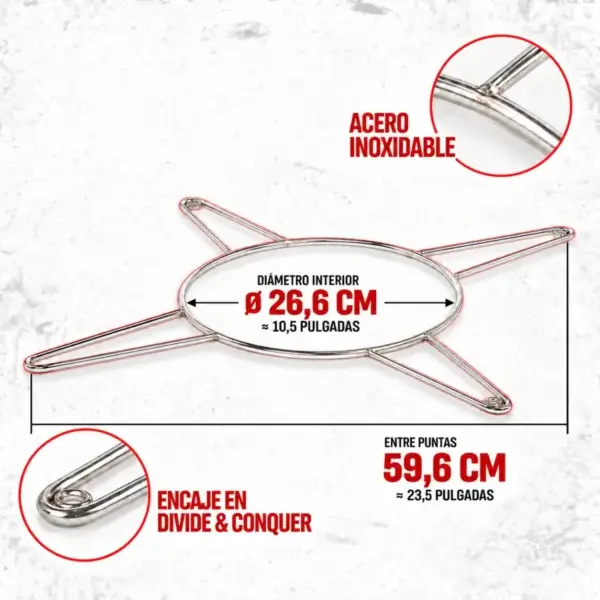
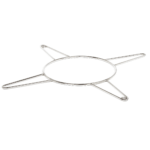
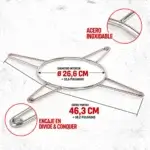
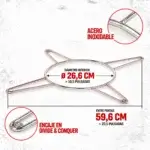
The Kamado Joe pan support helps you get more out of your charcoal cooking. Its X-shaped design provides a support for using a wok, a saucepan or various accessories inside the kamado, allowing you to prepare everything from a vegetable stir-fry to a casserole.
It is designed to integrate with the Divide & Conquer system, allowing you to adapt the setup to whatever you’re cooking. It also serves as a support for a drip tray, a pizza stone or the relevant deflectors, expanding the possibilities of your kit with accessories suited to every preparation.
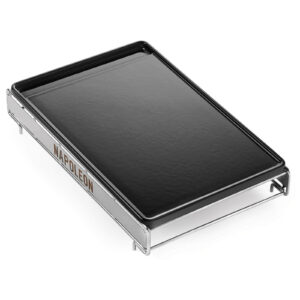
Choose the Classic Joe version for the Classic Joe model and the Big Joe version for the Big Joe model. Both serve the same purpose; the choice depends on the size and how well it fits into your kamado’s cooking system. The pans, stones and deflectors shown in the images are examples of use and are not included with this stand.
Woks and pots to expand your recipe repertoire
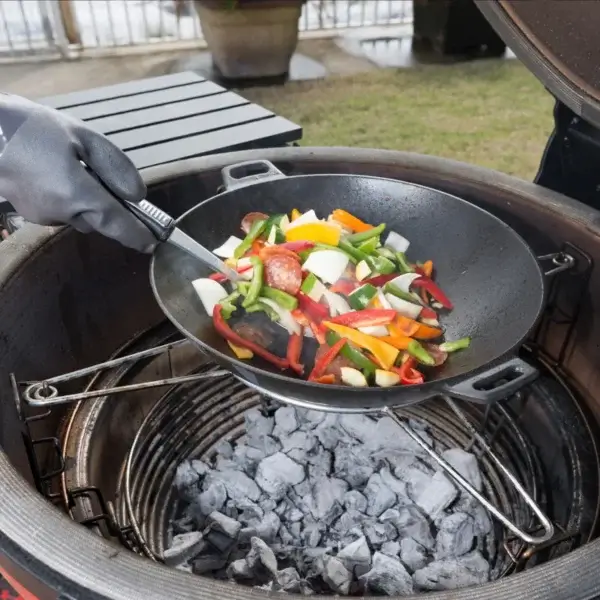
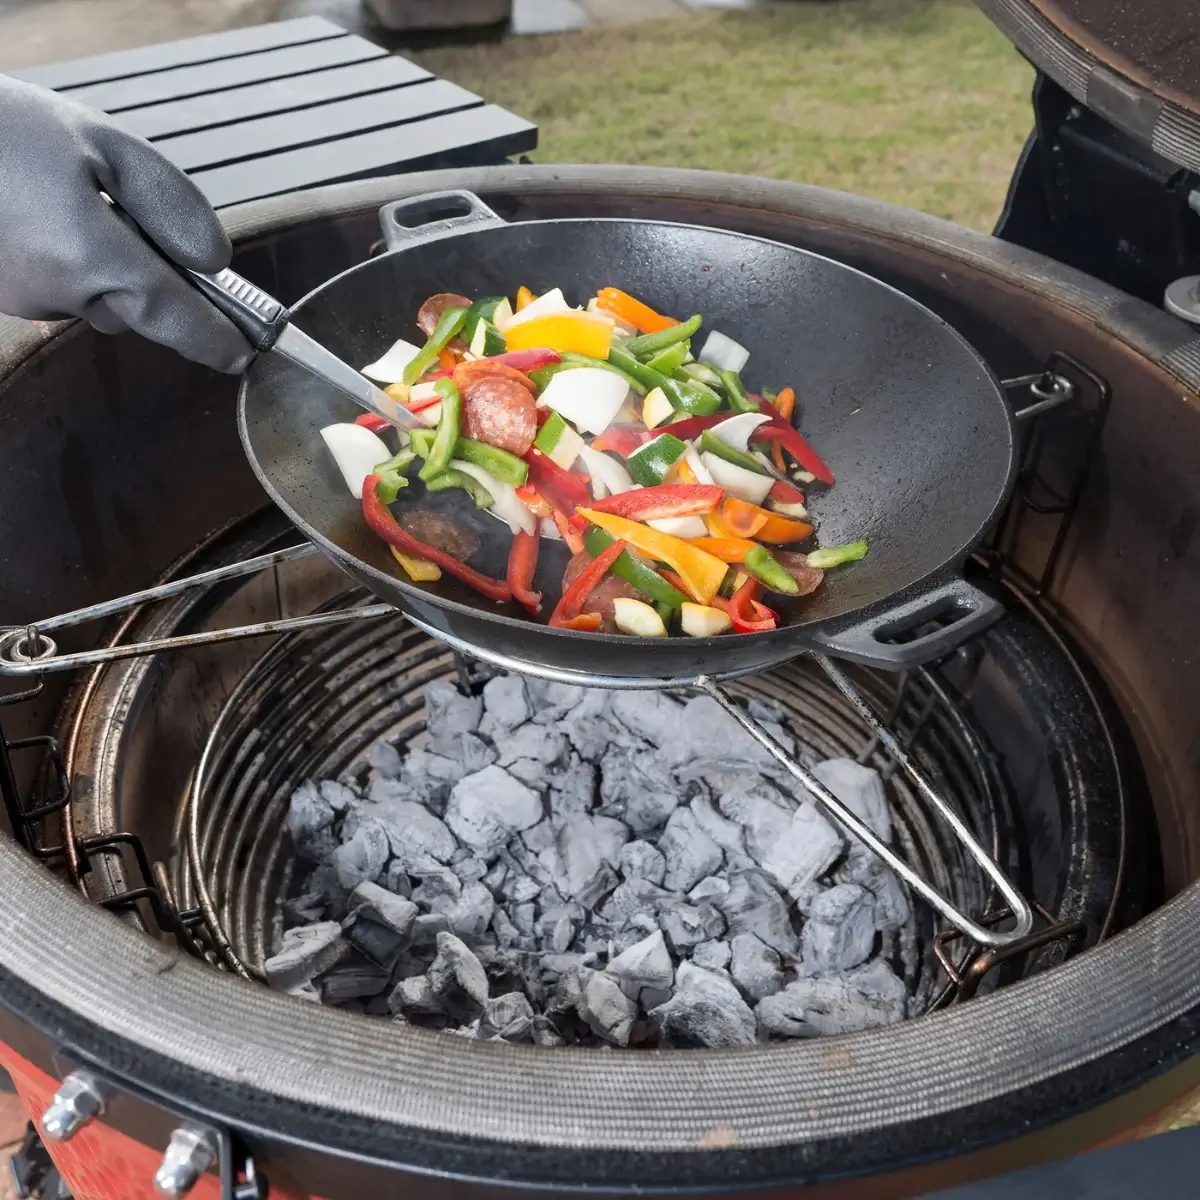
The central ring allows you to place a compatible wok inside the kamado, with its base exposed to the heat of the charcoal. This is a useful setup for stir-frying vegetables, cooking small pieces of meat or combining ingredients whilst stirring them in the wok. The stand provides the support the wok needs for this configuration.
You can also use it with a suitably sized cast-iron pot to prepare stews. Kamado Joe demonstrates this method in its recipes, placing the pot on the stand within the cooking system. This allows you to switch from stir-frying to pot cooking simply by changing the pan and adjusting the heat.
Always check that the shape and dimensions of the pan allow for proper support before cooking.
Fits the Divide & Conquer
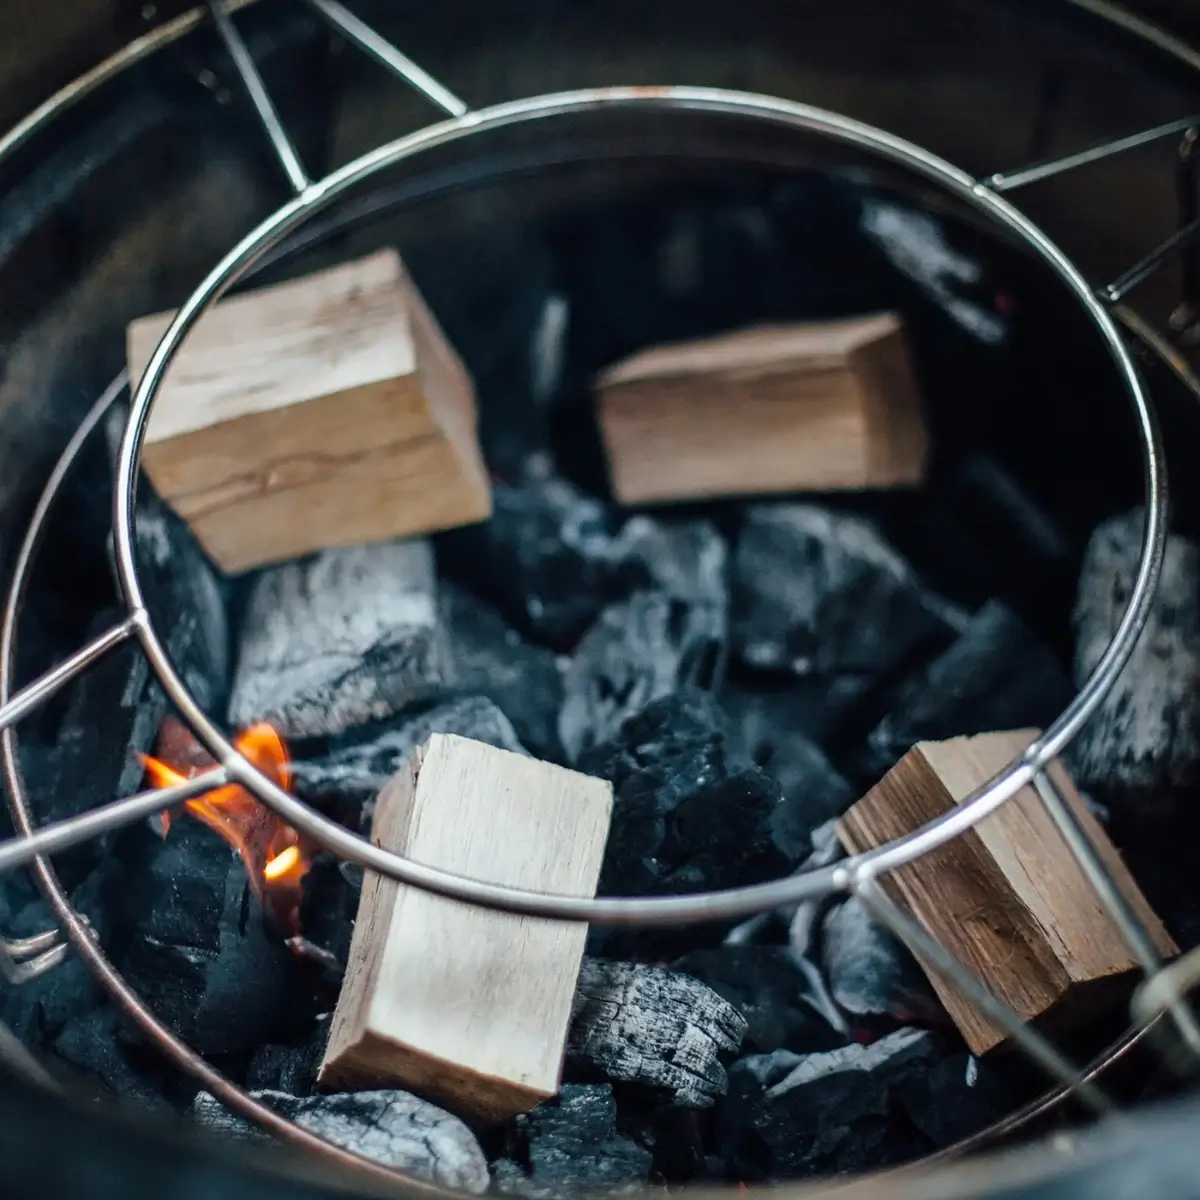
This accessory works in conjunction with the flexible Divide & Conquer cooking system. Its arms rest on the corresponding frame and position the central ring within the cooking zone, ready to hold whichever pan or accessory you intend to use.
The mounting position depends on the dish you’re preparing and the configuration of your equipment. This integration allows you to organise the interior of the kamado for cooking with cookware or incorporating cooking accessories, following the assembly instructions specified for each one.
Choosing the appropriate Classic Joe or Big Joe version is the first step to ensuring the holder fits your system. Before lighting the fire, check that all its support points are correctly secured.
Support for the heat deflectors
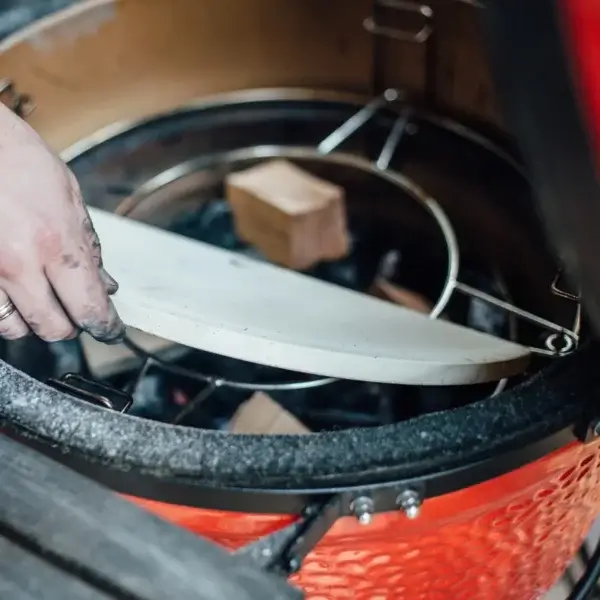
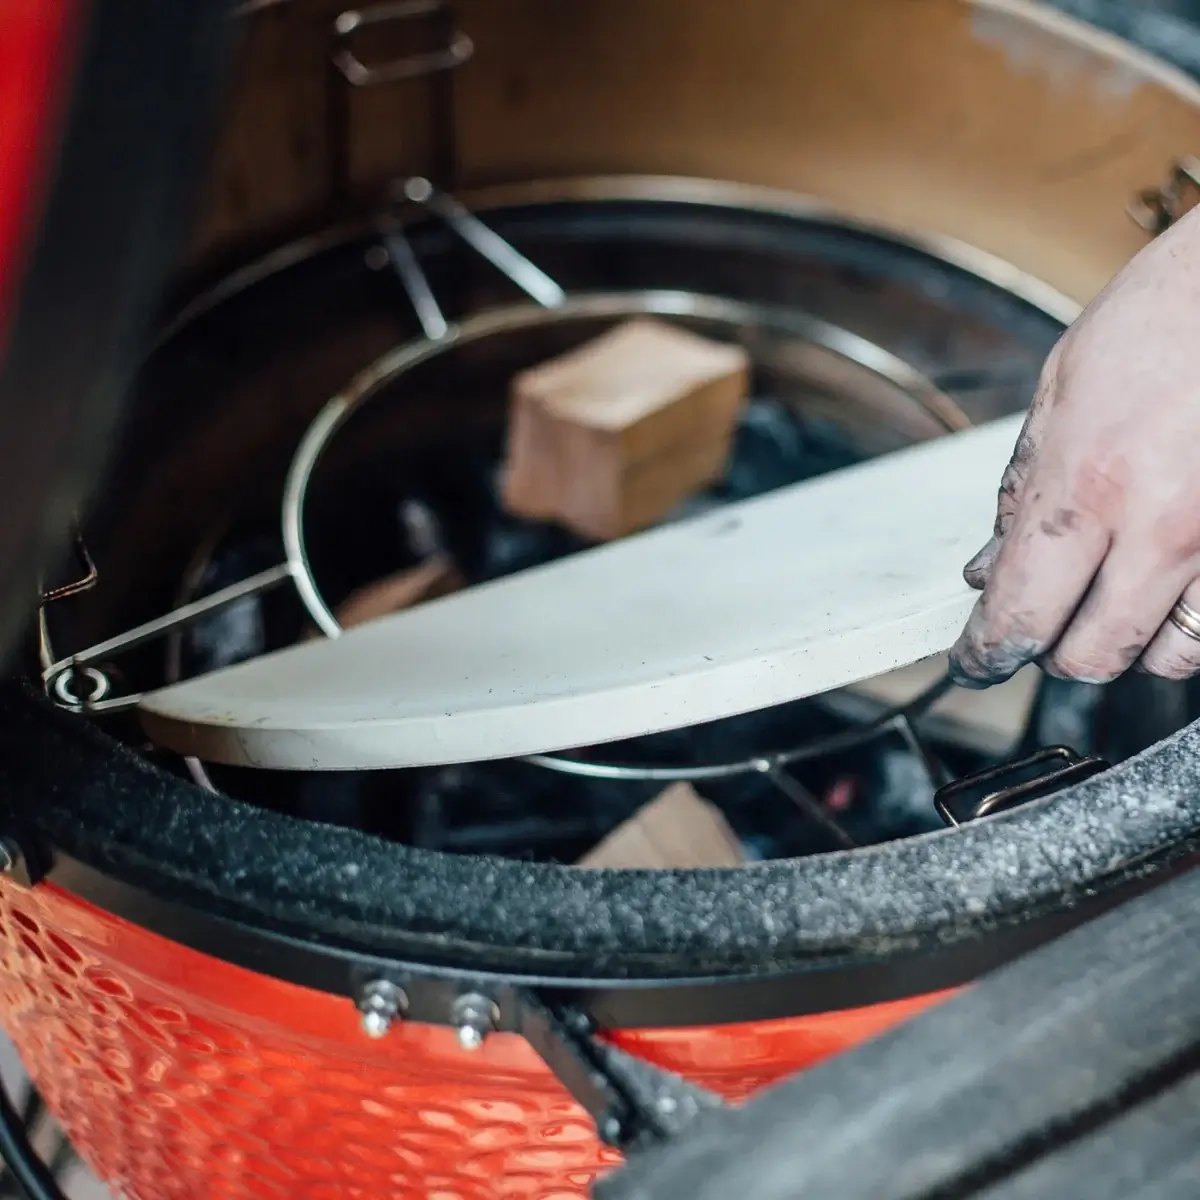
The stand also serves as a support for the crescent-shaped ceramic heat deflectors, as shown by Kamado Joe in its assembly images. The ceramic pieces are placed on top of it to form part of an indirect cooking setup.
In this setup, the baffles create a barrier against the direct heat of the coals and allow the heat to circulate around the food. This is a useful arrangement when the recipe requires a different heat exposure to that of a grill placed directly over the embers.
Use the deflectors appropriate for the size of your kamado and follow the recommended setup for the type of cooking you wish to do.
A base for the pizza stone
Kamado Joe offers this accessory as a stand for your pizza stone. If you fancy making a pizza in the kamado, this piece allows you to incorporate the stone into the appropriate cooking setup, making use of the same equipment you use for your barbecues.
For this purpose, choose a stone suitable for your model and follow the manufacturer’s recommended assembly instructions, including the positioning of the deflectors where applicable. The holder provides the support base; the stone provides the surface on which the dough is baked. In this way, you can prepare the inside of the kamado specifically for that recipe.
Drip tray in place
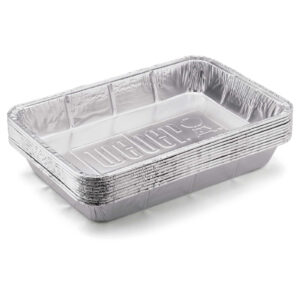
Another of its uses is to hold a drip tray inside the Divide & Conquer. Placed beneath the food in the correct position, the tray catches the juices and fat that drip down during cooking, collecting these residues in a container that you can remove afterwards.
This is handy for dishes where you want to make cleaning up easier afterwards. Choose a tray whose dimensions allow it to sit securely and position it beneath the area you need to cover. The support continues to function as a base within the system, whilst the tray collects the drippings from cooking.
Comparison of variations
| Variation |
Kamado format and support system |
| Classic Joe |
Kamado Joe Classic Joe with the corresponding Divide & Conquer system. |
| Big Joe |
Kamado Joe Big Joe with the corresponding Divide & Conquer system. |
Before first use
Select the correct version: KJ-XR for Classic Joe or BJ-XR for Big Joe. Although they work in the same way, each rack has different dimensions and is designed to sit correctly within the corresponding cooking system.
Before fitting it, check that the rack is not deformed and that all its support points rest securely. Clean it before first use to remove any dust or residue from the packaging.
Correct positioning
- Remove the necessary cooking grates to access the Divide & Conquer flexible cooking system.
- Place the rack into the structure and check that it is level, centred and resting securely.
- Place the drip tray, pizza stone, pan, wok or another suitable accessory on top.
- Before cooking, check that the pan or accessory cannot slide and does not interfere with the lid closing properly.
Do not force the rack or lid if the installed pan or accessory protrudes or prevents the lid from closing normally. The image shows the KJ-XR version being fitted; the BJ-XR version is installed in the same way in the corresponding Big Joe structure.
During cooking
- Always use suitable heat-resistant gloves whenever you need to handle the rack or the accessory placed on top of it.
- Keep the tray, stone, pan or wok centred so that the weight is distributed correctly.
- Avoid knocks, sudden movements or repositioning while the assembly is hot.
- If you are using a drip tray, monitor its contents to prevent spills onto the charcoal.
After cooking
- Allow the barbecue, rack and accessory used to cool completely.
- First remove the pan, wok, stone or tray placed on top.
- Remove the rack by holding it at several points to prevent it from tilting or knocking against the ceramic components.
Cleaning
- Remove grease and food residue after each use to prevent build-up.
- Wash it with warm water, mild soap and a sponge that will not damage the surface.
- Rinse thoroughly with clean water to remove any soap residue.
- Allow it to air dry completely before refitting or storing it.
Maintenance and storage
Periodically check the support points and the structure. If you notice any deformation that prevents the rack from remaining level or stable, stop using it until its condition has been checked.
Store it clean and completely dry, preferably protected from moisture. Do not store it with grease, food residue or a dirty tray resting on top.
Before first use
Select the correct version: KJ-XR for Classic Joe or BJ-XR for Big Joe. Although they work in the same way, each rack has different dimensions and is designed to sit correctly within the corresponding cooking system.
Before fitting it, check that the rack is not deformed and that all its support points rest securely. Clean it before first use to remove any dust or residue from the packaging.
Correct positioning
- Remove the necessary cooking grates to access the Divide & Conquer flexible cooking system.
- Place the rack into the structure and check that it is level, centred and resting securely.
- Place the drip tray, pizza stone, pan, wok or another suitable accessory on top.
- Before cooking, check that the pan or accessory cannot slide and does not interfere with the lid closing properly.
Do not force the rack or lid if the installed pan or accessory protrudes or prevents the lid from closing normally. The image shows the KJ-XR version being fitted; the BJ-XR version is installed in the same way in the corresponding Big Joe structure.
During cooking
- Always use suitable heat-resistant gloves whenever you need to handle the rack or the accessory placed on top of it.
- Keep the tray, stone, pan or wok centred so that the weight is distributed correctly.
- Avoid knocks, sudden movements or repositioning while the assembly is hot.
- If you are using a drip tray, monitor its contents to prevent spills onto the charcoal.
After cooking
- Allow the barbecue, rack and accessory used to cool completely.
- First remove the pan, wok, stone or tray placed on top.
- Remove the rack by holding it at several points to prevent it from tilting or knocking against the ceramic components.
Cleaning
- Remove grease and food residue after each use to prevent build-up.
- Wash it with warm water, mild soap and a sponge that will not damage the surface.
- Rinse thoroughly with clean water to remove any soap residue.
- Allow it to air dry completely before refitting or storing it.
Maintenance and storage
Periodically check the support points and the structure. If you notice any deformation that prevents the rack from remaining level or stable, stop using it until its condition has been checked.
Store it clean and completely dry, preferably protected from moisture. Do not store it with grease, food residue or a dirty tray resting on top.